In this tutorial in our ongoing HaxeFlixel tutorial series we are going to look at using Sprites in HaxeFlixel. Sprites are fundamental to HaxeFlixel development and can be simply thought of as a graphic that can move. We are going to look at a couple different examples, one procedurally creating the graphic to draw, while the other loads the sprite from an image. We are also going to quickly take a look at how we can move our sprite around the screen. If you were curious, the term Sprite was coined by Texas Instruments for one of their early graphics chips. The reason the term Sprite was chosen according to Wikipedia:
The term was derived from the fact that sprites, rather than being part of the bitmap data in the framebuffer, instead “floated” around on top without affecting the data in the framebuffer below, much like a ghost or “sprite”. By this time, sprites had advanced to the point where complete two-dimensional shapes could be moved around the screen horizontally and vertically with minimal software overhead.
It was common in the early days of consoles and graphics cards to have dedicated hardware for drawing sprites (non-stationary images) and the number of supported sprites was a key selling feature for computers and consoles. In HaxeFlixel, Sprite is actually a very important class, the FlxSprite. Behind the scenes there is no special hardware for drawing sprites anymore, in fact a sprite is ultimately a 3D object that is parallel with the camera, but the terminology has stuck. Ok, enough history, let’s actually jump in with some code.
In this first example, we are simply going to create a FlxSprite programmatically.
package; import flixel.FlxSprite; import flixel.FlxState; class PlayState extends FlxState { var sprite:FlxSprite; override public function create():Void { super.create(); sprite = new FlxSprite(); sprite.makeGraphic(300,300,flixel.util.FlxColor.WHITE); for(y in 0...300){ for(x in 0...300){ if(x%2 == 1 && y%2 == 1) sprite.pixels.setPixel(x,y,0x0000ff); if(x < 5 || y < 5 || x > 295 || y > 295 ) sprite.pixels.setPixel(x,y,0xffffff); } } add(sprite); } override public function update(elapsed:Float):Void { super.update(elapsed); sprite.x += elapsed * 100; } }
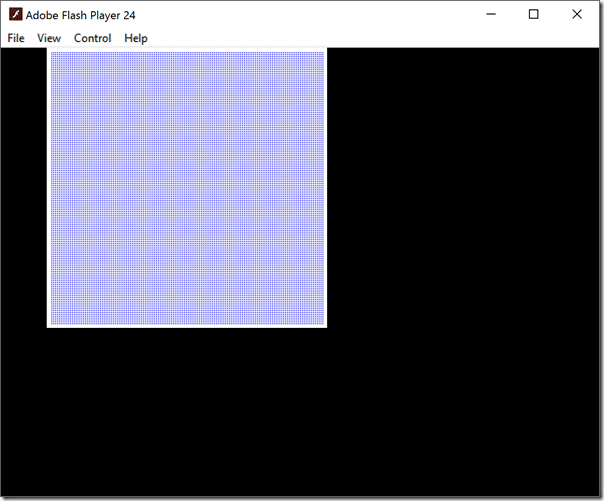
When we run this code we should see:
As the program runs the sprite will slowly advance to the right until it is off the screen. Let’s just in and figure out exactly what is happening here.
First thing to notice is the base class of our sprite is FlxSprite. We allocate a new one then call it’s makeGraphic() method. This gives us a 2D image to work with, in this case one that’s 300 pixels wide by 300 pixels high and filled with the colour WHITE. As you can see HaxeFlixel has a handy utility class containing the numeric value of several of the most common colours available in flixel.util.FlxColor.
Now that we have a 300×300 white canvas to play with we simply loop over all the available pixels in the graphic, looping row by row, then through each pixel in that row. We can then directly set the color value of a given pixel by accessing the setPixel() method of the pixel member of FlxSprite. The parameters are the x and y location of the pixel within the graphic, relative to the top left corner, as well as the color to set it. Notice in this example instead of using a predefined colour (which we could have if we preferred) we instead us a hexadecimal encoded number. If you’ve ever done any HTML coding, this color scheme should be immeidately familiar. If not each two digits represents first the red, then green, then blue component of the color from 0 to 255 ( or 0 to ff in hexidecimal). So in this case we set every other pixel of blue ( no red, no green, full blue == 0x0000ff ). We also have another check to see if we are within 5 pixels of the image edge and if so, draw the pixels in white. This causes a 5 pixel wide border to appear around our image.
After creating our simple white bordered checkboard image you will notice a call to add(). This call is EXTREMELY important, as it adds the FlxSprite to the object collection of our FlxState derived class PlayState. Being in this collection will cause the sprite to automatically be drawn and updated each pass through the game engines main loop. Speaking of updating, notice we have also overridden the update method. This is called every pass through the game loop and is where you should update the logic of your game world. In this case we simply increase the x value of our sprite by elapsed * 100.
So… why did we do this? What exactly are we saying with the line:
sprite.x += elapsed * 100;
This is actually a really common tactic in game development. One of the challenge of creating games is getting them to run the same speed on various different computers. If you are running a fixed game rate loop, say a game running at 60fps, and it never runs below that rate, it’s not a problem, you know how fast things are going to update. However on faster or slower computers this is trickier to determine. This is why elapsed is so important. This is a value passed in to the update() function each pass through the game loop and it tells our game how long has elapsed in seconds since the last pass through the game loop. You can then multiply this value by the amount you want to move by to get a consistent update regardless to the machine you are running on.
For example, if your game was running at 10 frames per second, the value of elapsed will be 0.1. So to hit our target of 100 pixels per second, this means in updates we will move by 100 * 0.1 or 10 pixels. However if we were running at 60 fps instead of 10fps, the value of elapsed will instead be 1/60 or 0.016. So to hit our target of 100pixels per second we update instead by 0.016 * 100 or 1.66 pixels. Over the course of a second, regardless to framerates, the sprite will be updated by the same total amount.
Before we move on it’s important to know the process of working directly with each pixel in a sprite like we just did is an extremely costly process! This is the kind of task you want to perform very occasionally, not every frame!
Next, instead of creating an ugly graphic programmatically, lets load a sprite from an image file. Let’s jump straight into the code.
package; import flixel.FlxG; import flixel.FlxSprite; import flixel.FlxState; import flixel.tweens.FlxTween; class PlayState extends FlxState { var sprite:FlxSprite; override public function create():Void { super.create(); sprite = new FlxSprite(); sprite.loadGraphic(AssetPaths.enemy__png); sprite.x = 100; sprite.y = 0; add(sprite); FlxTween.tween(sprite, { x: FlxG.width - sprite.width, y: FlxG.height - sprite.height, angle : 360.0 }, 5, { type:FlxTween.PINGPONG }); } override public function update(elapsed:Float):Void { super.update(elapsed); } }
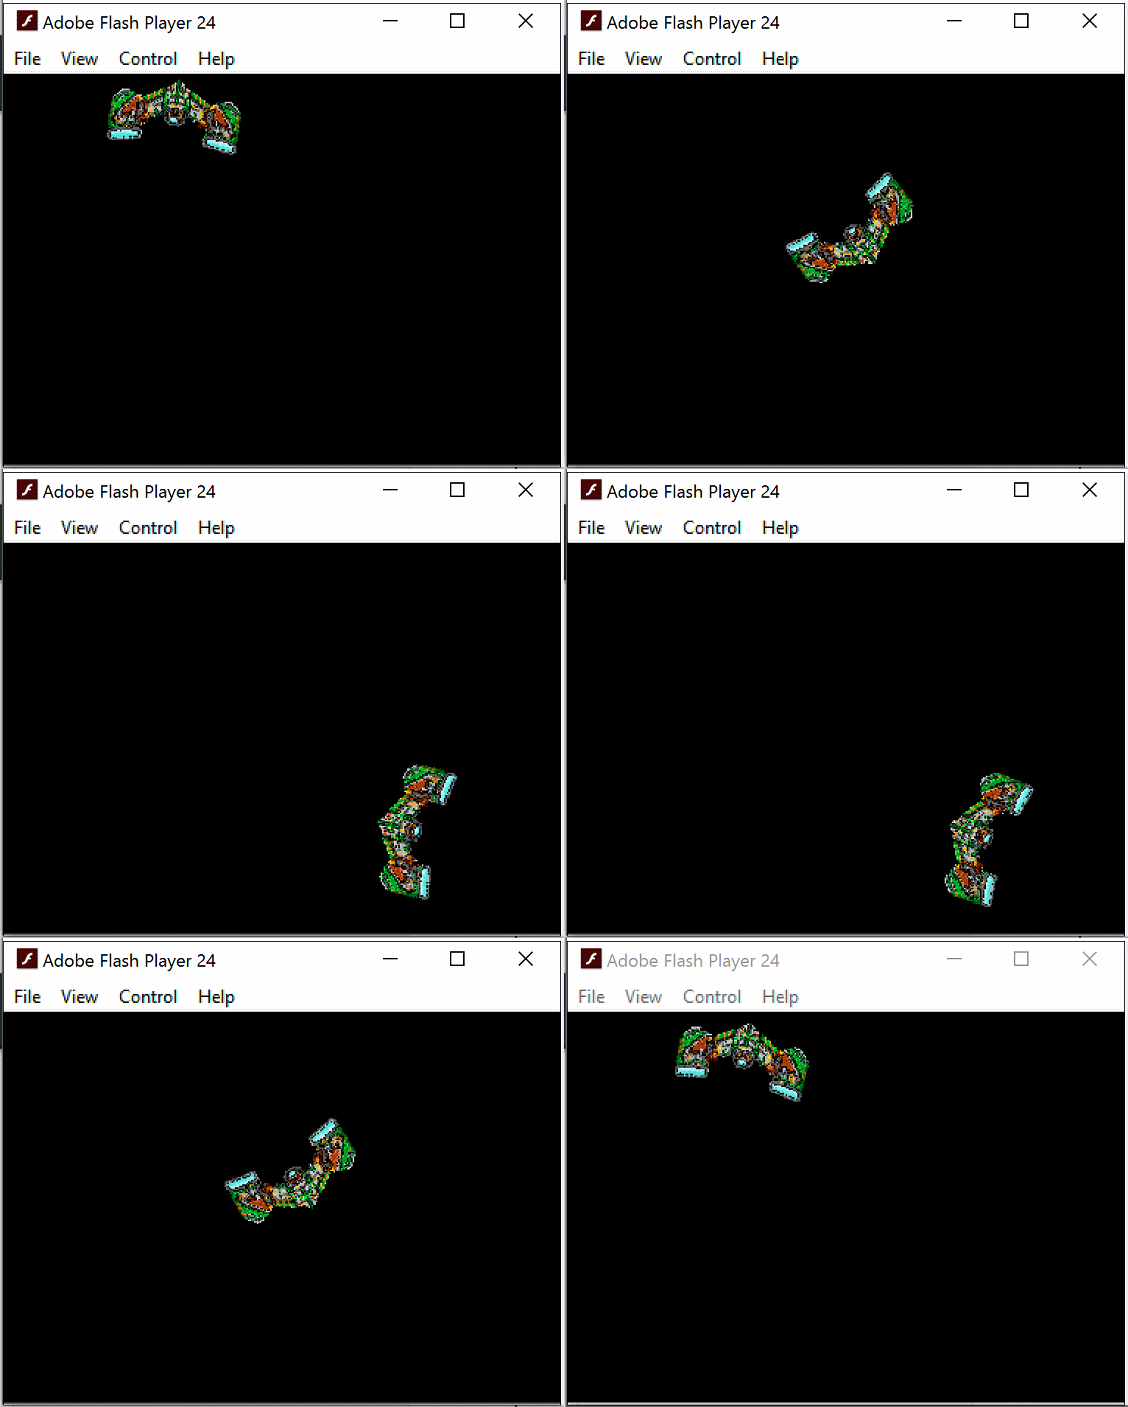
Now when we run the code, we see:
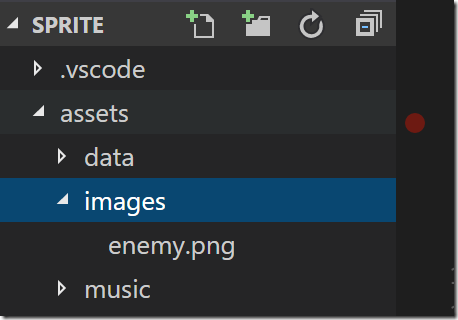
Notice in this case that our sprite is still a FlxSprite, although instead of creating it from scratch using makeGraphic() we load if from file using loadGraphic passing in the value AssetPaths.enemy__png. In this case enemy.png is the name of the image we are using for our sprite. If yours has a different filename, this value will change. A bit of a note on the image, I added it to the directory assets/images that was automatically created when we created our project.
As we add new assets to these folders, Haxe is smart enough to automatically create a reference to it for us. This is a handy feature of the Haxe language and is invoked by this code in AssetPaths.hx:
package; @:build(flixel.system.FlxAssets.buildFileReferences("assets", true)) class AssetPaths {}
Throwing any applicable asset in the assets directory will automatically generate file references that we can then use in code, like so:
Very cool. Behind the scenes loadGraphic is actually doing a lot more than you might think. In addition to loading the file into memory, it’s actually caching it. This means that if other code loads the same asset it will get the version from cache instead of creating yet another version. This improves performance and reduces memory usage.
So now that we have our sprite loaded from an image we set it’s initial x position to 100 pixels. Notice that graphics are drawn relative to their top left corner and the top left corner of the applications window. So an image with x = 100 and y = 0 is drawn starting at it’s top left corner 100 pixels right of the top left corner of the window and 0 pixels down from the very top of the application window.
The final detail of this example is the use of a Tween, called via FlxTween.tween(). FlxTween is another cool way of handling updating your game objects, but it takes care of the timing and calculations for us. Instead of moving our sprite each pass through the game loop via update() like we did earlier, we simply fire off a Tween and it takes care of things for us. Tween comes from “In-Between” and basically it’s a function that you give an end goal and a timeline and it figures out all the in-between calculations required. In this case we are saying “take this sprite, move it to the bottom corner of the screen, rotating 360 degrees over a period of 5 seconds” and HaxeFlixel figures out how much it needs to move each frame and does it for us. The final parameter we are saying we want to ping pong the tween, which is to say repeat it, but in reverse forever. There is a ton more we can do with Tweens and we will cover them in more detail later.
That’s it for sprites for now, but there is a lot more we will cover later including texture atlases, animations and more, stay tuned!
The Video


