I was just sent a Clockwork GameShell, it’s a build it yourself open source raspberry pi powered handheld computer. What’s most appealling to me is how heavily focused on indie game developers this device is. This is not a review of the device but instead a description of the build process (stay tuned for a proper review!). So let’s take a look at the process from beginning to end and I’ll point out the few snags I encountered on the way. If you are interested in getting one of your own, they are available on Amazon.
The underlying specs of hardware are as follows:
New ClockworkPi V3.1:Powered by Quad-core Cortex-A7 CPU, MaliGPU, Wi-Fi &Bluetooth, 1GB DDR3 Memory, 16GB MicroSD, HDMI output, GPIOs.
Keypad: Programmable Keypad and powered by an ATmega168P [email protected] with 30Pin Arduino compatibility GPIOs.
Audio: 2 Channel Stereo Speaker
Visual: 2.7-inch [email protected]
Rechargeable Battery: 3.7v, 1200mAh
Lightkey module: 5 independent IO extended keys for shoulder buttons
GameShell Shells: 1 front shell+2 back shells
MicroSD Card: 16GB
OS: ClockworkPi OS,Linux 4.1x
Debug cable: 14PIN GPIOs
Let’s look at what you get and how you assemble it.
The Box
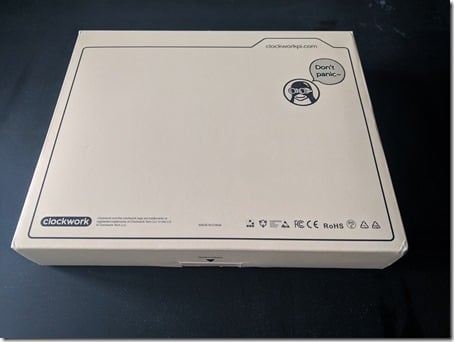
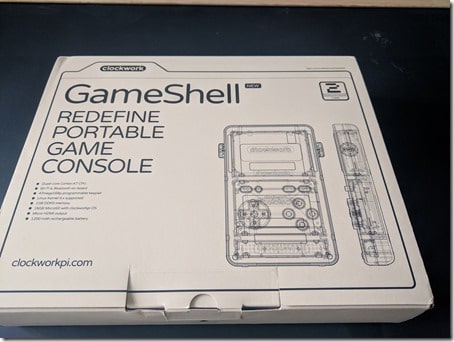
This is a extremely minor point, but I was quite impressed with the packaging the GameShell came in. Right away it’s generally just a higher quality of packaging and branding than I am accustomed to for these kinds of products, it does have a premium feeling as a result. Click any photo for a much higher resolution version.
The Contents
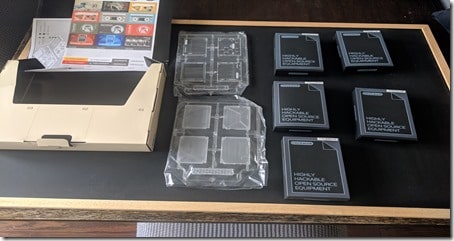
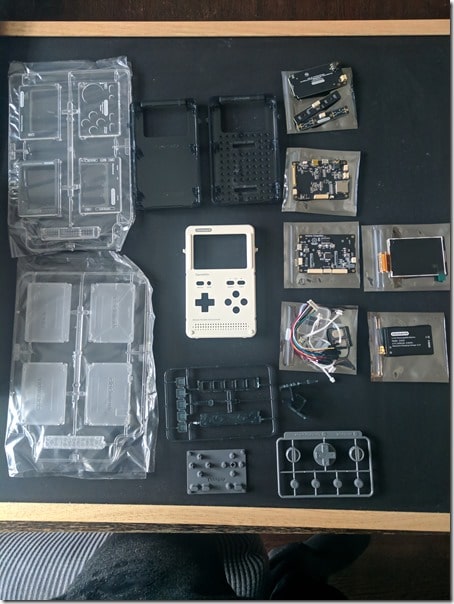
The inside of the box is several other boxes and a collection of plastic punch out components. In terms of equipment you need to do this build you are going to want a sharp knife at the very least. A fine file and pair of side cutters to remove the plastic attachments are also recommended, but I got by with just a knife.
Assembly
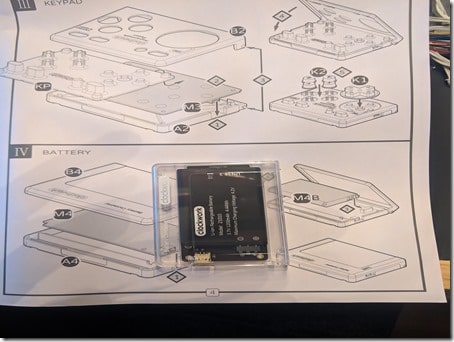
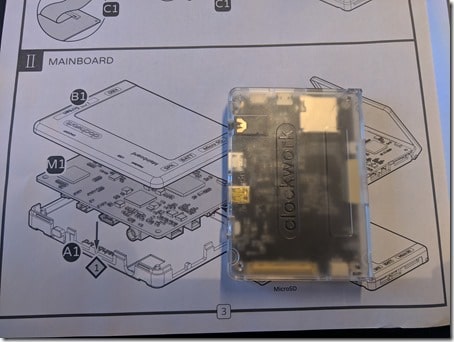
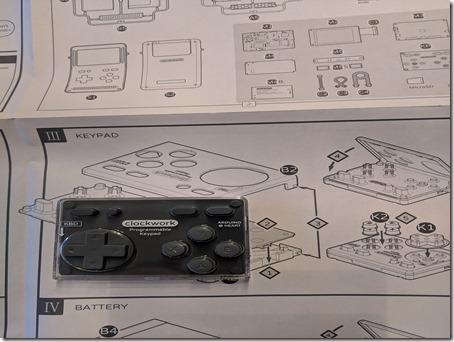
Now it’s time to start putting things together. The instructions are IKEA style (but thankfully better than most IKEA!) step by step pictographic instructions. The assembly is module by module. The primary modules are the screen, the battery, the main system board and the controller as well as the speaker (not shown).
Once these 5 modules are completed, its its time to mount the modules into the backplate and connect the various power wires between the devices. This is probably the trickiest part with one exception I will discuss in a minute.
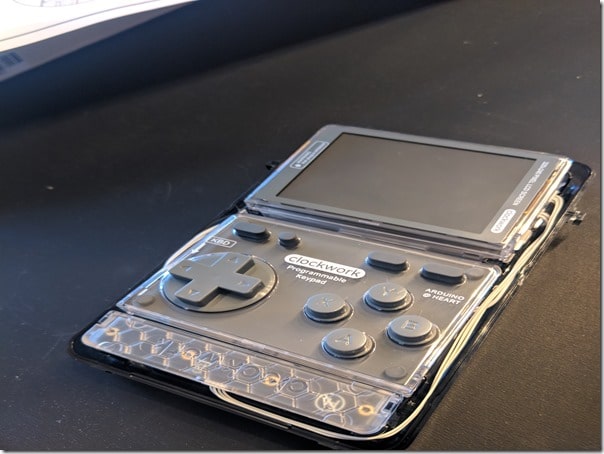
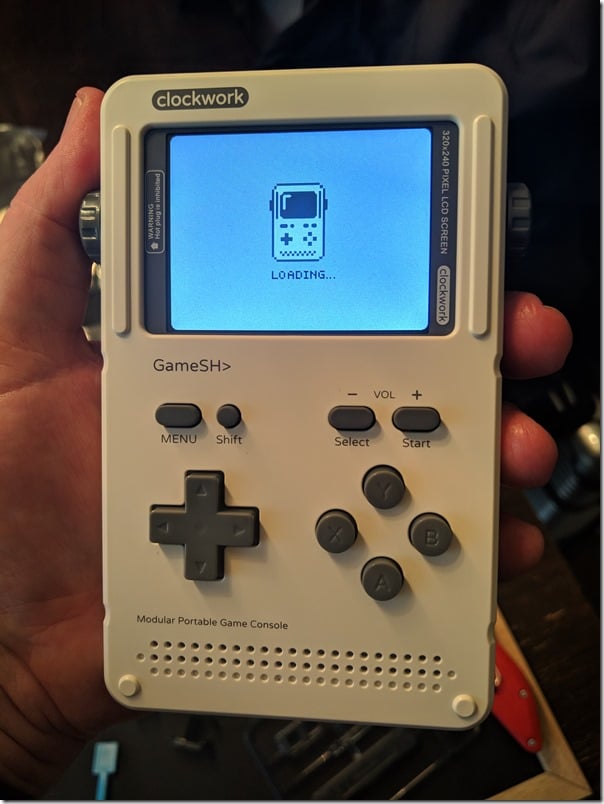
Finally it’s a matter of attaching the front plate, attaching two thumb screws and praying you did everything right. And the final completed product!
The Gotchas
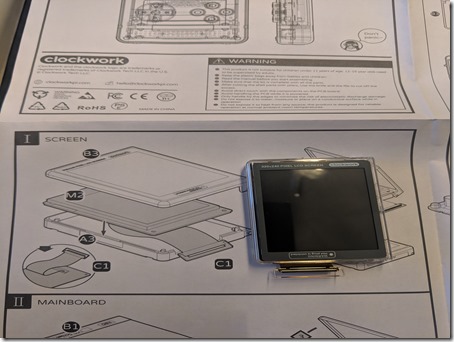
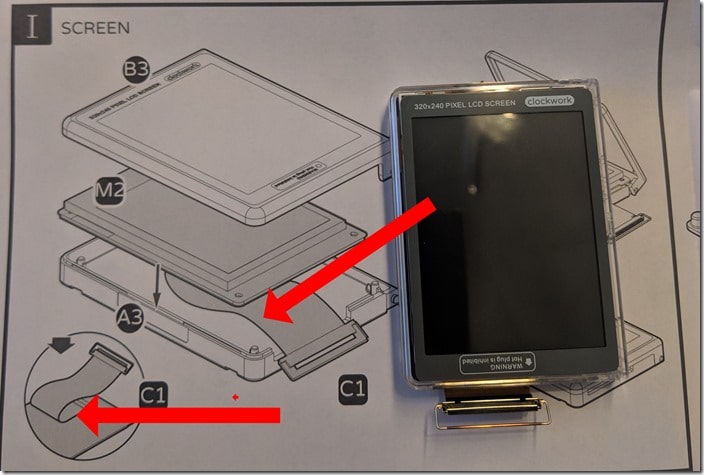
Assembly was extremely straight forward with only two snags. The first step is when creating the display module illustrated below.
Notice the inset diagram shows the cable being bent backwards, while the layer diagram does not show this? This is vitally important, you do in fact have to bend the display cable 180 degrees.
The second problem is actually around the same issue. Connecting the display ribbon cable to the main board should be done *BEFORE* you close the case around it, making it insanely difficult connect unless you open it.
The only other issue I ran into is occasionally they mounted the plastic pieces to the plastic frame at less than ideal locations. For example there was a mount point where the display cable needs to be fed. I had to make a special point of filing down the excess plastic to keep it from rubbing against or puncturing the fragile ribbon cable. It would be ideal if pieces were mounted slightly different, but its a small issue.
Now that I have the GameShell built, it’s time to start trying to develop games for it. Stay tuned for that video in the near future.
General

