One of the major advantages of working in 3D is once you have your character modeled and rigged, creating new animations is simply a matter of defining a series of poses on a timeline. Animations are generally defined by moving a series of bones controlling your mesh, which in turn are powered by a system called inverse kinematics. IK is basically a fancy way of saying “move an end bone and the computer will calculate how all the other bones in the chain will respond” enabling you to animate by positioning the foot for
In the land of 2D art, the process is often quite different. Generally, the approach here is to generate a sprite sheet, which is a sequence of slightly altered versions of the same character, which played in sequence results in an animation. If you have ever done a flipbook animation at the top corner of any of your textbooks, you already have the process of traditional 2D animation down. There are other techniques such as onion skinning and rotoscoping to aid in the animation process, but it still remains time intensive. If only there was some way to take the 3D worlds bone based animations and apply them to generating 2D art? Well, there is… Spine.
Today we are going to look inside Spine, look at the art generation process, how to make sprite graphics that are animation ready, define an animation, then perhaps most importantly, play that animation back in our game engine of choice. Since Spine itself is built over top of the LibGDX library (by one of the frameworks founders to boot), therefore I suppose a LibGDX example makes the most sense. If you are bored, the story of how Spine came to be is an interesting read.
Full disclosure, I requested a review license in order to get hands-on time with Spine. Additionally, some of the assets I am using in this demonstration are part of asset packs available for purchase and aren’t my creation. Spine is commercial software, ranging in price from $70 for the essentials version, $300 for professional, and $2200 for enterprise (which is tied to your companies revenue). There is a free trial available and capable of doing everything we are about to do below except export and run in code. Without further ado, let’s jump in. As is often the case on GameFromScratch, if you prefer a video version one is available here as well as embedded below.
Meet Spine
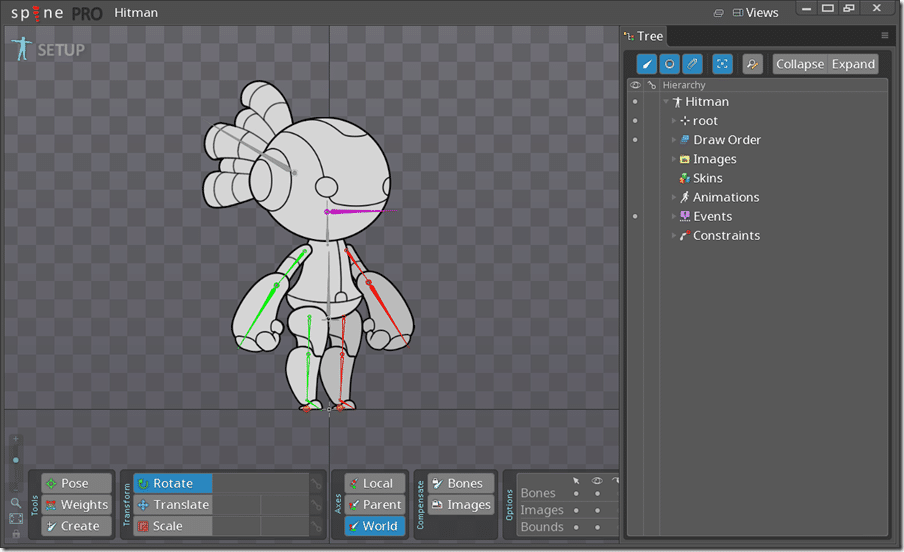
Here is the main Spine interface:
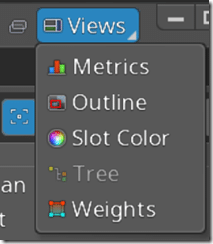
It’s actually an exercise in simplicity which I appreciate. It also supports UI scaling, so works well on high DPI displays, something far too many applications suck at, so I also appreciate that. The left hand viewport is where the magic happens, this is where you compose your characters and animations, while on the right hand side you’ve got your project hierarchy a scene graph of sorts. The primary UI is across the bottom of the screen. You can easily pan and zoom around the display using a combination of RMB and Ctrl + RMB. There is some additional complexity hidden away behind this menu:
But most of the time, what you see is actually all that you need. It’s a very clean and simple UI. Notice in the top left corner it says SETUP. This is because you are currently in Setup mode. Once our Sprite has been assembled and our bones have been arranged ( more on this in a moment ), we can then switch into animation mode by clicking SETUP.
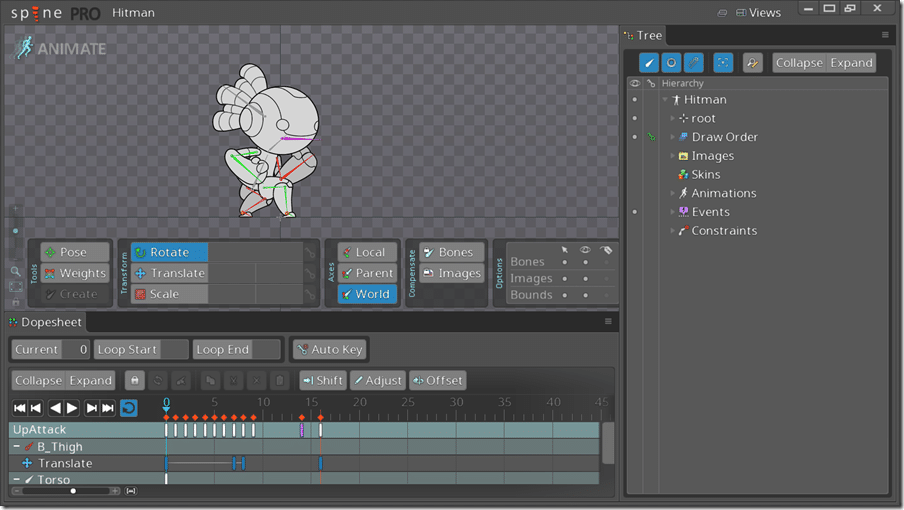
In animation mode, its all about posing our character. Notice SETUP changes to ANIMATE and our interface changes slightly. Now we have a timeline across the bottom of the screen. We will get back to that in a moment.
Creating Spine Ready Sprites
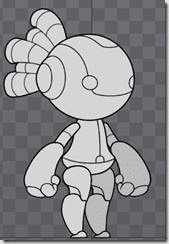
Creating a sprite that is ready to be animated in Spine is pretty close to traditional sprite based animation with two major exceptions. First, you cut your image up into several different pieces. You can draw your sprite as a single image if you wish, but once you are done you need to cut it into several different animatable pieces. Consider the sprite from the above screenshots:
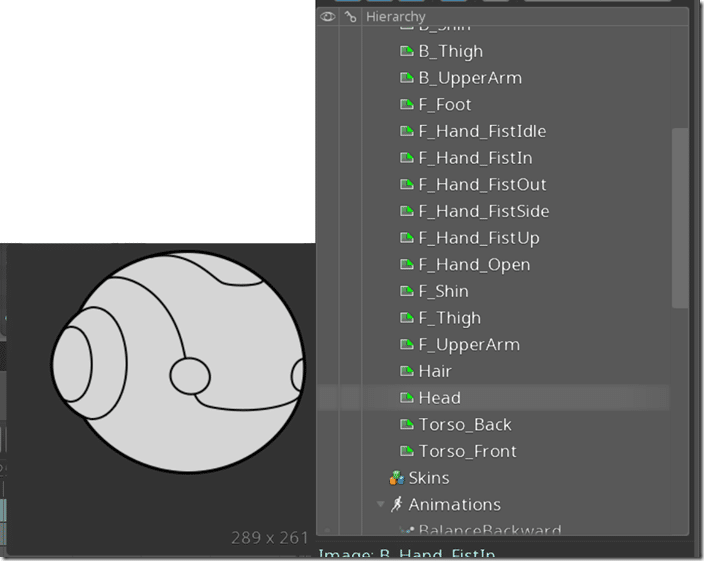
This looks like a single drawn sprite, but it’s actually made up for several pieces arranged together. If you look in the images section of the hierarchy, you can see it’s actually composed of several different images:
Again, you can draw your sprite how you normally would, but each animatable piece will need to be cut up to proceed in Spine. This leads to our second requirement… you also need to draw parts of the images that are normally obscured. Again, using this example, even if the upper arm isn’t fully shown due to being obscured by the body you still need to draw the entire arm, as the visibility can change as the sprite moves, for example:
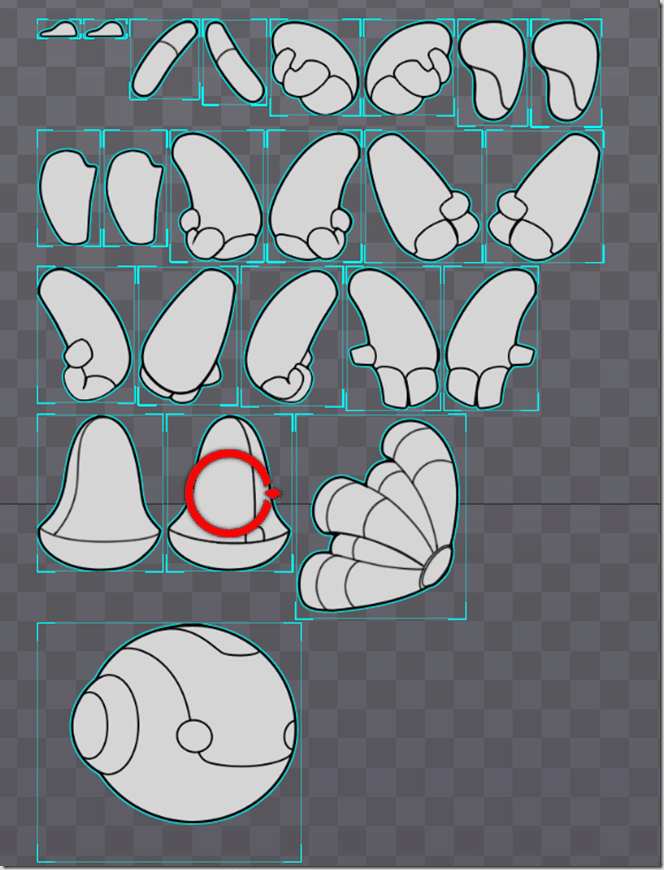
So when drawing the pieces of your sprite, you have to think about the depth as well. Here, for example, are all the pieces that go together to make this character:
Rigging Your Character
Next up comes perhaps the most time intensive portion of working with Spine, rigging your character. You can think of this as arranging all the various images together to create your character while defining the underlying armature (fancy word for skeleton). We will do a very simple skeleton, just to demonstrate the process. You will notice in the tree view that there is a root node under our skeleton:
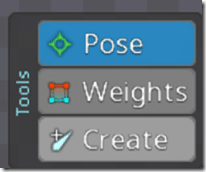
This is the very base of the skeleton and all bones are parented to it ultimately. From here we need to create a root bone, it’s very common to start from the hips, which is what we will do. Using the create tool, we will quickly create a simple leg skeleton:
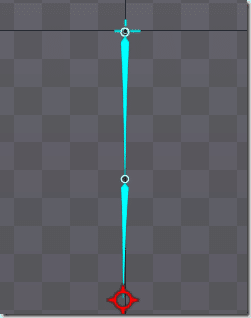
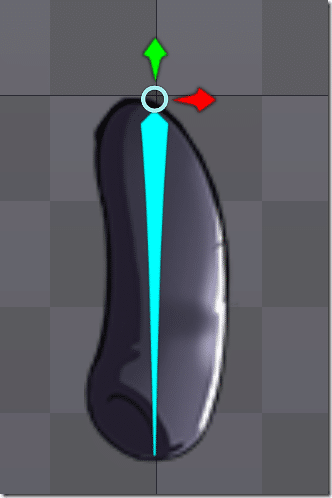
Click once to set the start of the skeleton, then move the mouse and click again to set the first bone. Now move down slightly and set another bone, like so:
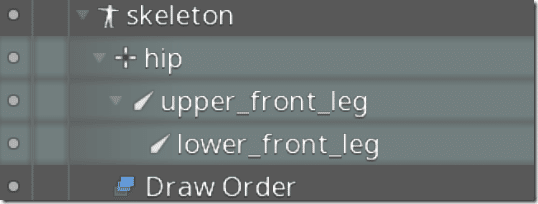
In the hierarchy, I rename the bones to values that make sense.
Now that we have bones, let’s attach some images to each. From the images section you can simply drag the appropriate image onto the bone, like so:
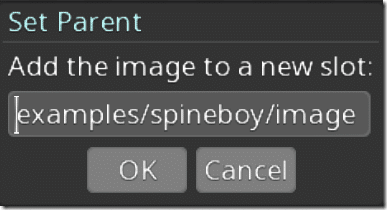
You will be prompted if you want to go ahead with it:
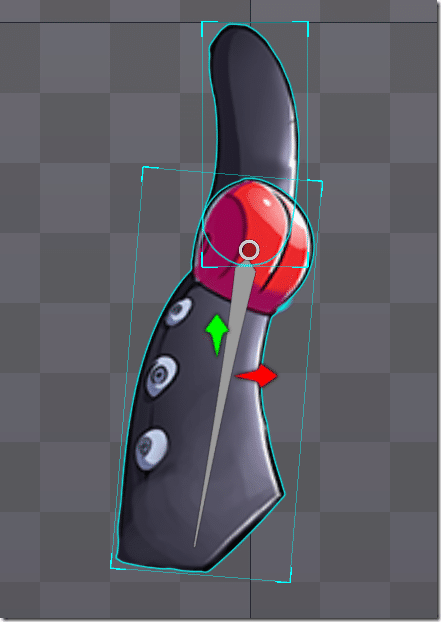
The image is now parented to that bone. By selecting the image you can now transform, rotate, and resize it so it best matches the underlying bone:
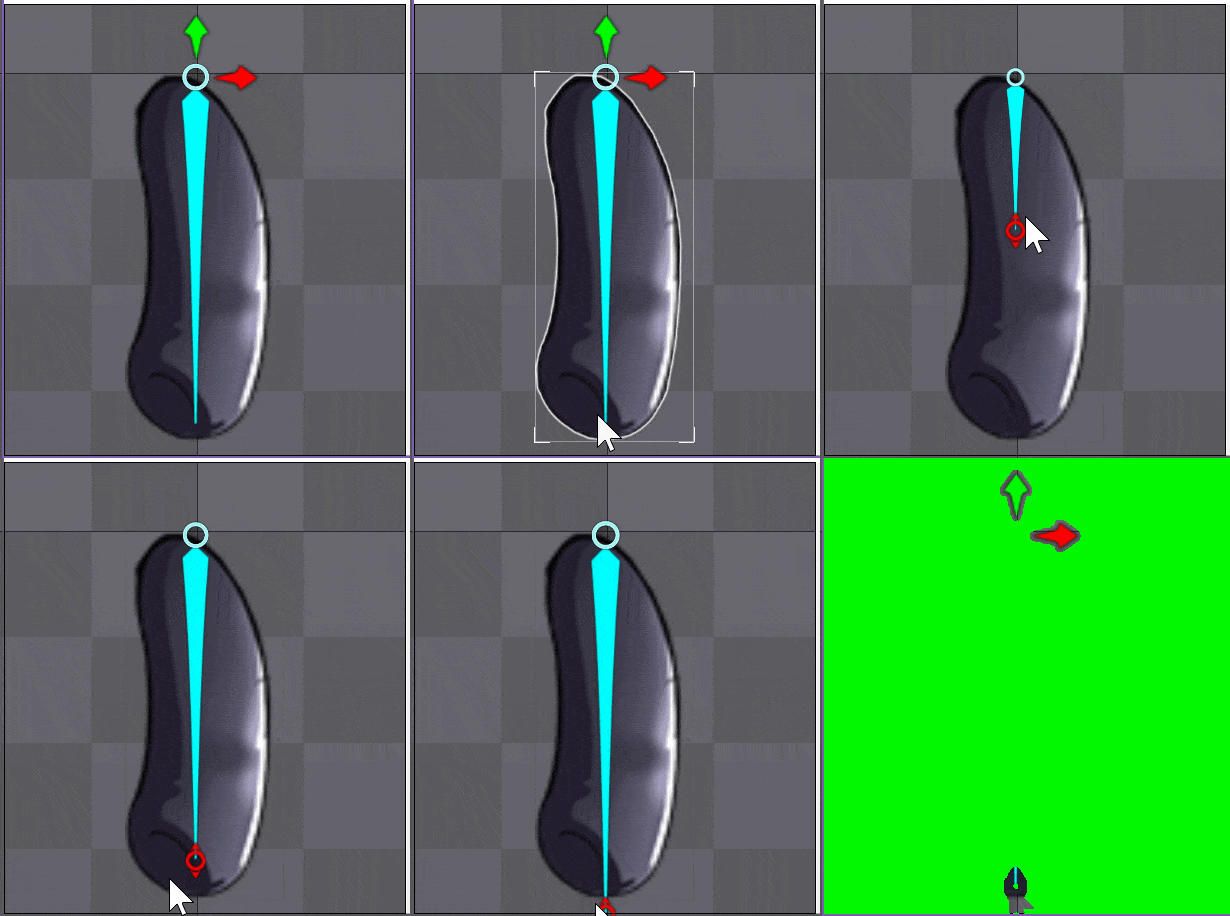
You can also modify the bone length by hovering over the tip, like so:
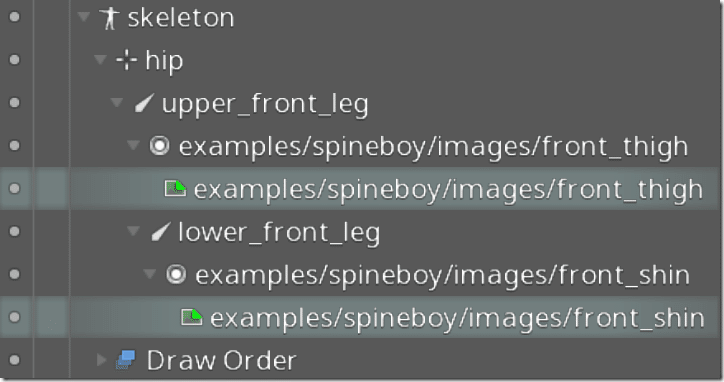
Now repeat for the lower bone, like so:
You end up with a hierarchy like:
Extremely simple, but the character is rigged, well, the leg is anyways.
Creating an Animation
Now that we have a very simple animatable character, let’s now switch over to ANIMATE mode. In the tree view, you should see a section called Animations. There may be a default one there, otherwise, create one using the New Animation button that appears when animation is selected:
Keyframed animation is pretty simple in concept. You will notice at the bottom of the screen there is now a Dopesheet view:
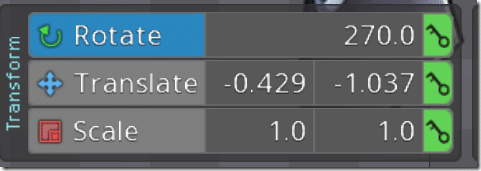
Your animation is composed of a set of “key” frames. That is, you post your character and take a snapshot of the location/rotation/scale of a given bone, then advance the timeline to a different value and repeat the process. The computer then interpolates between keyframes to create a smooth animation. You can turn “autokey” on so that any changes you make in the editing window automatically set a key. Otherwise, you can manually create the key by clicking the green key to the right of each transform:
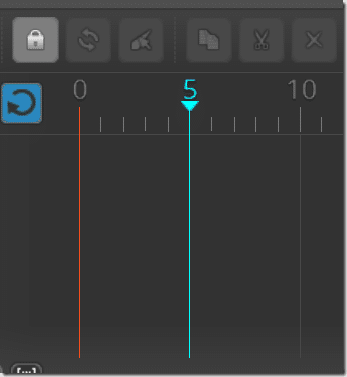
Set a key for the default rotate, translate and scale values, or use Autokey. Next advance the timeline to say 5, like so:
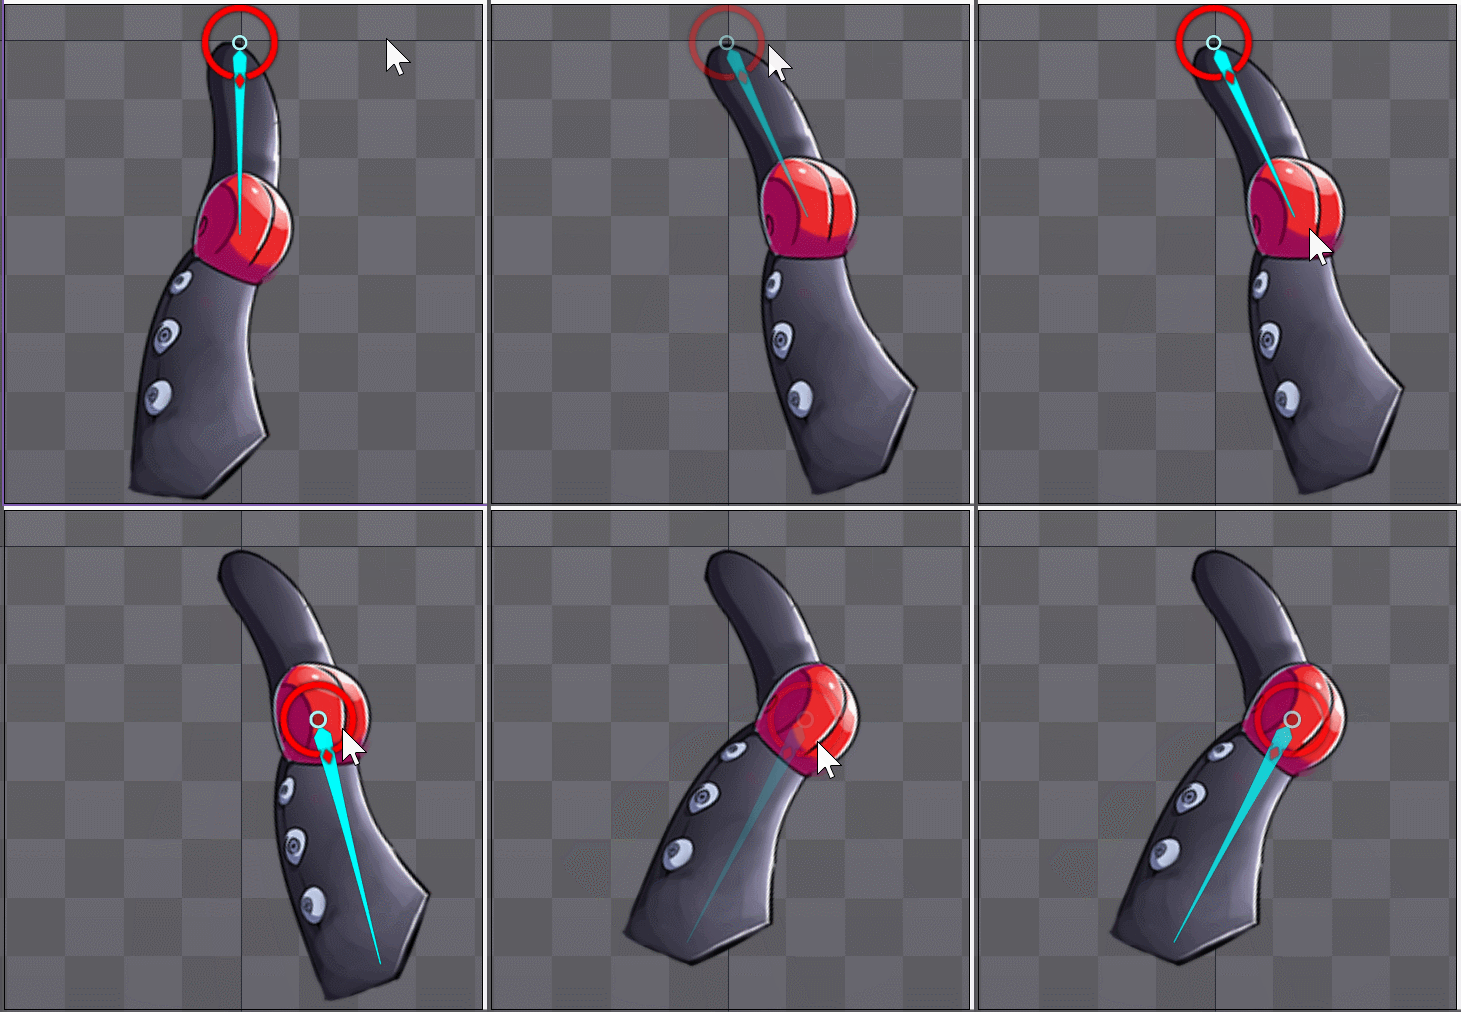
Next using rotations, manipulate each bone, like so:
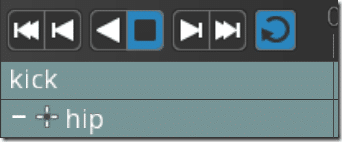
Advance the timeline slightly more, then repeat the process all over again. You can control the playback of your animation using these simple VCR style controls:
Here is a very simple and crude kicking animation:
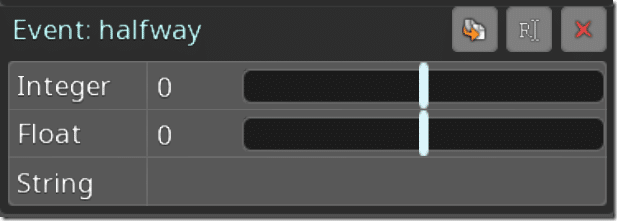
Another cool thing you can do is add Events as part of your timeline, like so:
Enabling you to create events that can be fired in code, allowing you to incorporate programmatic aspects into your animations, such as playing a footstep audio effect. We will see this process shortly.
Exporting the Animation
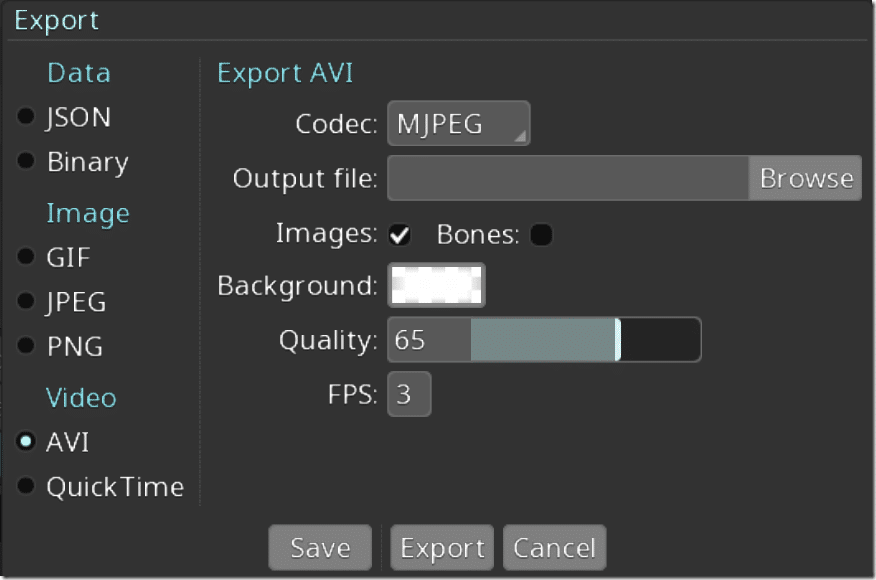
Now that we’ve got an animation to use in our game, it’s time to export it. Here there are a couple of choices.
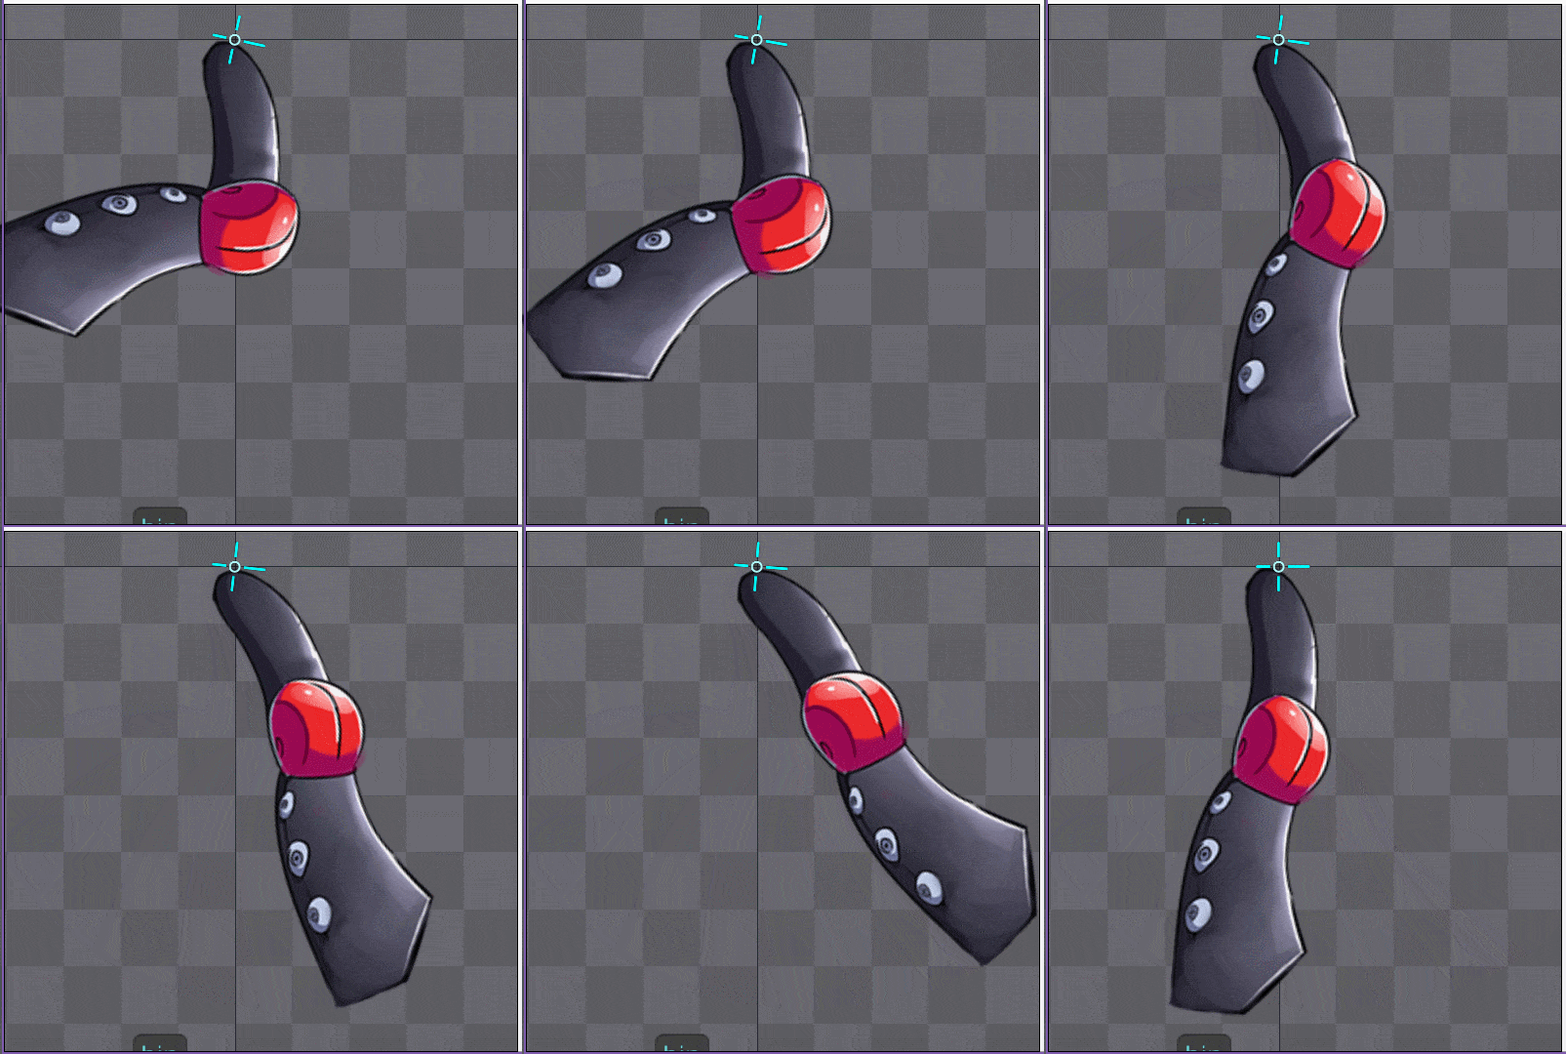
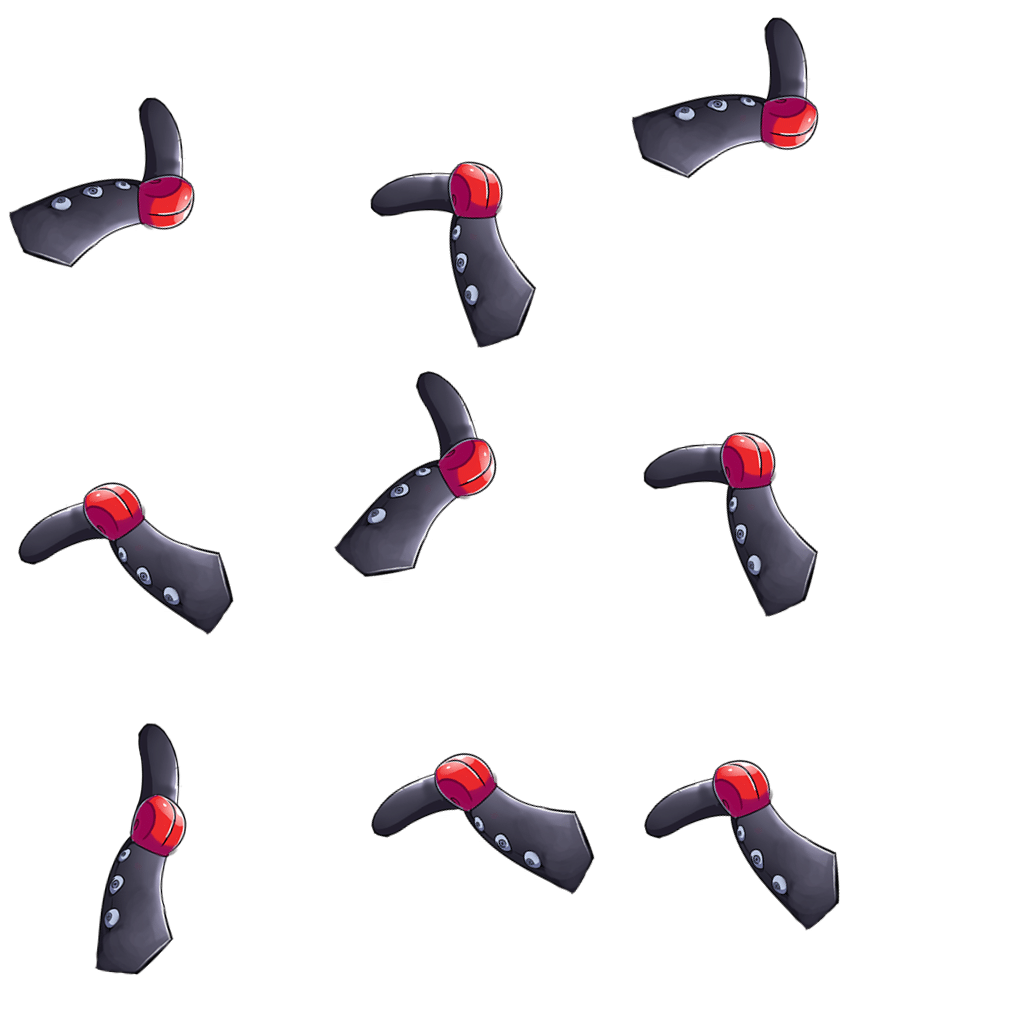
You can export your results as a video, a sequence of images, or as data. If you chose to export as an image you can actually have some rather advanced controls, including generating a texture atlas (directly usable in LibGDX) or sprite sheet:
With results like:
This approach can be utilized in just about every single kind of game engine available today. However, where Spine shines is when you chose to export as data instead. This is where runtimes come in. These are essentially libraries or code for the various game engines that enable you to use spine format natively. Full source is available on github and runtimes exist for most 2D engines available including Unity, LibGDX, Love, MonoGame, Torque2D, Cocos2d-x and many more. In this example, I will be using LibGDX.
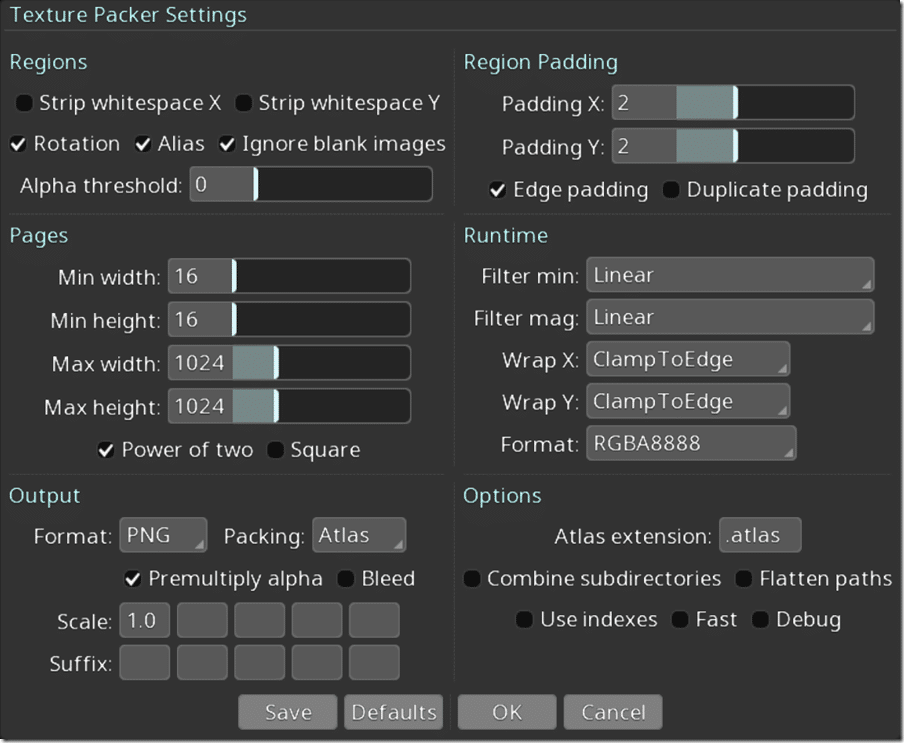
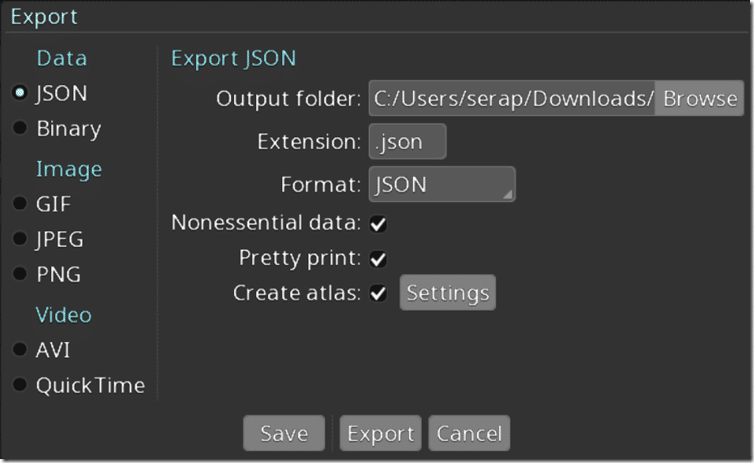
In this case, I’m going to export to JSON and generate a texture atlas using the following settings:
Now let’s break out some code.
Using Spine In Game
As mentioned earlier Spine have several runtimes available on github. In the case of the LibGDX project, you simply have to copy the code into your appropriate source code folder. Assuming you created a project using the setup utility, this means copying the contents of esotericsoftware to your coresrccom directory. Then I wrote the following code, adapted from one of their LibGDX examples.
Make sure that you’ve exported your assets and created the atlas in your working directory, most likely coreassets. Then use the following code:
package com.gamefromscratch;

import com.badlogic.gdx.ApplicationAdapter;
import com.badlogic.gdx.Gdx;
import com.badlogic.gdx.graphics.GL20;
import com.badlogic.gdx.graphics.OrthographicCamera;
import com.badlogic.gdx.graphics.g2d.SpriteBatch;
import com.badlogic.gdx.graphics.g2d.TextureAtlas;
import com.esotericsoftware.spine.*;

public class Spine2 extends ApplicationAdapter {
    private OrthographicCamera camera;
    private SpriteBatch batch;
    private SkeletonRenderer renderer;
    private TextureAtlas atlas;
    private Skeleton skeleton;
    private AnimationState state;

    public void create () {
        camera = new OrthographicCamera();
        camera.setToOrtho(false);
        batch = new SpriteBatch();
        renderer = new SkeletonRenderer();
        renderer.setPremultipliedAlpha(true); // PMA results in correct blending without outlines.

        atlas = new TextureAtlas(Gdx.files.internal("skeleton.atlas"));
        SkeletonJson json = new SkeletonJson(atlas);
        SkeletonData skeletonData = json.readSkeletonData(Gdx.files.internal("skeleton.json"));
        skeleton = new Skeleton(skeletonData);
        skeleton.setPosition(0, 0);

        AnimationStateData stateData = new AnimationStateData(skeletonData);
        state = new AnimationState(stateData);

        // Set up an animation listener so we can respond to custom events or completion
        final AnimationState.TrackEntry track = state.setAnimation(0, "kick", false);
        track.setListener(new AnimationState.AnimationStateListener() {
            @Override
            public void event(int trackIndex, Event event) {
                // Check for the "half" event we defined in the editor
                if(event.getString().equals("half"))
                    System.out.println("Half way baby");
            }

            @Override
            public void complete(int trackIndex, int loopCount) {
                // or the complete event (not END!) when done, fire the idle animation instead
                state.setAnimation(0,"idle",false);
            }

            @Override
            public void start(int trackIndex) {
            }

            @Override
            public void end(int trackIndex) {
            }
        });
    }

    public void render () {
        state.update(Gdx.graphics.getDeltaTime()); // Update the animation time.
        state.apply(skeleton);
        skeleton.updateWorldTransform();

        Gdx.gl.glClear(GL20.GL_COLOR_BUFFER_BIT);
        camera.update();
        batch.getProjectionMatrix().set(camera.combined);
        batch.begin();
        renderer.draw(batch, skeleton);
        batch.end();
    }

    public void dispose () {
        atlas.dispose();
    }
}
When you run this code…
In the above code example, you can see how you can handle an event you defined in Spine. Otherwise, it’s pretty simple to load and play animations on a character developed in Spine. There is a comprehensive API, I’ve only touched on a very small part of it here due to space (this is already pretty long…). There are also several features I never got to mention such as free form deformation ( useful for shapes such as capes ), swappable skins, placeable props, etc.. If you are doing 2D animation, Spine is certainly a product you should check it. Spine is by no means the only option when it comes to 2D animation in games, Spriter and Creature are two other popular alternatives. It is however a very good option.
The Video

