Recently I just finished a tutorial covering creating isometric maps using the Tiled map editor. One commonly occurring question was “where can I get tiled-friendly isometric tile sets?” for free. The answer unfortunately is there aren’t a ton of options. There are a few good isometric tile sets out there (I may cover
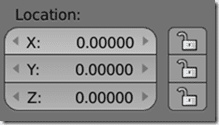
First load up blender. We are going to start by just making a 64×64 pixel tile of the default Blender cube. For this exercise we are going to have our object centered about the origin. Precision is of critical importance to this entire process, so we are going to be working numerically in the properties panel(N key).
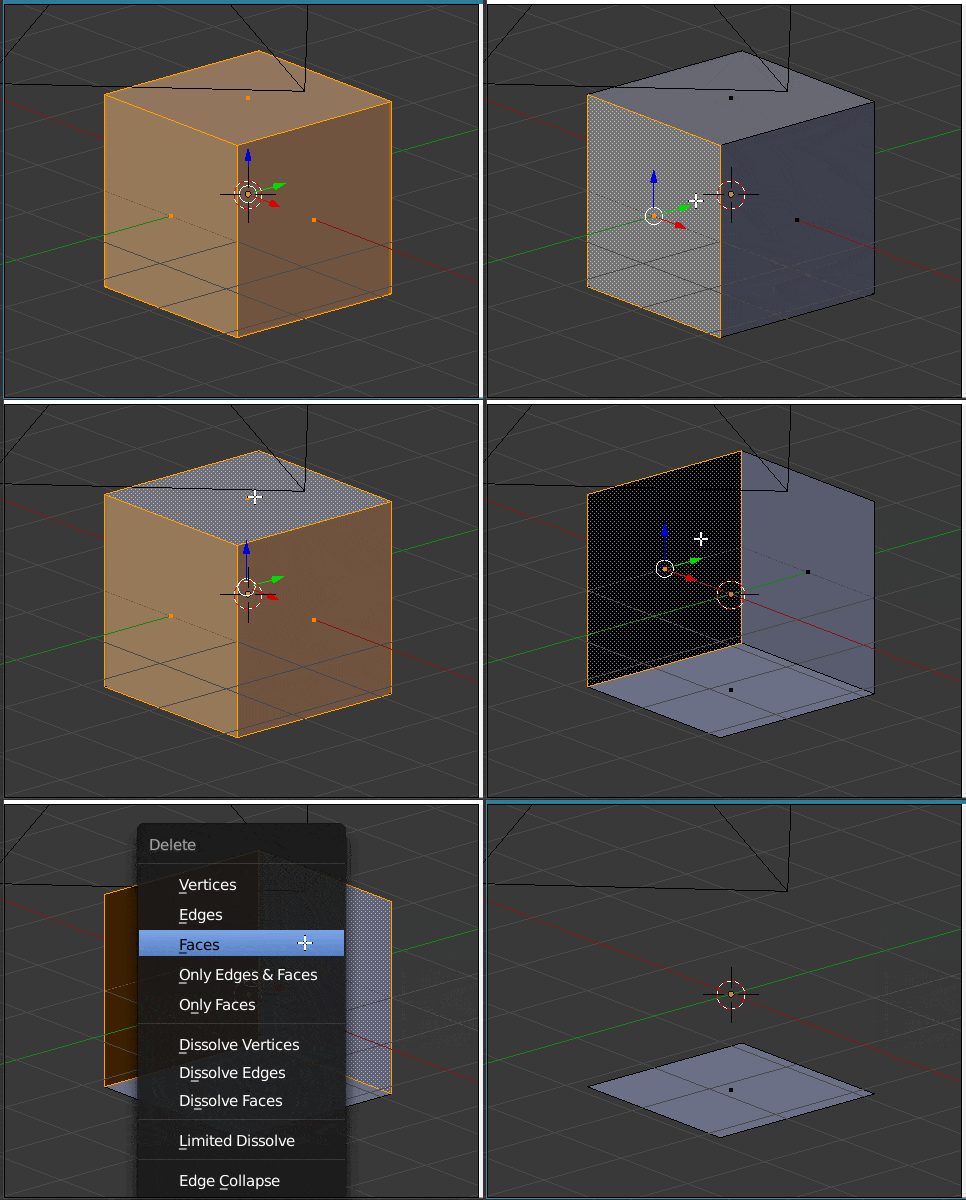
Now let’s delete all of the faces except the base:
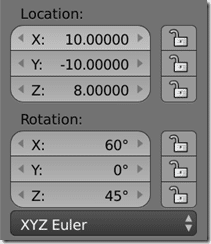
The majority of the work is actually in setting up the camera. With the camera selected we need to position it. Since our object is at the origin, we need to offset away from it. As the isometric style is from above and at an angle we offset 60 degrees on the X axis and 45 degrees around the Z axis. If you are using a more skewed perspective ( not 2:1 ratio ), you will choose a different rotation. We also move the camera back along the Y axis and up the Z, we will be moving the location slightly later.
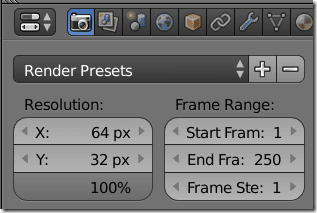
Next we set the dimensions of our camera in the Camera tab, we are going to start of with 64×32 at 100%, like so:
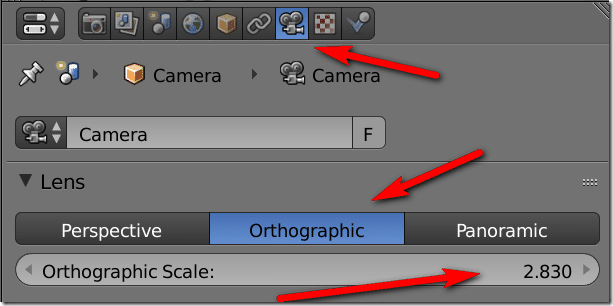
Now in the Properties editor, select the camera icon and we need to set the camera to Orthographic. We then adjust our Orthographic scale until the camera extents capture the cube.
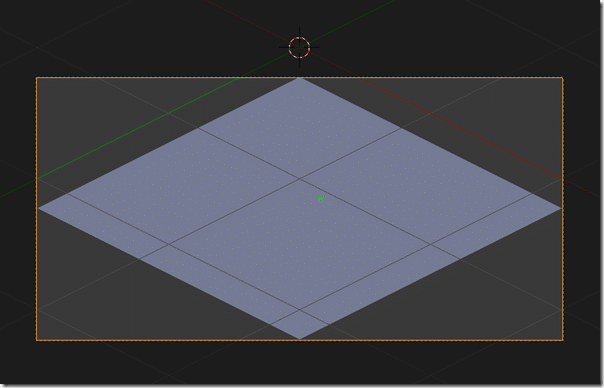
In 3D view switch to camera view (0) then adjust the Orthographic Scale and Z axis of the camera until your image is framed, like so:
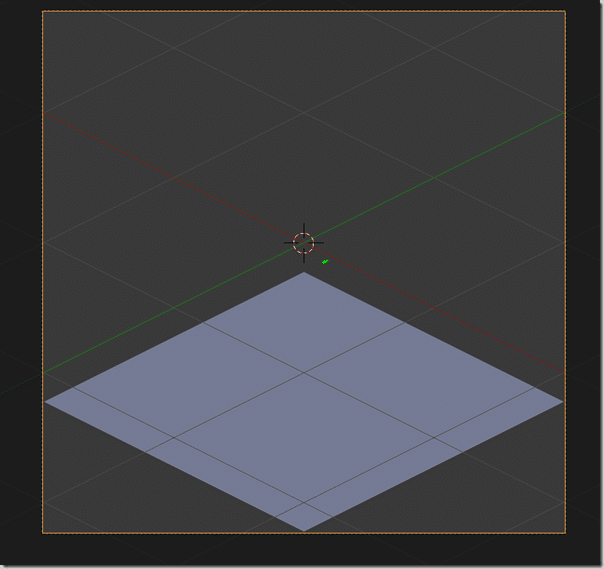
Now change the camera dimensions from 64×32 to 64×64 and adjust the z value of the camera until the base tile is aligned to the bottom of the camera frame, like so:
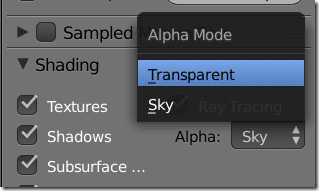
Now render it out to texture. We already set up the render dimensions, now we simply need to set the renderer to render transparency:
In Shading in the Rendering tab set alpha mode to Transparent. Now render your tile and TADA:
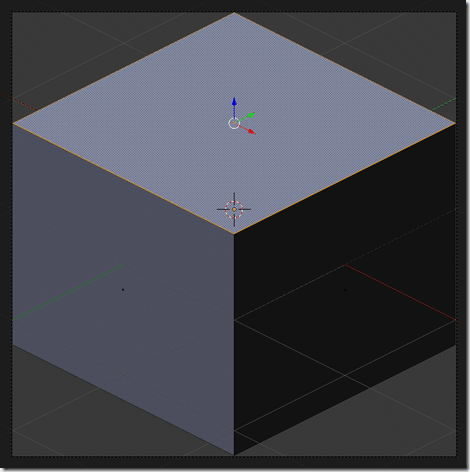
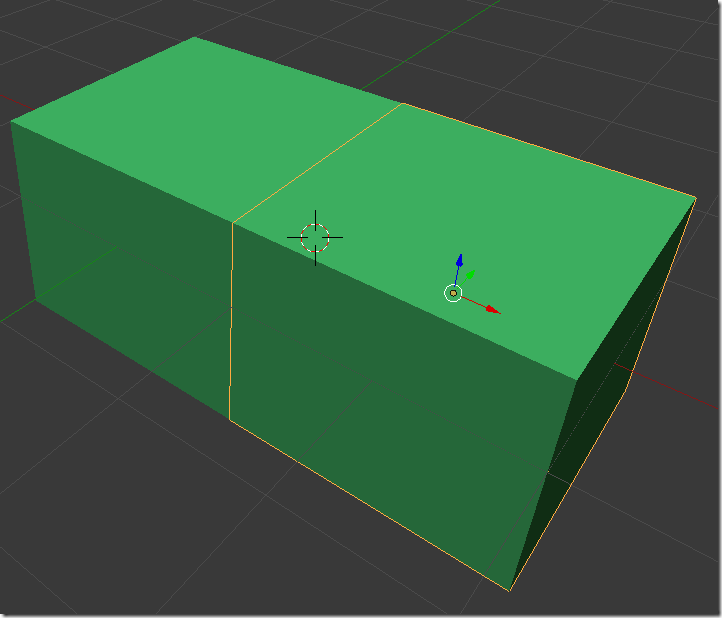
Now let’s extrude our tile to the extents of our camera frame, like so:
Then render it out:
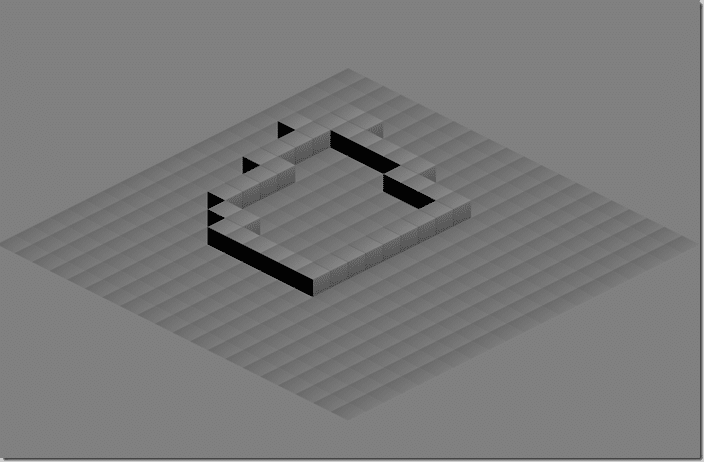
Now you can test our two isometric tiles out in tiled:
Now you will notice the tiles look remarkably, um, tiled. This is due to the shading. In the materials for your tile, set Shadeless on, then the results look cleaner.
Creating a Reference Cube
It’s possible you want a framework to model non-cube shaped entities in an isometric style. Thankfully it’s incredibly easy to create such a thing.
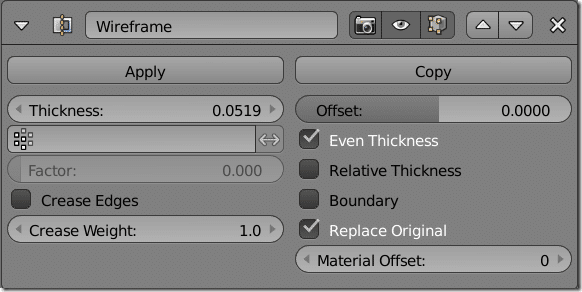
First take your reference cube, then apply a Wireframe modifier to it:
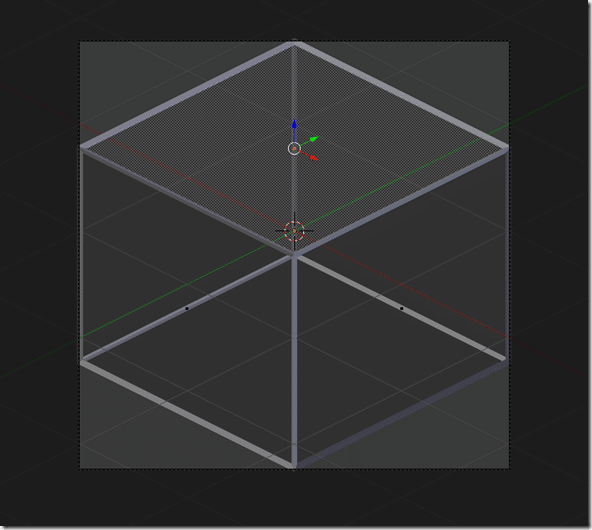
This now gives you a nice shape to use for reference, like so:
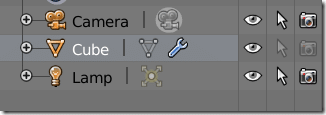
Now chances are if you are going to model within the reference you are going to want to make it unselectable and mark it so it doesn’t show up in the renders, like so:
Now of course you will probably want bigger than 64×64 tiles. One option is to simply duplicate our cube, then move it by 2 units (as our cube is 2×2 in size) along the X axis, like so:
We can then render each tile by moving the camera by 2 along the X axis, setting all other tiles to not render, although this could easily be scripted.
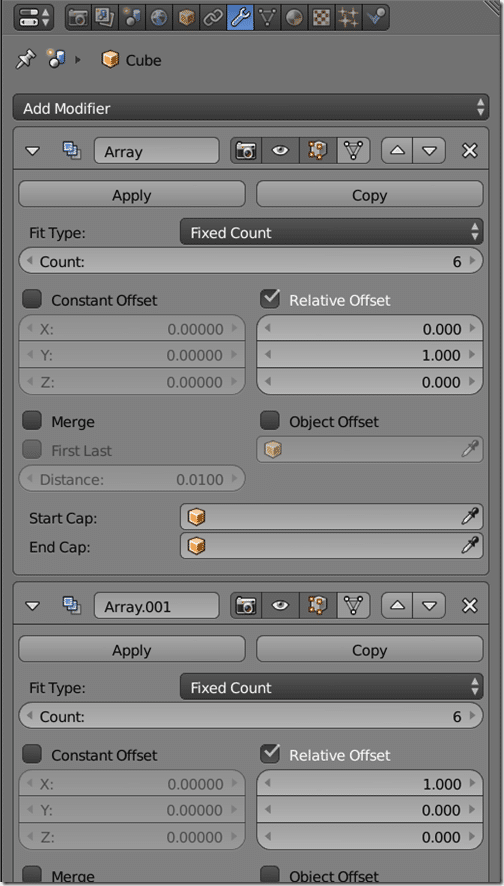
Chances are we are going to want to make several tiles at once too and this would also be extremely easy. Simply take your reference tile and apply an array modifier then another array modifier, like so:
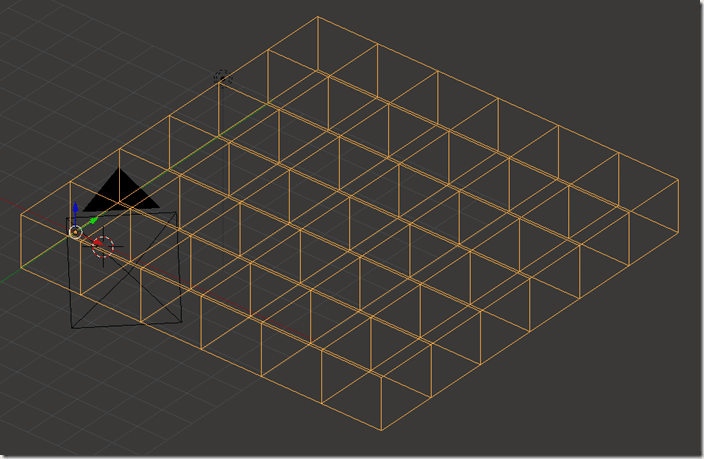
The only difference between the two modifiers is the axis of the relative offset. This now gives up a 6×6 grid of tiles to work with:
Only problem is, now we have one big tile instead of 36 separate tiles, but no matter, this is easily resolved! Make sure both Array modifiers have been applied.
Now enter Edit mode and press P –> Separate by loose parts.
Next select them all in Object mode and select Set Origin->Origin to Center of Mass.
And TADA, 36 tiles ready for editing!
Of course if you wanted to edit the tiles as a whole (for example, connected terrain) you would do this before performing the separation.
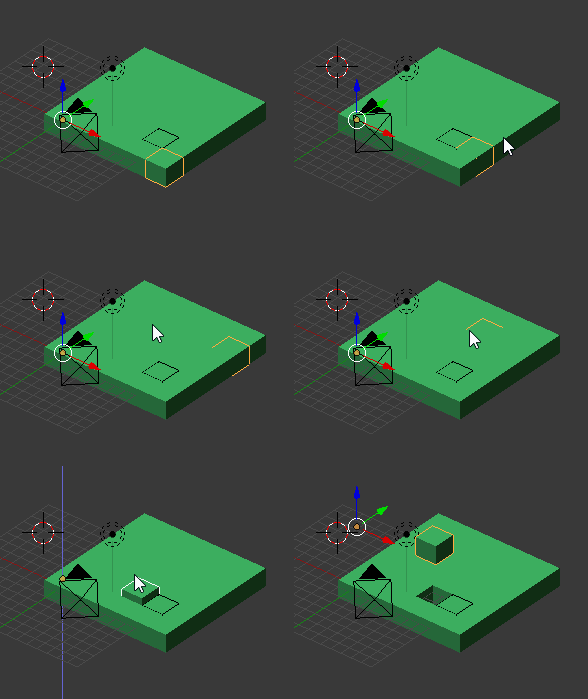
Next we have to render each tile. Basically grab a tile, translate it to the origin, hide the other 35 tiles, render it. Now repeat that process 35 times. Sounds fun, eh?
Yeah, not to me either, good thing I’m a programmer. Let’s take a look at automating this using Python in Blender’s built in API. Please keep in mind, I rarely program in Python and have never scripted in Blender, so don’t expect brilliance!
import bpy objs = [] for obj in bpy.data.objects: if obj.name.startswith("Cube"): objs.append(obj) # loop true all the meshes, hide all but active, and copy active to 0,0,0 and render for curObj in objs: prevLoc = curObj.location.copy() curObj.hide_render = False for otherObj in objs: if curObj != otherObj: otherObj.hide_render = True curObj.location = (0,0,0) bpy.data.scenes['Scene'].render.filepath = "c:\temp\" + curObj.name + ".png" bpy.ops.render.render(write_still = True) curObj.hide_render = True curObj.location = prevLoc
Now if you run that script it will render all of the tiles to your C:temp directory.
Of course the key to making tiles look good is going to be the texture mapping… but you’ve got all the tools you need to succeed and quickly at that.
The Video
Art Programming Design

