In this next part of the ongoing Godot Tutorial Series we are going to begin looking at how you work in 3D in the Godot game engine. Today we are going to cover the basics of 3D, followed shortly by another tutorial on working with 3D models. As always I assume you have gone through the previous tutorials in the series or understand the concepts they cover.
There is an HD video version of this tutorial available here.
3D in Godot
After working with 2D in Godot, you will find that 3D is remarkably similar. No doubt you have been overlooking the interface since the first day you loaded Godot:
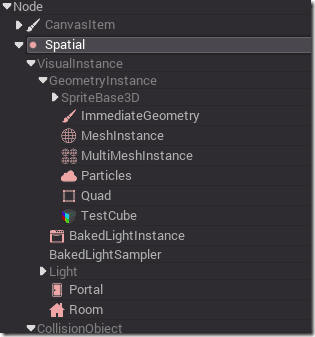
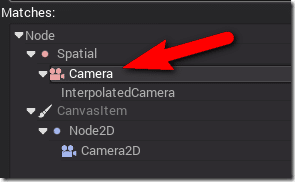
The scene works remarkably similarly, you create a hierarchy of nodes that compose your 3D scene. In 2D, the root class for displayable nodes was CanvasItem. In 3D, the base class is instead Spatial:
Creating a Simple 3D Scene
Now let’s assemble a simple 3D scene. Beyond a TestCube, Godot does not have any built in 3D primitives, so a cube we shall test with!
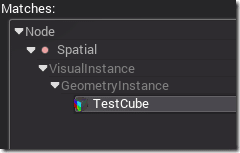
As it was with the 2D world, you still need a root node to hold your scene, in this case, I am going to use Node. Now let’s go ahead and add a Cube at the world origin. The node name is TestCube:
So your scene should look like:
And in the 3D view:
Now let’s pause a moment to discuss working in 3D…
3D Navigation and Editing
The 3D Panel in Godot works quite similarly to the 2D view, however, different angles and viewports come into play. One important thing to realize upfront is the axis directions in Godot. Godot is a Y-up engine. That is, the Y axis represents up and down on your screen, while X represents left and right. The Z-axis then represents depth… imagine you had the ability to push your hand into your monitor… that would be the Z-axis. Keep in mind, different tools use different up-axis, so you have had to take this into account when importing models.
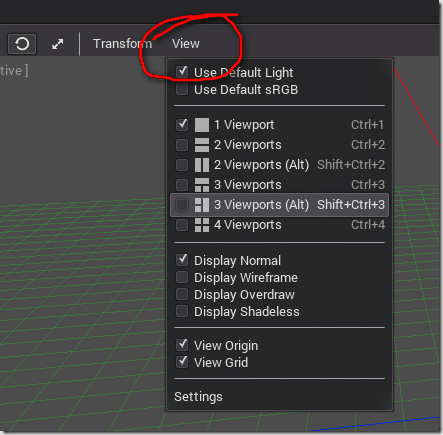
It’s also often handy to have multiple viewports open when placing things in 3D. This can be accomplished using the View menu:
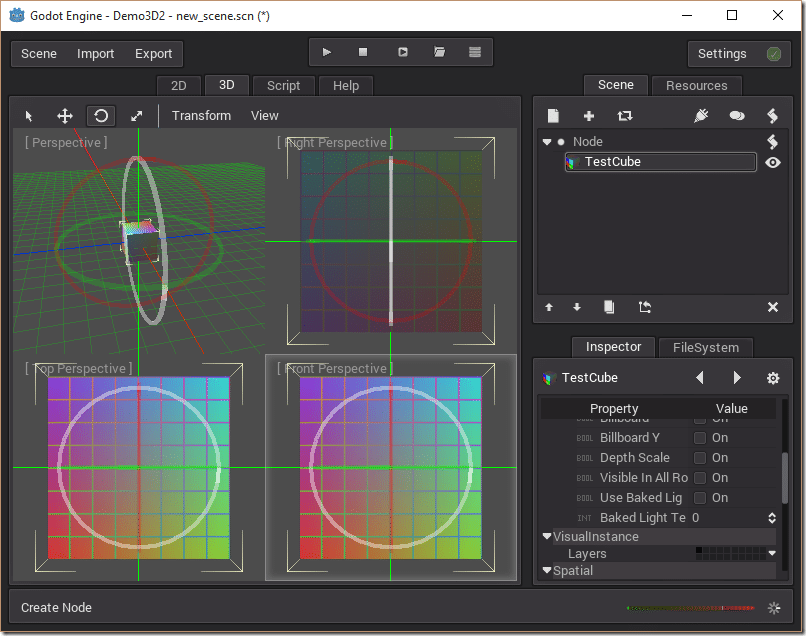
Here is the result of a 4 viewport view ( also available by hitting Ctrl + 4 ):
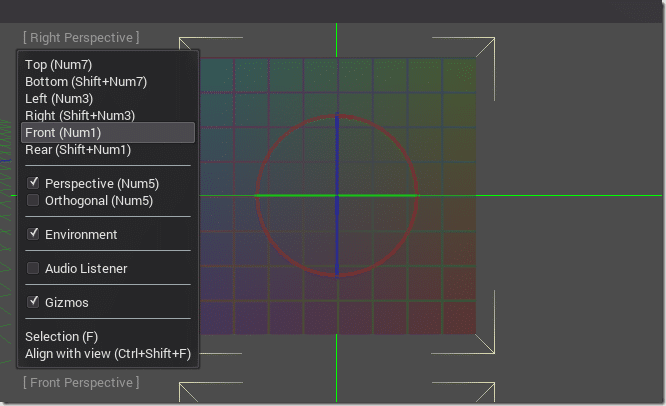
You can set the individual camera of each view by clicking the label at the top left corner of a viewport:
You can also freely rotate the camera. By default the controls are:
- Scroll Wheel – Zoom in and out
- Middle Mouse Button – Orbit
- Shift + MMB – Pan
- Ctrl + MMB – Zoom
Modifying entities in the scene is a bit different than 2D as there is now an additional axis. You still translate, scale and rotate using the same toolbar and hotkeys:
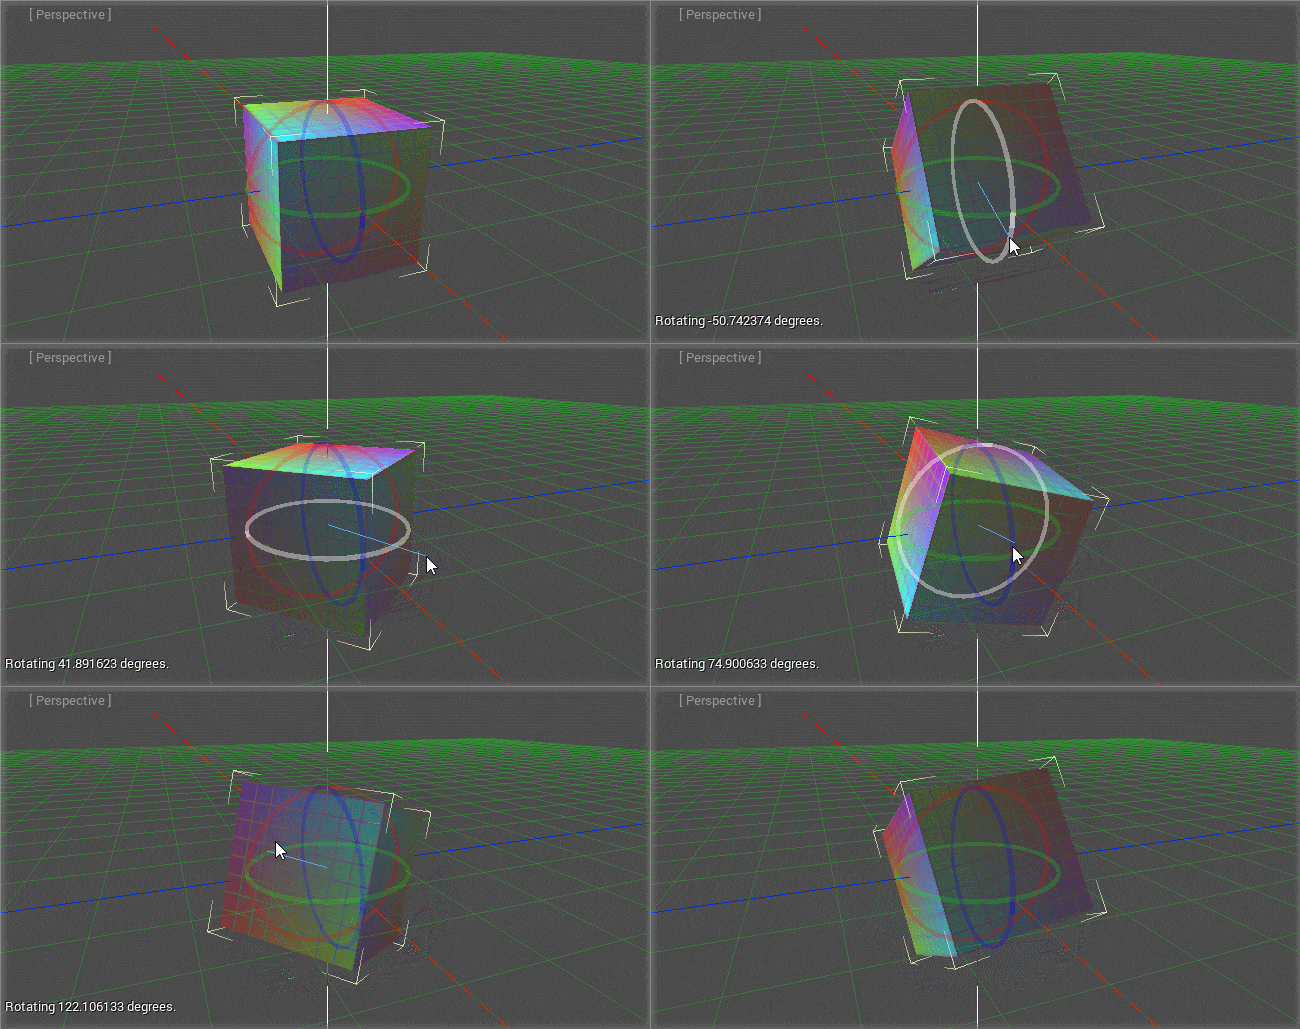
However, the resulting widget is a fair bit different. There is a color coded widget per axis, enabling you to make edits a single axis at a time. Here for example is a rotation in effect:
Each axis is colour coded. Red is the x axis, green is y, while blue is z. You can see each axis rendered in the grid behind with the matching colour scheme.
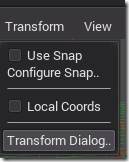
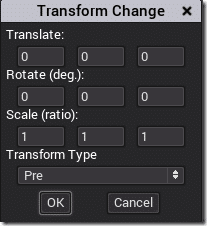
You can also transform using direct numeric entry, via the Transform-> Transform Dialog… menu:
Then…
If you come from a different 3D background, there are actually several settings to make Godot perform in a way you are more familiar with. Click settings at the top right corner of the IDE and there are a number of 3D settings you can configure including configuring Godot to work like Maya or Modo if you prefer. You can also resize the gizmo and alter it’s transparency, etc.
Creating a Camera
Ok, now that you know how to navigate around the 3D interface, let’s hop back to our 3D scene and add some life. Even though you’ve added a box to our world, if you run the game you will see nothing. There are a couple reasons for this, the first of which is that there is no camera in the scene. Unlike a 2D game, the default viewport isn’t enough, you have to create a camera.
A camera is simply a Spatial derived node, simply add one to the root of your scene:
Be sure you add the Camera node inherited from Spatial, Camera2D will not work. Additionally, InterpolateCamera is probably not what you want either… think of that class as more like a Camera Swing arm that helps move the camera around instead of as a camera itself. I will probably cover this in the future.
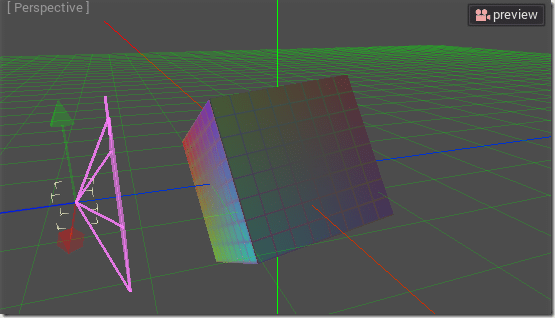
Once the camera is added to the scene, be sure to move it so it can see your cube, like so:
With a camera in the scene, you can click the “Preview” button at the top right corner of any view to preview what a camera sees. This is one of the ways a split view certainly comes in handy, use one or more views for positioning your scene, and dedicate one to previewing your camera.
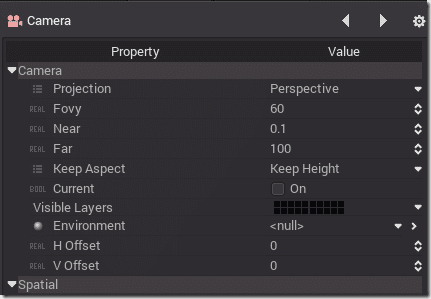
If you look down at the Inspector with your camera selected, you will see that there are several settings:
Projection determines the type of your camera, Perspective or Orthogonal. With a perspective camera, as things get further away ( z-axis ) they appear to be smaller, mimicking the way the human eye works. With an orthographic camera, sizes stay the same. As a general rule, a 3D game uses perspective, a 2D game uses orthographic.
Fovy is the field of view, or the number of degrees along the Y axis the camera can see. A FoV of 180 for example would allow you to see both your left and right hand if you held them out to your side. Most games however use much lower values. On consoles 60-75 are typical values, while on a PC where you are much closer to the monitor, a higher value like 90 is often used.
Near and far values control how close the camera starts recording, and how far out it captures an image. Basically this is the “range” of the camera. FOV, Aspect Ratio and Near/Far plane all go together to calculate the camera’s view frustum.
The Current value is very important if you have multiple camera’s in your scene. Whichever one is flagged as current is the one that will be rendered. If only one camera is specified, current does not need to be set.
Adding a Light
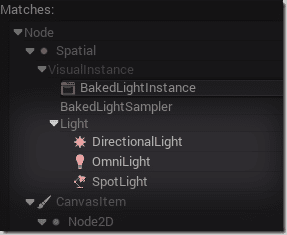
If you press play at this point, you will still see nothing, as there is no light in the world. Just like in real life, no light, no visibility. There are three options available for lighting:
An omni light is like a light that radiates in all directions. This a typical table lamp without a lamp shade.
A spot light on the other hand is a light with a defined beam and direction. Think headlights on a car or the light of a flashlight.
A directional light on the other hand is basically a massive light source with a direction and that’s about it. Think… the sun.
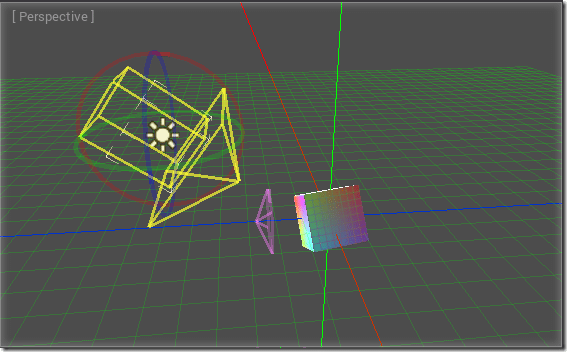
In this example lets fake a sun by adding a directional light to the scene. At this point your scene should look something like this:
The directional light shows up as a big wireframe arrow in the 3D scene. Using movement and rotation, position it so it’s shining down on your box on an angle, like so:
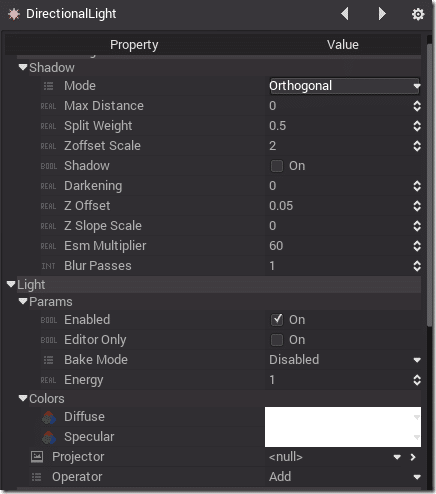
You will notice in the Inspector you can now set properties for both the light and the shadows it creates:
In this case, we will stay with default settings. The most important settings you will see in those dialogs are Shadow, which enables you to turn shadow generation on and off, Colors, which sets the color of the light, and Energy, which sets the intensity of the light.
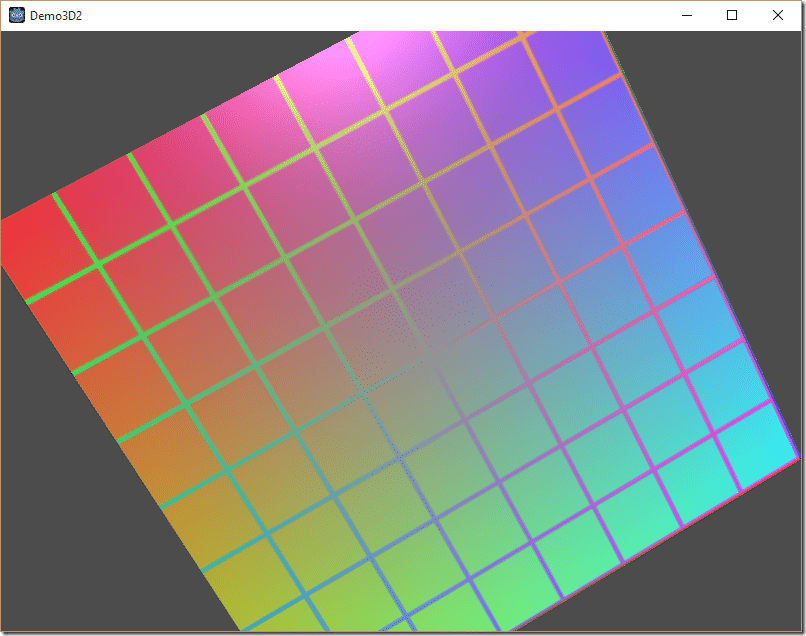
Now that we finally have a camera, a light, and a 3D object, if we press play we should see:
TADA! Your first Godot 3D application!
The Video


