Today we are going to look at creating 2D maps composed of tiles. You can think of tiles as re-usable lego block like sprites that are assembled to create a more detailed map. Tiles are stored in a data structure called a tileset, where collision details can be added. These tiles and tile sets are then used to “paint” 2D scenes in something called a tilemap. A tile map itself can contain multiple layers of tiles stacked on top of each other. Don’t worry, it will make sense once we jump in.
WARNING!
When I wrote this tutorial, the majority of functionality I cover is currently under very active development. In order to follow along with this tutorial you need to have version 4.8 installed. Currently 4.8 is in preview release only, hopefully it will be released soon and I can remove this message. For now however, if you want to work with 2D tilemaps with collision data, you need to install the development release. For details on how to do this please read this post.
So, at this point I assume you either have the developer preview download, enough time has elapsed that this functionality is in the main release or you are simply reading on for future reference. All the disclaimers out of the way, let’s jump in!
There is an HD video version of this tutorial available here: [Coming Soon].
Creating a Tileset
First start off by loading a sprite sheet texture in Unreal Engine, details of loading a sprite are available here.
For this particular example, we need some tiles to work with. Instead of creating my own spritesheets, I am going to use some of the free graphics that Kenney.nl makes available, specifically the Platform Pack. Obviously you can use whatever image you wish, just be sure that the tiles are size the same and ideally that your image is a power of two in size.
Import the spritesheet you are going to use for your tiles, in my case I selected Spritesheets/spritesheet_ground.png. Make any changes you wish to the texture, such as disabling mipmaps and turning filtering to nearest.
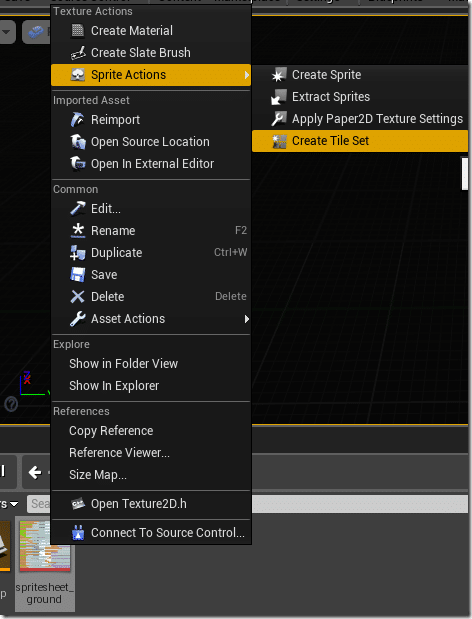
Now right click your newly created texture and select Sprite Actions->Create Tileset:
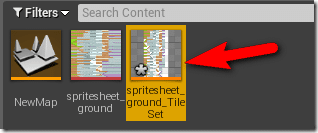
This will then create a TileSet object, double click it to open the editor.
The TileSet editor should appear:
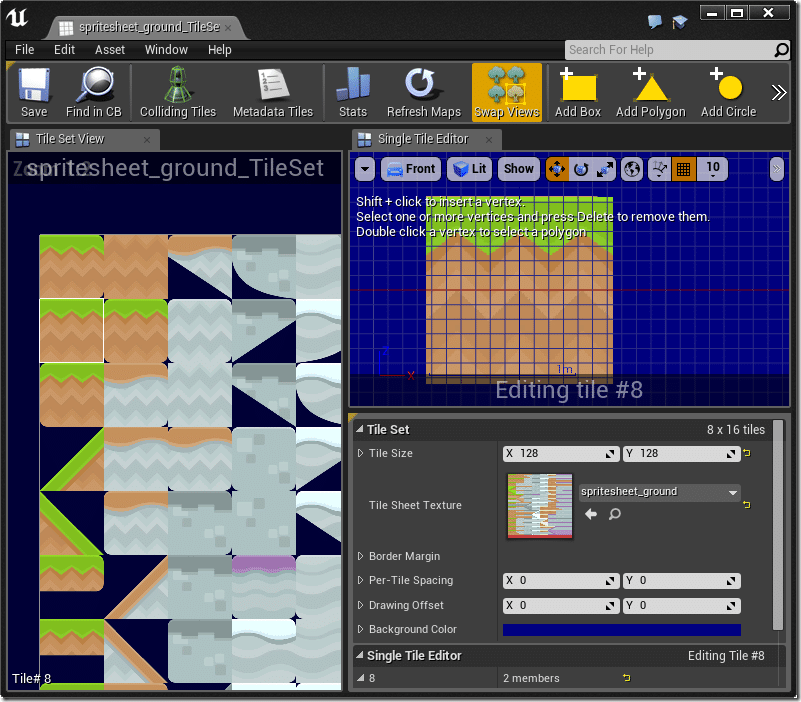
Across the left hand side are all of the tiles that are in your imported sprite. Selecting one will make it visible in the top right window. The bottom right window has properties for the entire texture set. The most important to set right away is the Tile Size:

Here you enter the pixel dimensions of each individual tile within your image. In the spritesheet from Kenney.nl, each tile is 128×128 in size. The remaining settings are for tilesets that have gaps between tiles and aren’t applicable in this case. Both the left and top right window can be zoomed and panned using the regular commands.
Now let’s look at setting up collision shapes for a few tiles. First select a tile from the left side, like so:
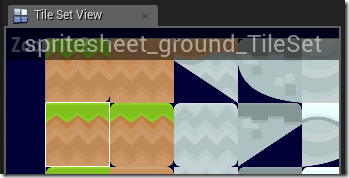
A white rectangle will bound around the selected tile. It will now appear in the top right window:
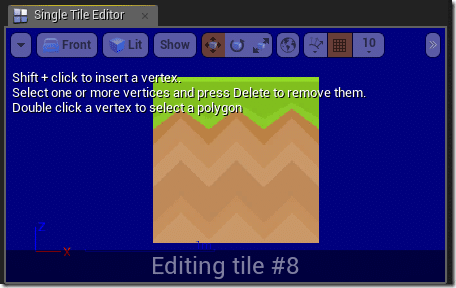
We can now define bounding shapes using the toolbar:

In this case, a simple box is the easiest ( and least processing intensive. So click Add Box:
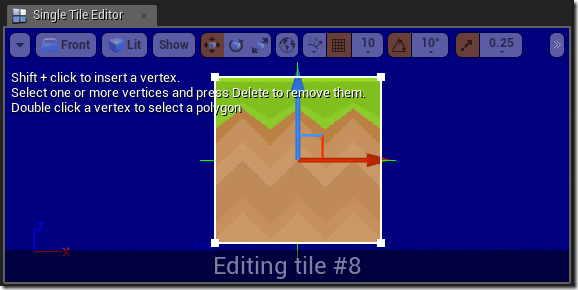
This will now make it so the entire surface causes a collision. For non-box shaped tiles, you are often going to want to use the Add Polygon option instead, then define the collision boundary accordingly, like so:
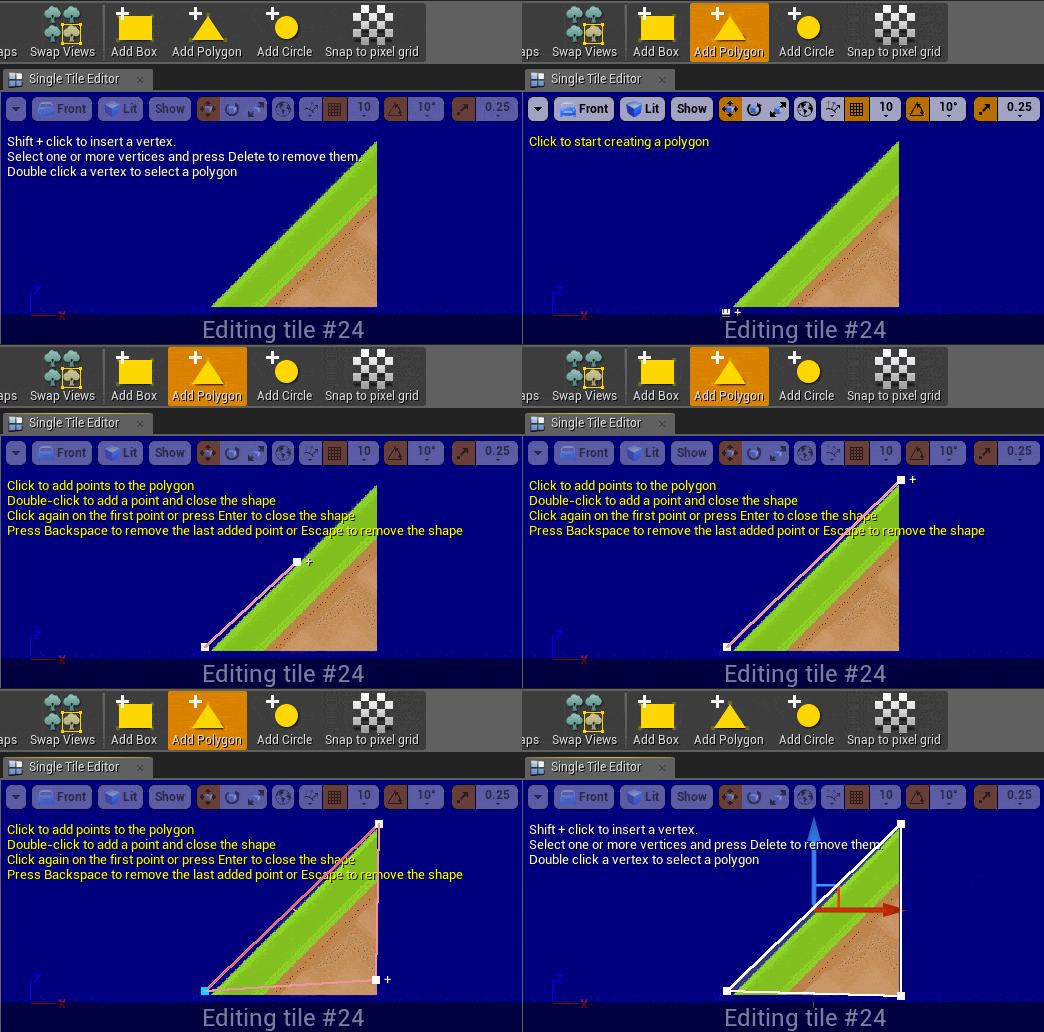
Simply click for each vertices you wish to create. Once done hit enter to finish your shape. You can shift click to add new points to an existing shape.
Repeat this action for each tile that has collision data. If a sprite is able to pass completely through the sprite without collision you don’t need to provide a collision shape at all. Repeat this step for each tile in your set that can be collided with.
You can easily check which tiles you’ve defined a collision shape for by clicking Colliding Tiles:
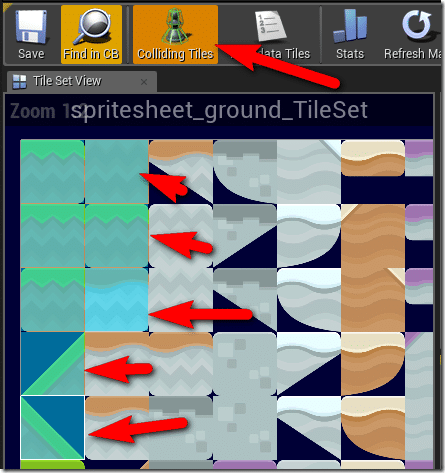
When done click Save and we have just created our first TileSet.
Creating a TileMap
Now it’s time to create a Tilemap. To create a tilemap select Add New –>Paper2D->Tile Map
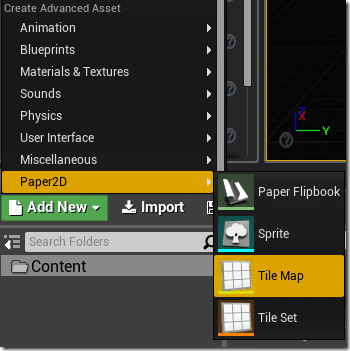
This will create a new tile map object. Double click it to bring up the tilemap editor.
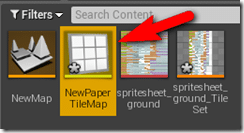
Here is the tilemap editor in action:
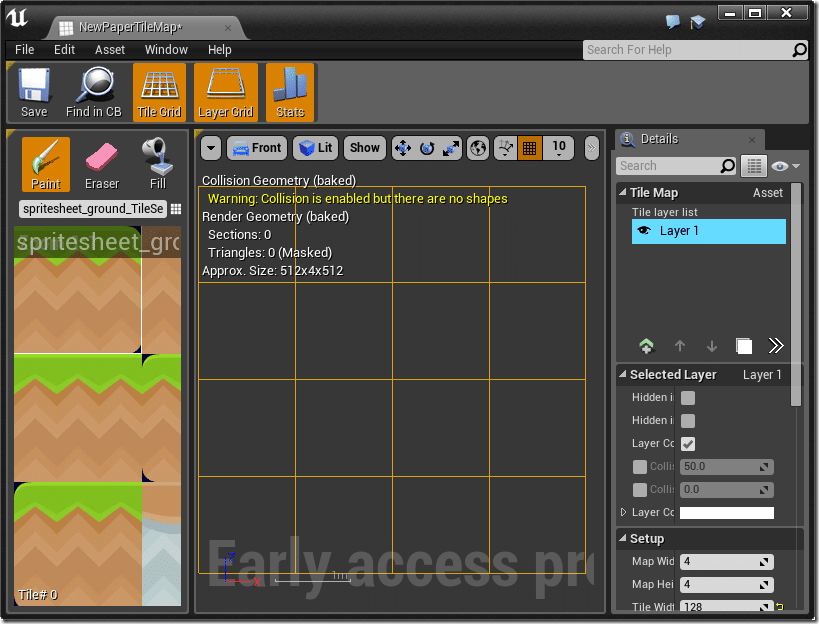
On the left hand side is a selection of tiles you can paint with. In the middle is the canvas you paint on, while on the right are your layer controls and the layer properties. There are a couple critical things you need to configure right away.
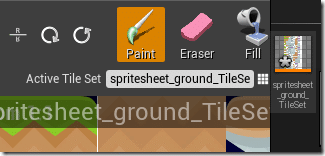
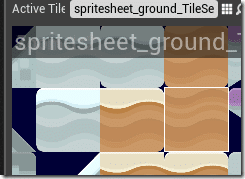
First select your tileset. On the left hand side, drop down the Active Tile Set dialog ( hit the grid icon ) and select the tile set we just created.
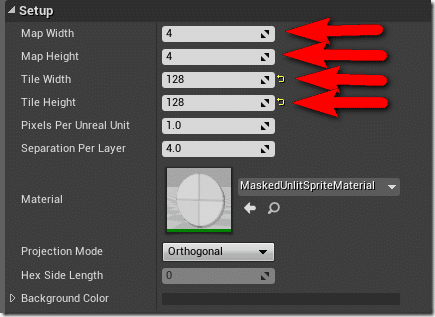
Now in the layer properties, we set the size of our tiles and the overall width and height of our layer ( in tiles ):
Start by selecting a base tile to fill the entire map with, select file mode and then click somewhere inside the map grid, like so:
Select base tile:
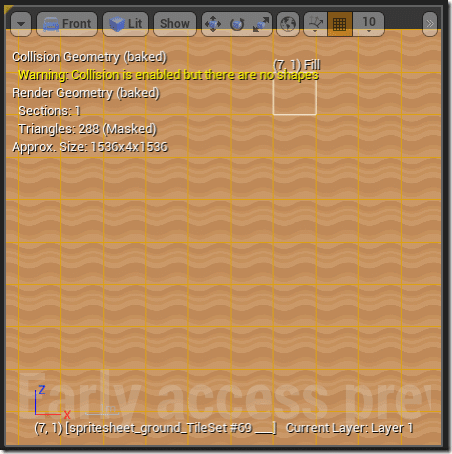
Choose Fill:

And click:
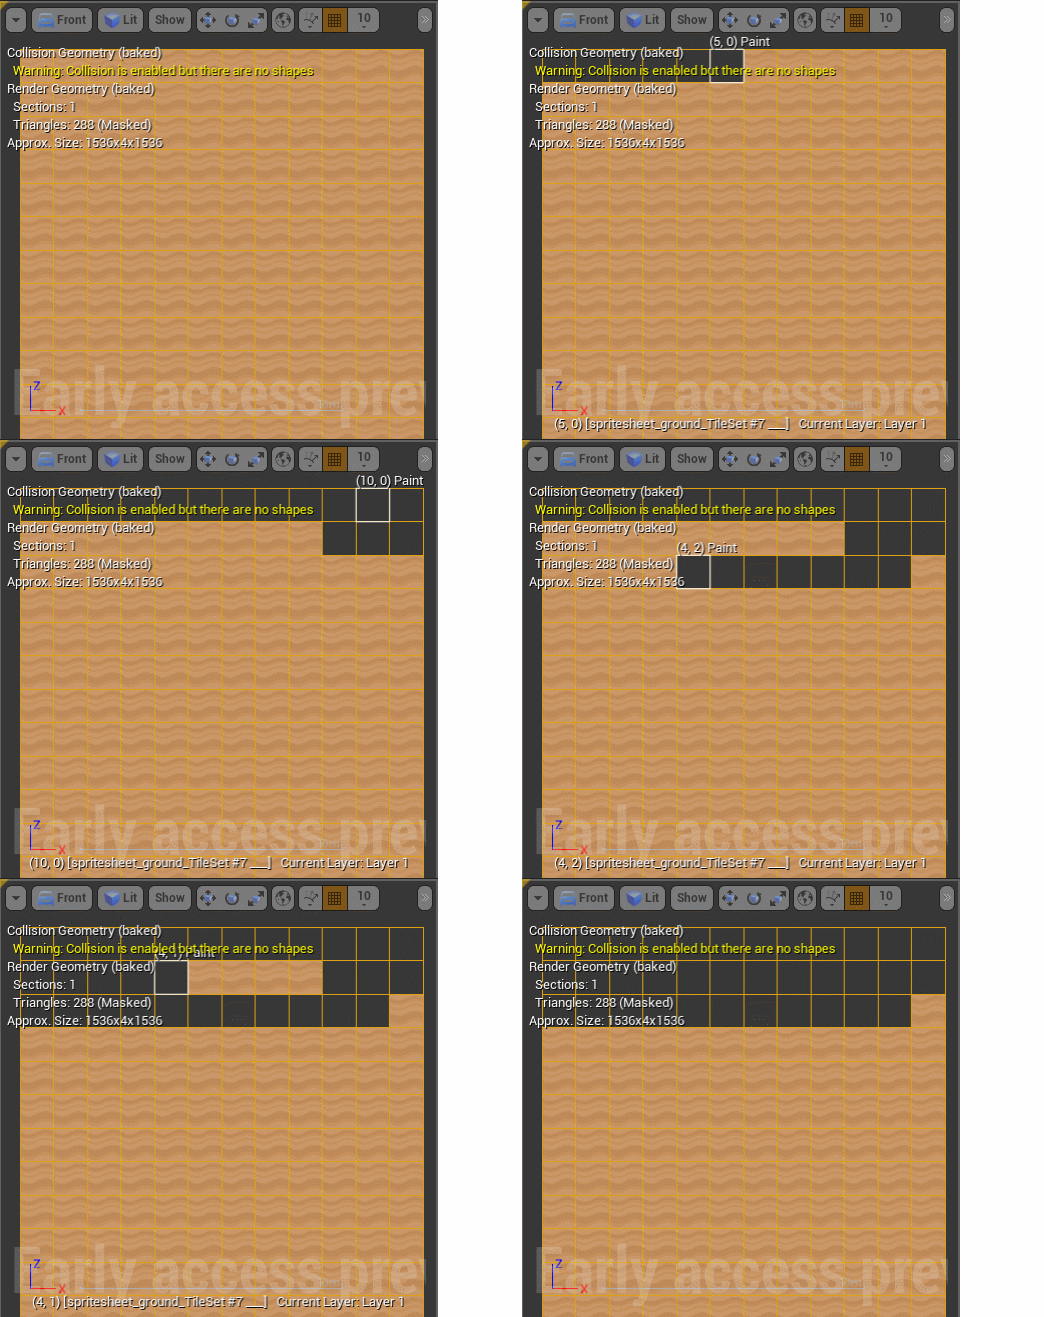
Now select an individual tile to paint with, click Paint, then draw it on the map, like so:
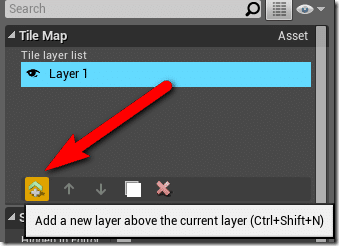
Quite often you are going to want tiles to appear “over” other tiles. This can be accomplished using layers. To add a layer simply click the Add New Layer button:
The order layers are drawn is the same as they are displayed:
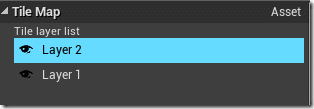
You can use the up and down icons to change the layer order. The layer selected ( the one highlighted ) is the layer that all drawing will occur on.
Adding your Tilemap to the Scene
Now that you’ve created your map, you can use it like you would any Sprite object. Simply drag it into your scene:
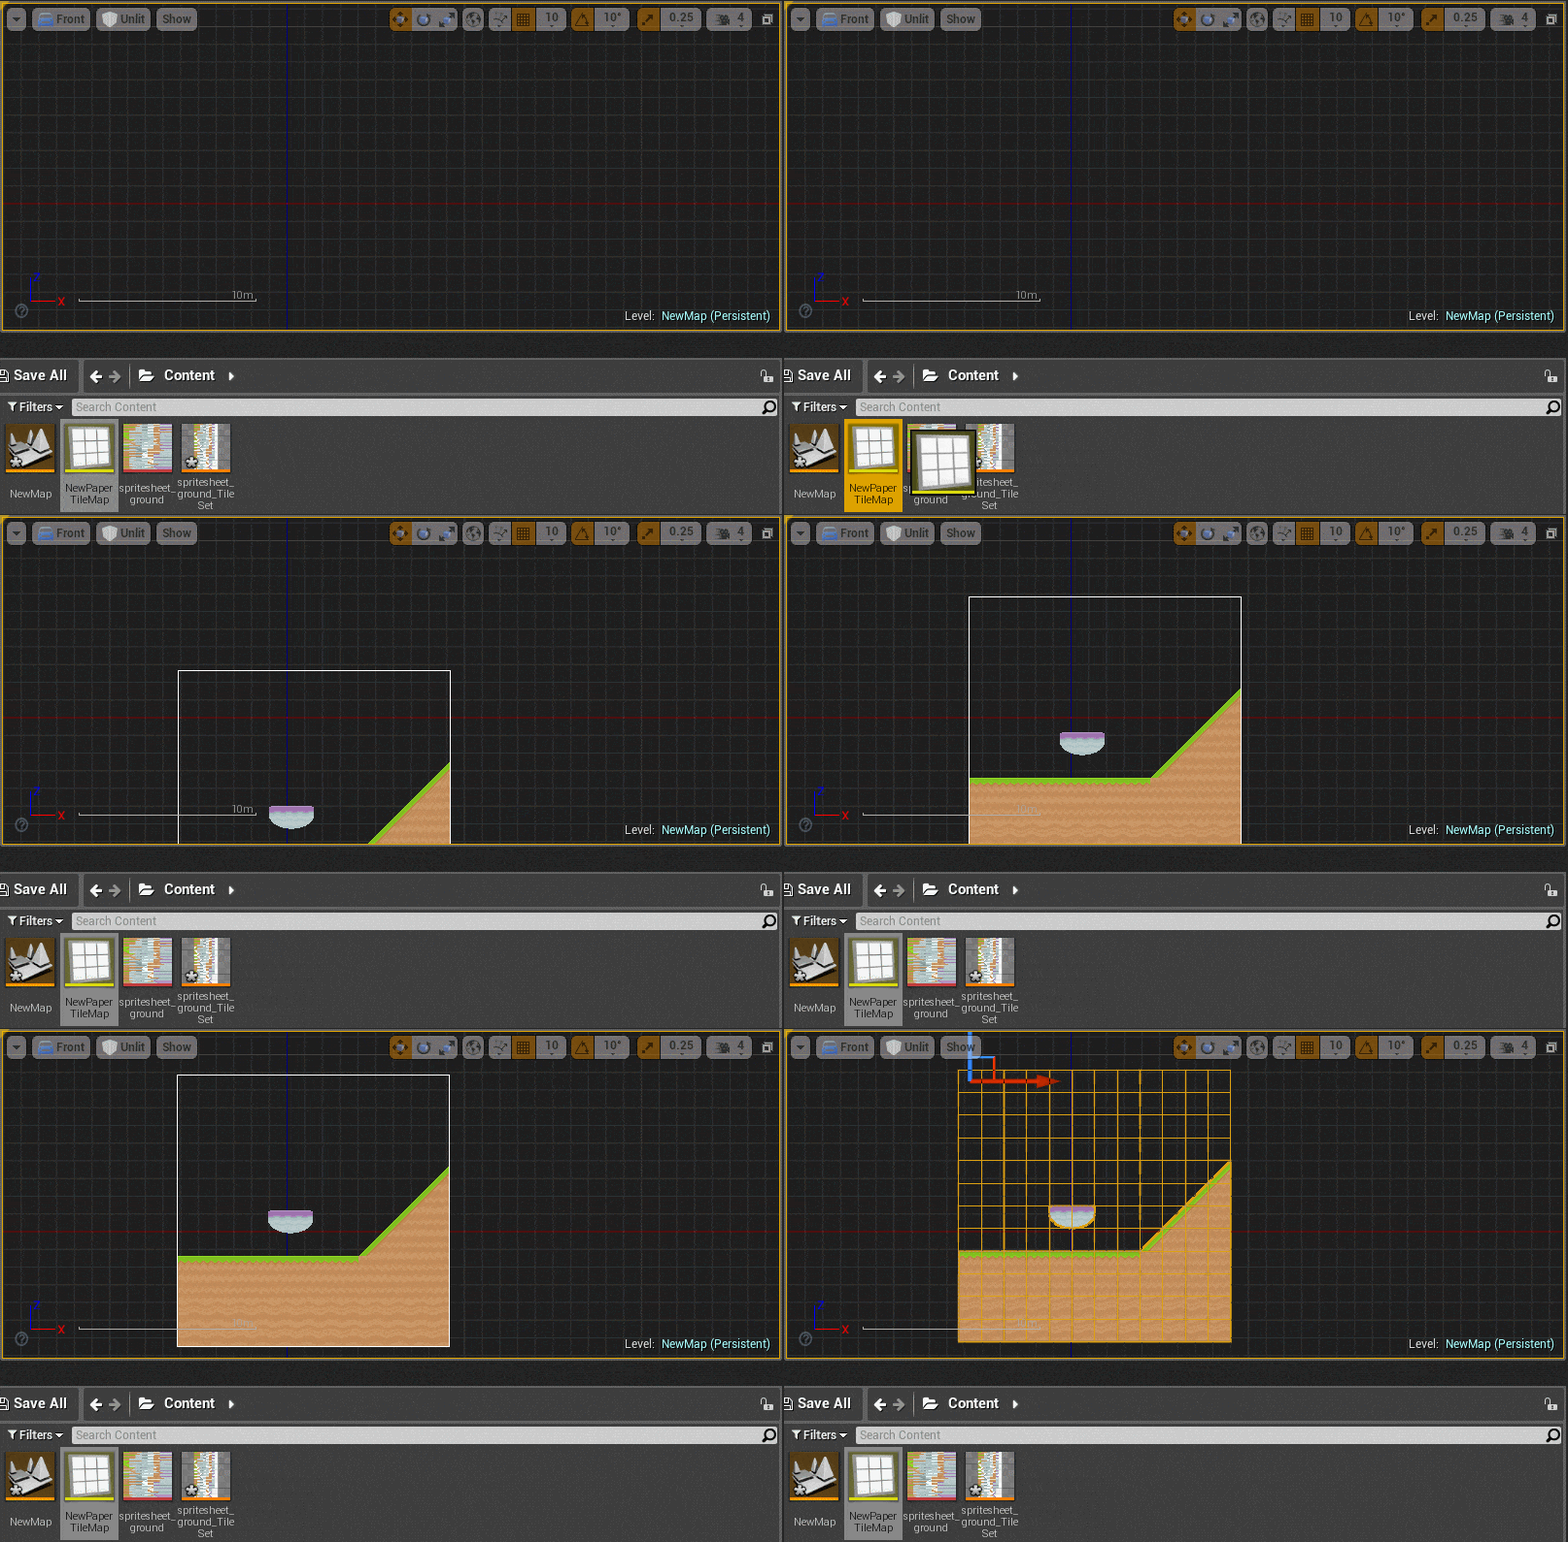
The positioning of the tilemap is important, the Y value is going to determine what is drawn over or under when drawing the scene, just like with sprites. In this case however, sometimes you want to position your sprite in front of the background, but behind a foreground layer, like so:
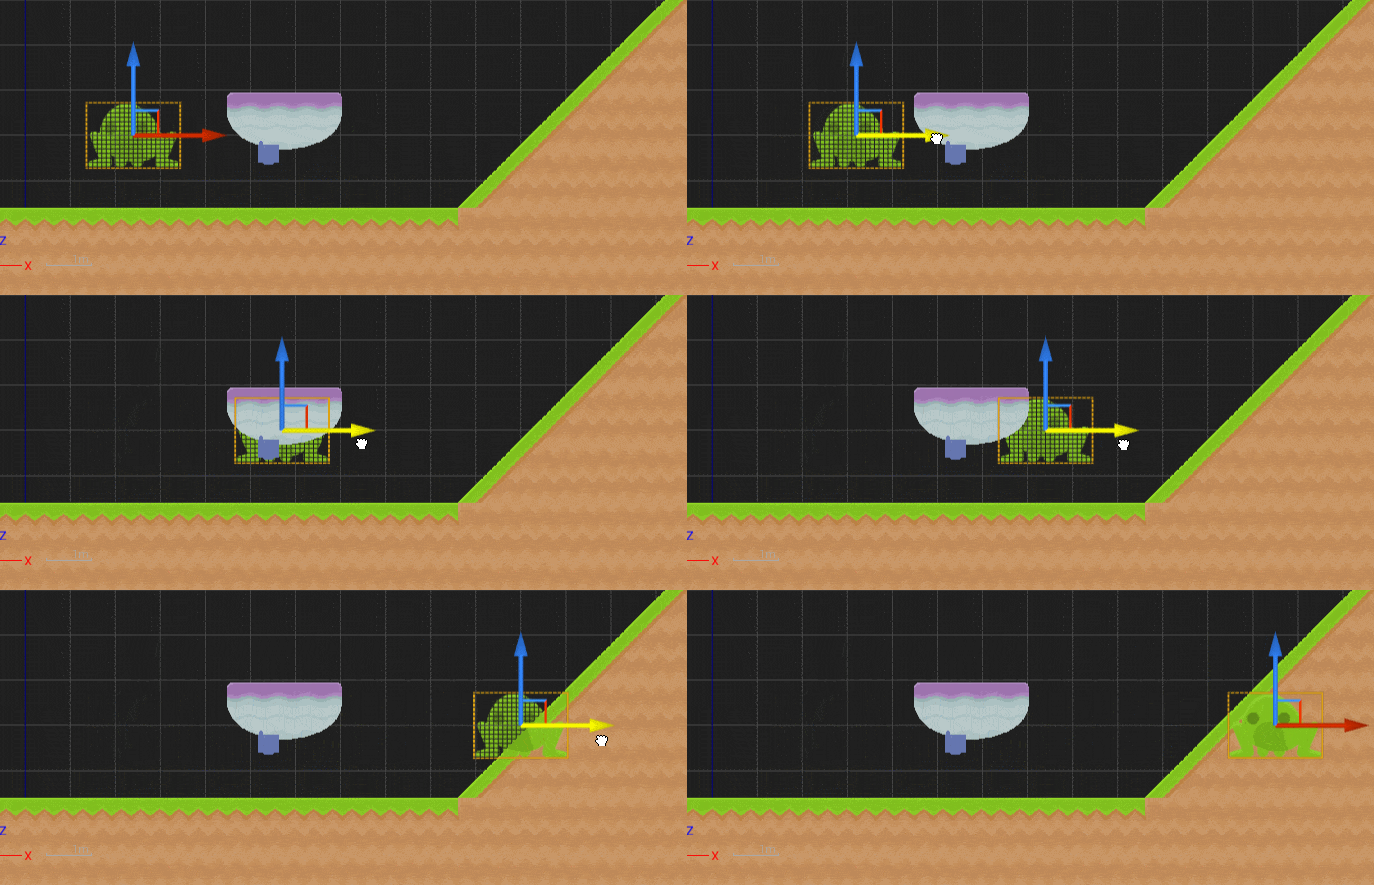
This is done using a property called Separation Per Layer in the Tilemap details.

This is the Y coordinate ( confusingly called Z order in the tooltip ) of the layer within the game world. For example if you position your tilemap at Y= –10 and set Separation Per Layer to 50, the first layer will be at Y=40, the second at Y=90, etc. Therefore a sprite at 0 will draw in front of the bottom layer, but behind the top layer.
If you want to see a more detailed example showing collisions in action, be sure to watch the video version of this tutorial.
