Since LibGDX 1.1, there has been a massively improved way of creating a LibGDX project. This document looks at how you get up and started using the setup application.
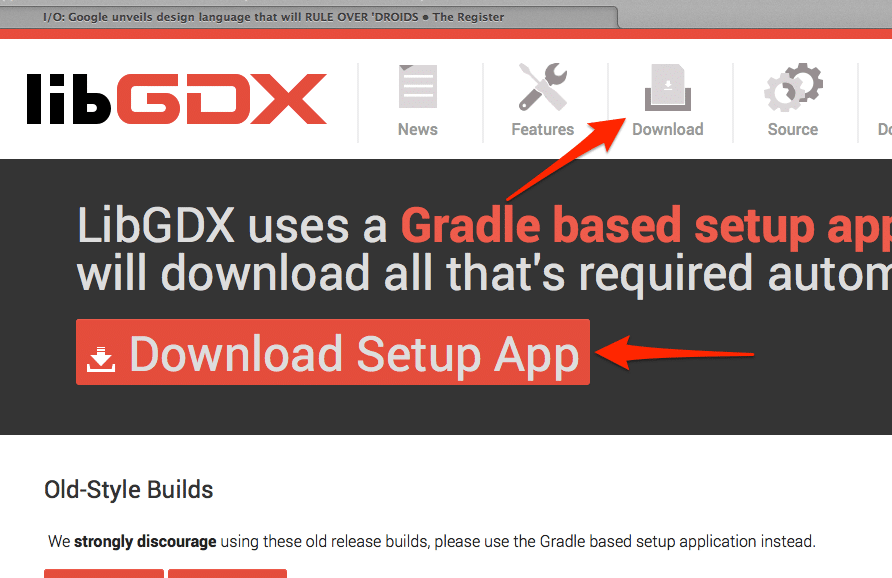
First thing you have to do is download it. Head on over to the LibGDX download page and download Setup App.
Now that you’ve downloaded the file gdx-setup.jar, double click it and say OK to any security questions. If it doesn’t load when you double click it, you either don’t have Java installed ( you need a JDK to work with LibGDX ) or your file extensions handling for .java files are broken. Assuming everything worked correctly the setup app should have loaded.
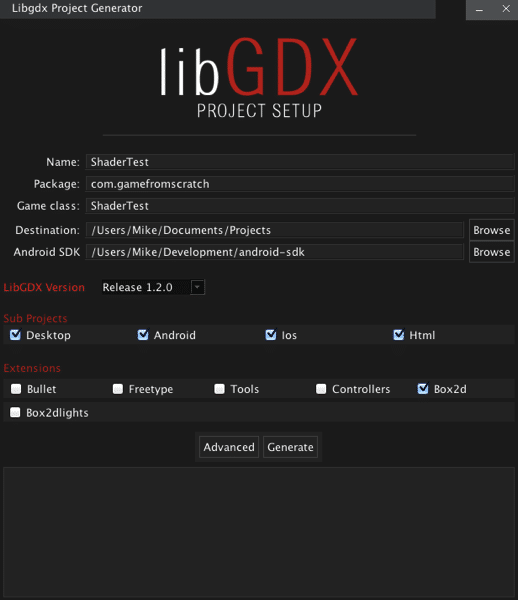
Here is an example I’ve configured already:
One important thing is you need to have the Android SDK installed as well. Google have made the process rather confusing, as their default download is bundled with Eclipse. If you are intending to use a different IDE, the download you want is under “Download for other Platforms”, which is an extremely stupid name… anyways, you need to have the Android SDK ( Android Build Tools version 19.1 as of time of writing, keep in mind you have to configure the Android SDK after downloading it ) installed as you have to provide the path to where you installed it.
Otherwise it’s the usual suspects here, your project name, package and class. Keep in mind they follow Java variable naming conventions, so for example, no spaces and mostly just alphanumeric characters. LibGDX version allows you to choose which version of LibGDX to use, although oddly enough in every release there has only ever been the option for the most recent release.
In the Sub Projects section, you are deciding what targets you want to support. If you aren’t on a Mac, iOS will not be an option.
Extensions are where you configure which of the LibGDX extensions you want installed/configured. Bullet is a physics engine, free type is a font engine, tools give you the various command line tools that are bundled with LibGDX ( I believe ), Controllers is gamepad support, Box2d is a 2D physics engine while Box2dlights is… well I have no idea what that is.
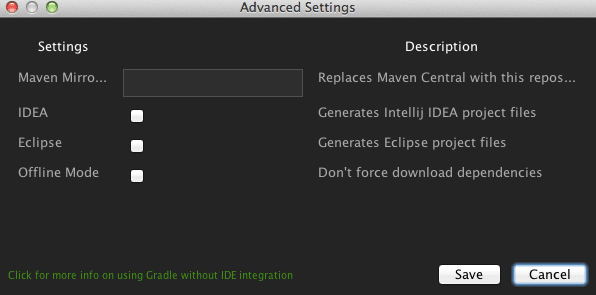
Now the part that is of critical importance is “Advanced”. In all honest I think the “Advanced” options are far more important than the extensions. I would actually instead suggest making the Setup app a 2 step process and make Advanced a mandatory process. Anyways enough about my opinions, click advanced!
This is where you pick what kind of IDE you use. For each you intend to use, tick the checkbox and it will generate the appropriate project files. In this case I am going to be using IntelliJ IDEA, so I will tick next to IDEA. The Maven mirror box is probably something you will never use so let’s ignore it. Offline mode is a bit more difficult to decide. Basically the project you create will automatically go online and figure out what dependencies your project has and make sure your project is always up to date. If you aren’t going to have an internet connection reliably or yours is ungodly slow, you may consider ticking Offline Mode. Otherwise you are probably best served leaving it unticked. Now click Save.
Now back in the Setup app, click Generate:
Now the setup app will churn away for a while, downloading required files and configuring your project. If there is something wrong with your configuration, you will be warned. On my PC using my cell connection the process took about a minute. If successful it should look like this:
There is still some configuration to be done for running each project type in your IDE. I have already covered that process in IntelliJ right here. You only need to read the last half of that link.


