I make no effort to disguise my dislike for Eclipse yet when working with LibGDX Eclipse is the path of least resistance. Fortunately there are other IDEs out there that can work with LibGDX, IntelliJ is my favorite of the options available.
First off, you should be aware that there are currently some key limitations with the Gradle install. Right now there is no support for GWT ( HTML5 ) or iOS projects. So if those targets are important you should stick with Eclipse for now.
OK, let’s jump right in. There are a couple things you need to have installed already. First is a Java JDK, the second is the Android SDK ( not the ADT version! ). I am not going into detail about how to install these, I simply assume you already have. If you haven’t already, be sure to download and install IntelliJ IDEA, the free version has everything you need.
Installing the template
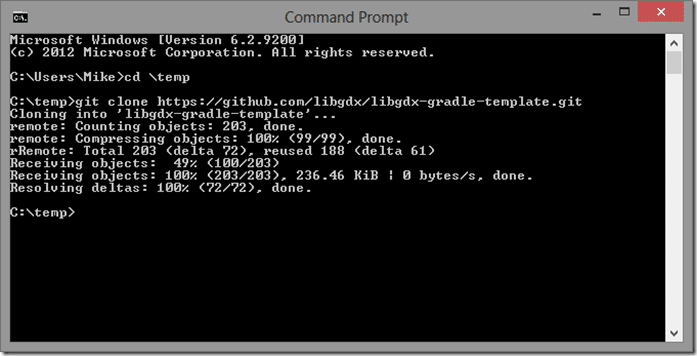
Now you need the LibGDX Gradle Template. If you have git installed and configured ( you should! ) you can clone the template. Open a command prompt or teminal, change to the directory you want your project to reside and run the command:
git clone https://github.com/libgdx/libgdx-gradle-template.git
It should run like so:
Alternately, you can download from github as a zip archive, download and then extract the contents to where you want the project to reside.
Now we will install gradle, this process is entirely automated. In an elevated permission command prompt, change into the directory you just cloned/copied. Now run the command:
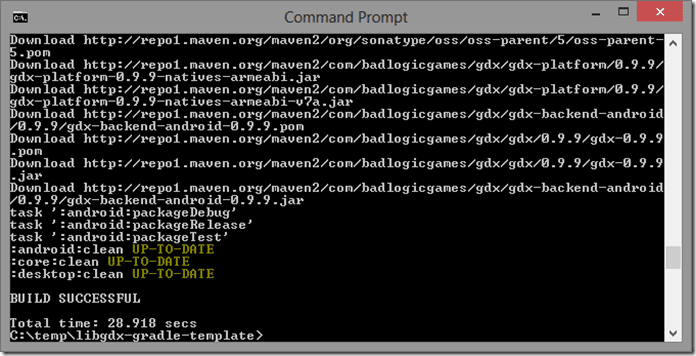
gradlew clean
This will take a bit of time as it downloads and configured gradle and all the dependencies on your project. Ideally you will see:
Now let’s make sure things worked right. Run the command
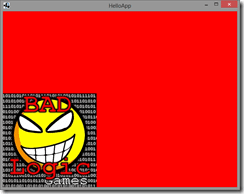
gradlew desktop:run
Assuming everything went right, you should see:
Now generate a Intellij project. Run the command
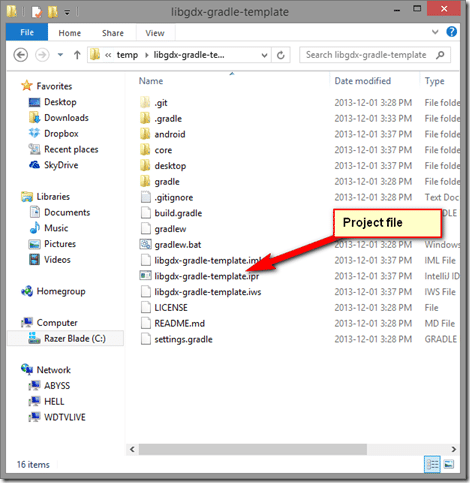
gradlew idea
This will create an IntelliJ project file with a .ipr extension.
Configuring IntelliJ IDEA
Load IntelliJ IDEA.
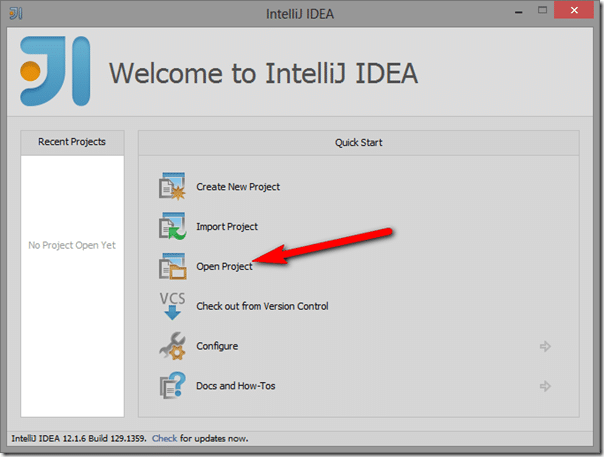
At the Quick Start Window, select Open Project
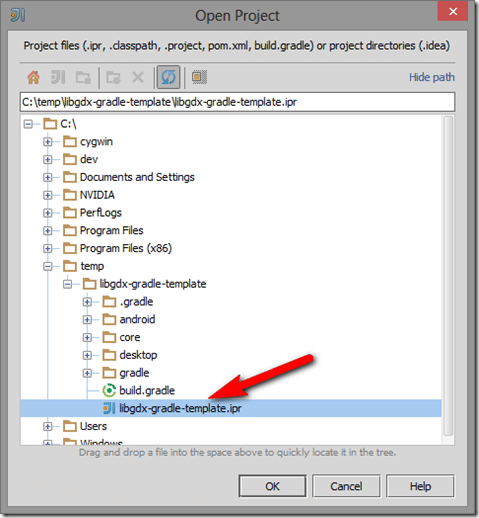
Navigate to the IPR file then select OK.
Configure the desktop project
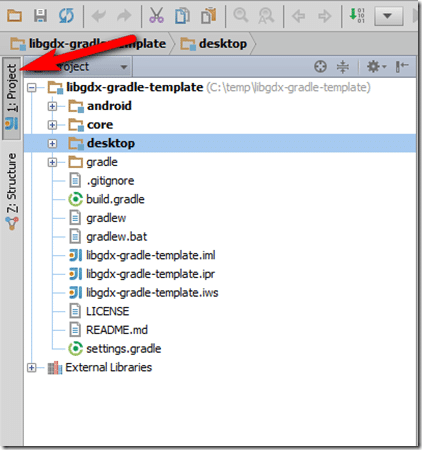
Your Project should ( after you click the Project Tab ), look like this:
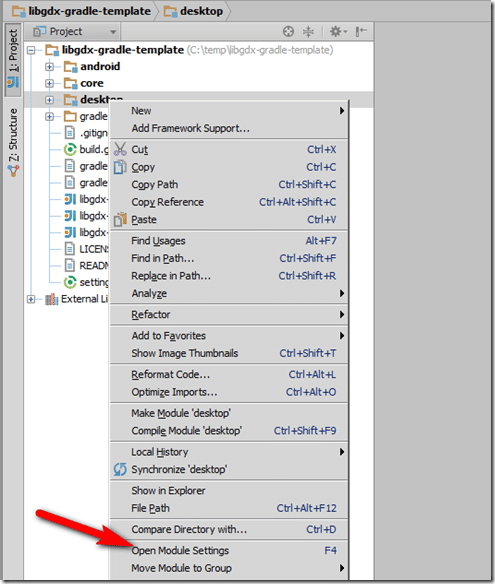
Let’s configure the desktop project first. Select desktop in the project view and hit F4 or right click and select Open Module Settings:
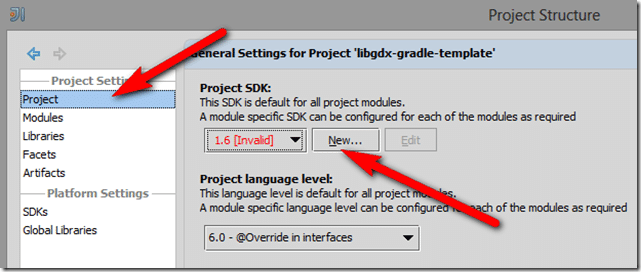
Since you’ve never configured a JDK, you need to do that first. In the future you shouldn’t have to do this step. In the resulting dialog, select Project, then New… on the right side:
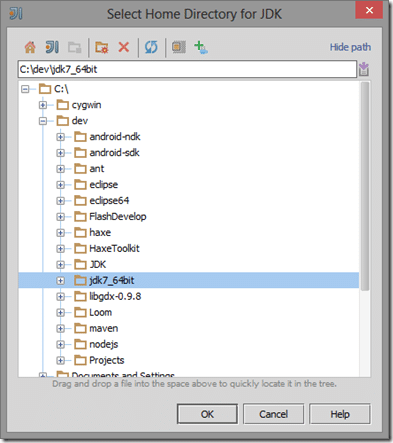
Select JDK in the drop down. In the next dialog, navigate to and select the directory where you installed the Java JDK, then click OK.
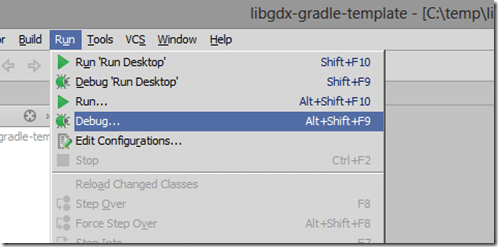
Now that the Desktop project is configured, we need to create a Run or Debug configuration. In the Run menu, select either Run… or Debug…
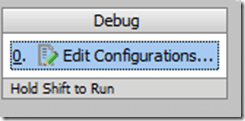
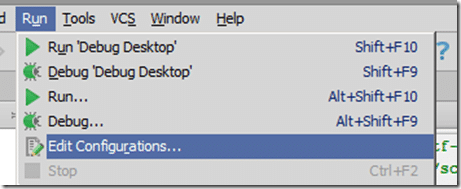
A menu will pop up, select Edit Configurations…
In the next dialog, click the + icon:
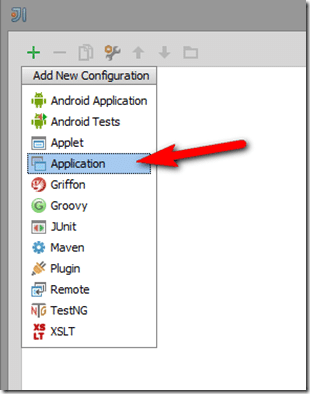
In the drop down, select Application:
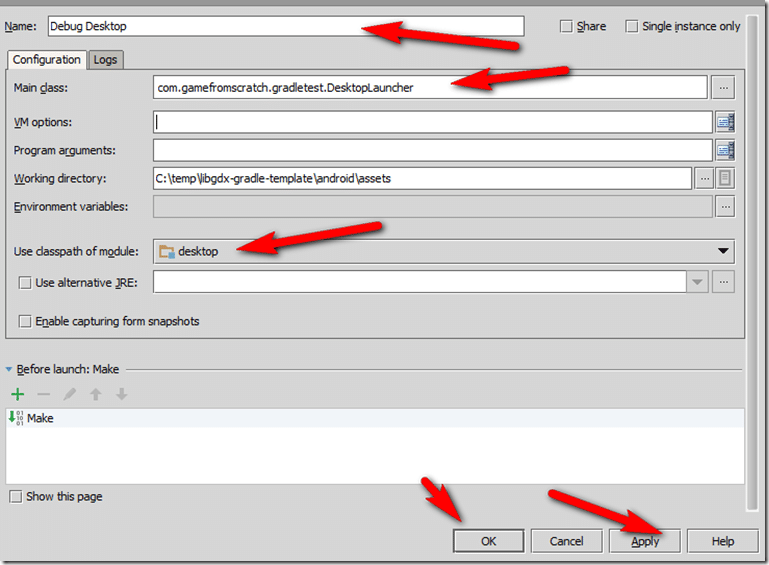
Now we need to fill out the form. You can optionally name your configuration, I went with Debug Desktop. Next select “Use Classpath of module” and select Desktop. In working directory, choose the assets folder in the Android project. Click the … button to the right of Main Class and choose DesktopLauncher. Finally click Apply then Debug.
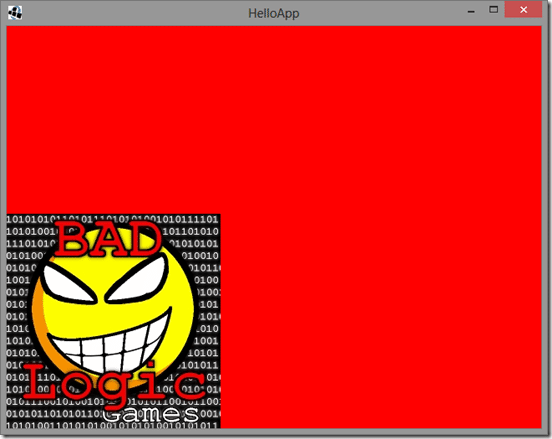
If everything went right you should see:
Configure the Android Project
Now lets take a look at configuring the Android project, it’s a very similar process.
Right Click the Android project and select Open Module Settings.
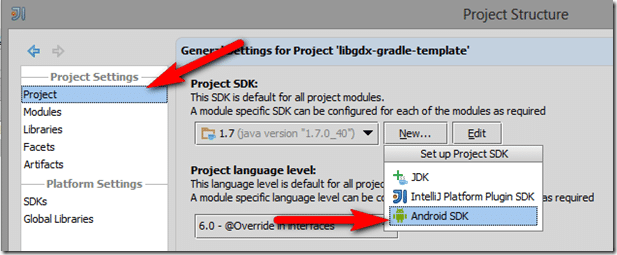
Select Project, New->Android SDK
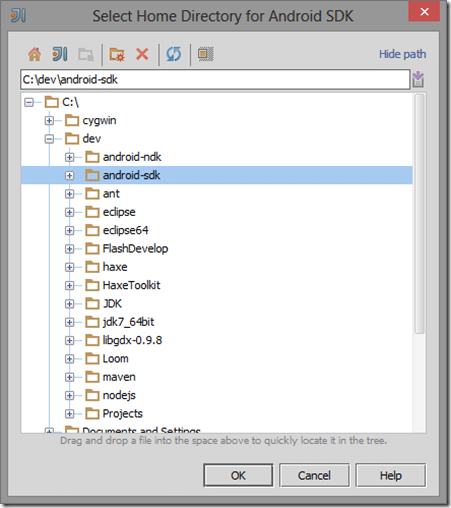
Browse to where you installed the Android SDK then click OK:
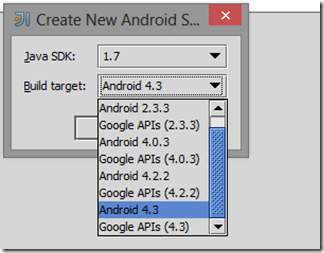
Pick whatever Java version and Android target you want. Keep in mind, you need to install the SDKs as part of the Android SDK installation process:
Click OK, then Apply.
Now you can create a Debug or Run configuration for Android. Select Run->Debug… or Run->Run…
Select Edit Configuration…
Click the + Icon, then select Android Application:
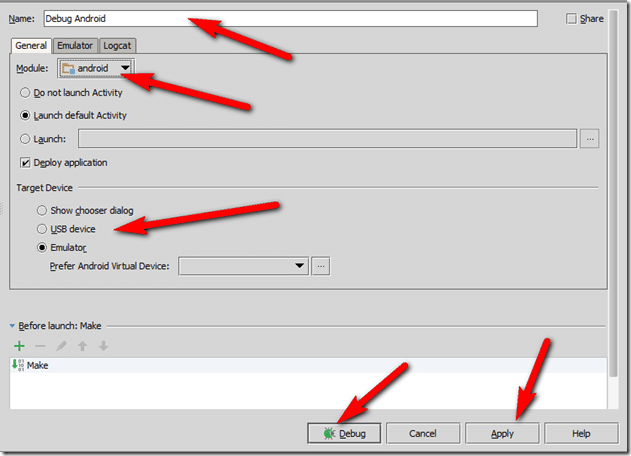
Now configure your run/debug configuration. Name it, select Android from the Module pull down, pick what you want to target ( run the emulator vs run on a device ). Finally click apply then Debug.
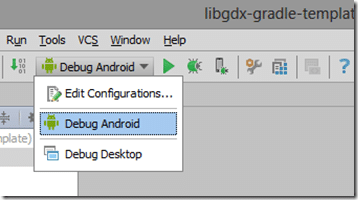
Once you’ve created a Run configuration, you can run your various different projects using this pull down:
Renaming your project
It is possible there is a much easier way to do this as part of the Gradle process ( I am certainly no Gradle expert! ) but once you have your project running, you probably want to rename it to something you want. This means altering directories to match your new naming convention. IntelliJ makes this fairly simple.
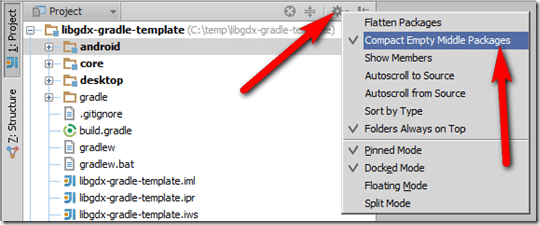
In the Project setting, select the Gear icon, then disable Compact Empty Middle Packages.
In this case, instead of com.badlogic.gradletest, I want it to be com.gamefromscratch.gradletest.
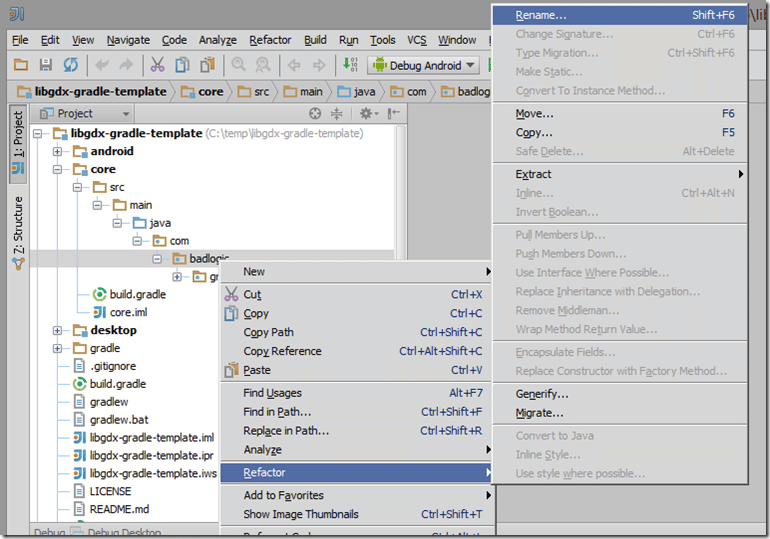
In the core project, select badlogic, right click and select Refactor->Rename…
Select Rename All
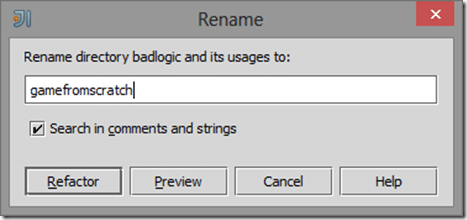
Select your new name, then click Refactor:
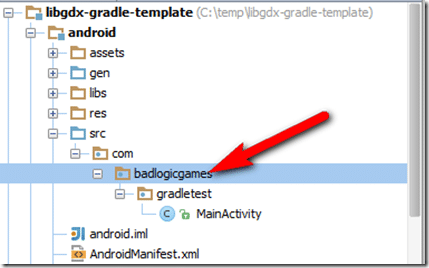
Now repeat the process in the Android folder, select and refactor badlogicgames.
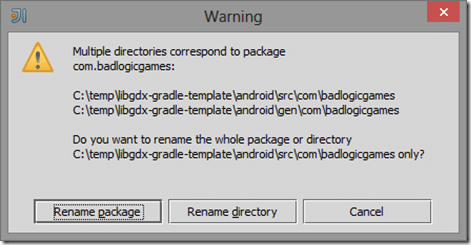
This time select Rename Directory
Once again select the new value you want then click Refactor.
Finally locate AndroidManifest.xml and update the package name there as well
A world of note, refactoring wont update your project Run Configuration. If you rename the project after creating a Run Configuration, you will see:
This is easily fixed, simply select Run->Edit Configurations:
Select your Desktop configuration and updated the Main Class to your newly renamed value:
… now you are up and running in IntelliJ. It’s a bit more work, but certainly worth it in the end, especially if you dont need GWT or iOS support. Hopefully those get added soon!

