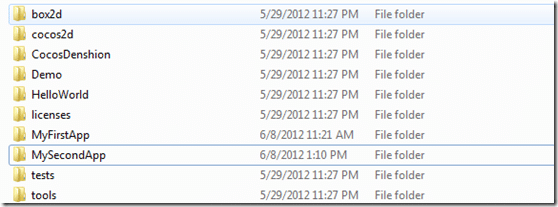
This tutorial is going to look at the basics of sprites and an area that initially confuses many people ( myself included! ), the positioning system used by Cocos2D. I am going to build off the code we wrote in Tutorial 2, with a few minor changes. First thing you need to do is make a copy of the MyFirstApp folder and paste it as the aptly named MySecondApp, so you end up with a folder looking like this:
Now we need to make a few changes. First, you can delete the file MyFirstApp.js within the MySecondApp directory as we are going to create a new one now. Create another js file, MySecondApp.js. We will worry about the contents in a few minutes.
First we need to make a couple small alterations to our existing code. Open up Cocos2d.js and scroll to the very bottom. We want to change:
appFiles:['MyFirstApp.js']
to
appFiles:['MySecondApp.js']
Now open up main.js and change:
var myApp = new cocos2dApp(MyFirstAppScene);
to
var myApp = new cocos2dApp(MySecondAppScene);
That is all the changes we need to make to our boilerplate code. In future tutorials, I will just assume you have already performed this step.
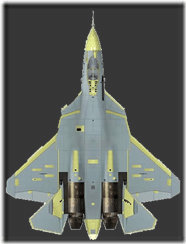
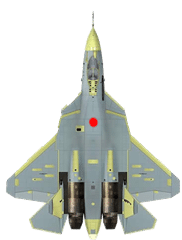
Finally before we get to coding, we need a sprite to work. In your newly created folder, create a directory named images and save an image file there. I am using this sprite, which has the file name Jet.png. You of course can use whatever sprite you want.
Now lets fill in the code for MySecondApp.js
var MySecondApp = cc.Layer.extend( { init:function() { var layer1 = cc.LayerColor.create( new cc.Color4B(128, 128, 128, 255), 600, 600), jetSprite = cc.Sprite.create("./images/Jet.png"); layer1.setPosition(new cc.Point(0.0,0.0)); layer1.addChild(jetSprite); jetSprite.setPosition(new cc.Point(0.0,0.0)); this.addChild(layer1); return true; } }); MySecondAppScene = cc.Scene.extend({ onEnter:function(){ this._super(); var layer = new MySecondApp(); layer.init(); this.addChild(layer); } })
Much of this code should look virtually identical to MyFirstApp.js, as not much has changed. Obviously our variable name has changed, but onEnter() is otherwise identical.
In our init() function, we are simply creating a background layer that is a solid gray color with the dimensions of 600×600 ( the same as our Canvas tag ). We then create a cc.Sprite object using our Jet.png. This is all that is involved in loading and creating a sprite object. Now it’s just a matter of adding the sprite to our layer, and adding our layer to MySecondApp’s layer.
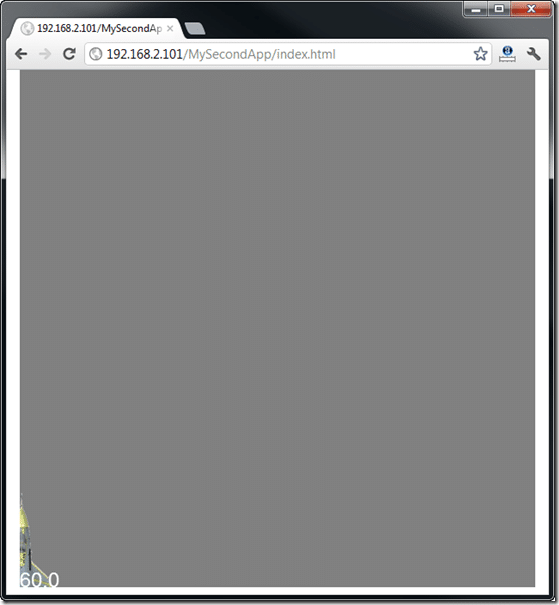
Lets load up our new app in the web browser and see what’s what!
As you can see, we have a 600×600 solid layer of gray and if you look closely in the bottom corner of our screen, you can see 1/4 of our jet sprite. Depending on your background, this result might seem remarkably odd, as there are two factors at play here.
First, as I said in a previous tutorial, Cocos2D puts the origin at the bottom left hand corner, not the more traditional top left. So if you have ever worked with textures or bitmap graphics before ( outside of OpenGL ), this is going to seem a little backwards to you.
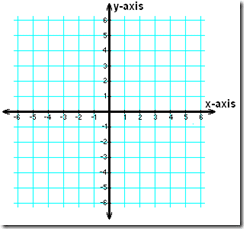
Why would they do it this way? I am guessing that they followed the OpenGL way of doing things. Now, why would OpenGL buck the trend and set the origin to the bottom left? Well that involves a trip back to high school math and Cartesian coordinates. If you think in those terms, suddenly starting from the bottom left makes a bit more sense. Remember this graph:
In this particular case, if you are dealing with positive coordinates, you are in the upper right hand quadrant. So if something is at say, position (2,2), it is above and to the right of the origin.
In the end it doesn’t really matter why, just be aware that the positions in Cocos2D start at the bottom left and you will be fine.
The next factor here is, where is the sprite’s anchor point. Its all nice and good to say our jet is at (0,0)… but what part of our Jet is at (0,0)? This is where the anchor point comes into effect. The anchor point is where sprite translations ( rotating, translating, etc ) are performed relative to. In Cocos2D, by default the pivot point is in the middle of the sprite, like illustrated by the red dot:
It is traditional to place the anchor point at the top left corner, but there are some real advantages to placing it at the center. The least of which is rotation. Consider the effects of rotating a sprite 1 degree per frame.
Here is the result with the pivot about the center:
(The code for the above animation is available here )
And here is the same image with the sprite anchor point moved to the top left:
(The code for the above animation is available here )
If you want to alter the anchor point, you can do it with this code:
jetSprite.setAnchorPoint(cc.PointMake(0,1));
The parameter to setAnchorPoint() is the new origin, in OpenGL coordinates. 0,0 == Bottom left, 0,1 == Top left, 1,0 == Top right, 1,1 == Bottom right. Truth of the matter is, you should just adjust to the Cocos way of doing things unless you have a very good reason.
Alright… back to example, doing things the Cocos2D way.
Let say for example we wanted our sprite to be at the top right hand corner, we would accomplish this with the following code:
var size = cc.Director.sharedDirector().getWinSize(); jetSprite.setPosition(new cc.Point( size.width - jetSprite.getContentSizeInPixels().width/2, size.height - jetSprite.getContentSizeInPixels().height/2) );
Now here is the updated init() method with the Jet sprite centered to the screen.
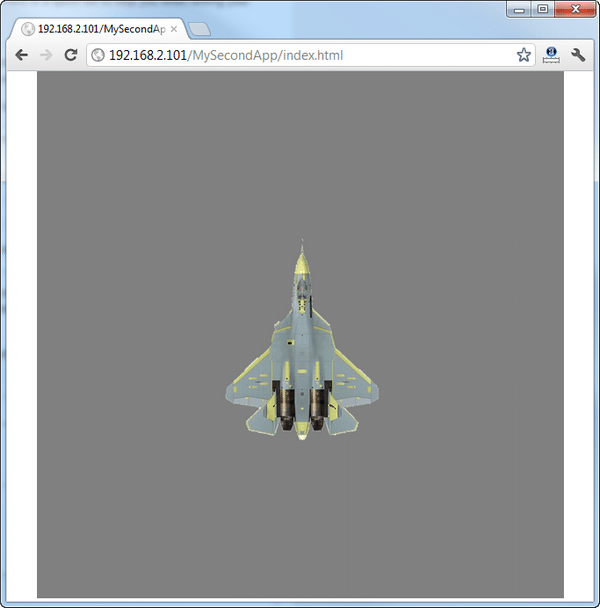
init:function() { var layer1 = cc.LayerColor.create( new cc.Color4B(128, 128, 128, 255), 600, 600), jetSprite = cc.Sprite.create("./images/Jet.png"); layer1.setPosition(new cc.Point(0.0,0.0)); layer1.addChild(jetSprite); var size = cc.Director.getInstance().getWinSize(); jetSprite.setPosition(new cc.Point(size.width/2,size.height/2)); this.addChild(layer1); return true; }
And finally, our end results:
Again, you can download the entire project here.
Read Tutorial 4

