There are a wealth of great add-ons for the Godot game engine, such as Add_Primitives, which adds several geometric primitives to the Godot editor, such as capsules, spheres and more. This quick tutorial (including a video) goes step by step through the process of enabling an add-on in your Godot project.
First, you need to download the add-on you wish to enable, that or git clone it. In this tutorial we are going to simply download it. This link will download the add_primitives add-on zip.
Next, create a project. Add-on’s are now located at the project level, not in the %APPDATA% folder. In the project directory, create a folder called Addons. In that folder, extract the zip file you downloaded earlier. Next be sure to rename it from add_primitives-master to add_primitives, so the folder name matches the add-on name. If you cloned using git, you wont have to perform this step.
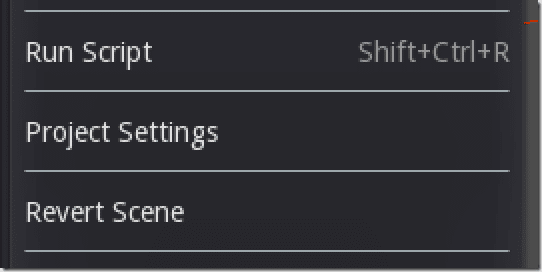
Now load Godot. Select the Scene Menu->Project Settings.
Switch to the Plugins tab
Next change Status to Active.
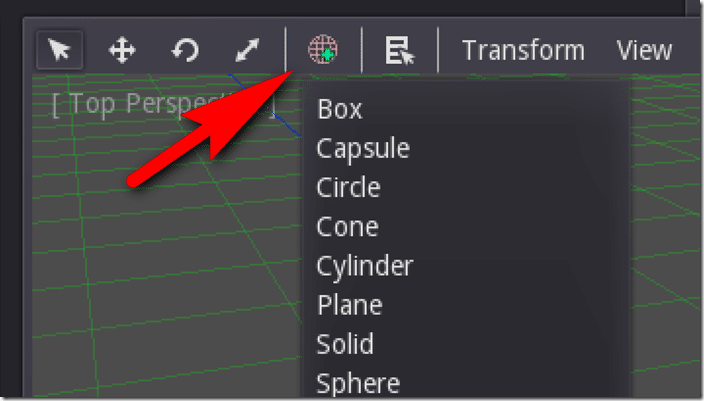
And done! If you are using the Add_Primitives add-on from this example, you should now see an additional icon in the 3D view:
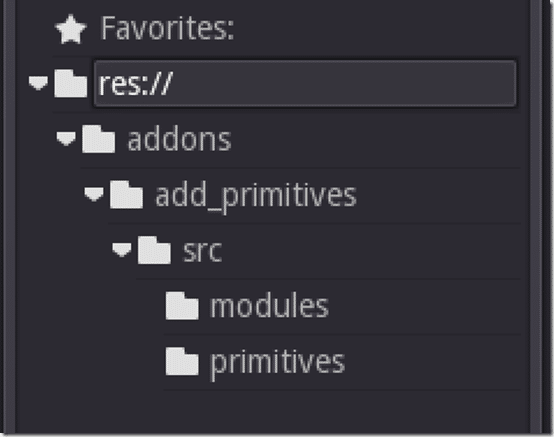
The Add-on will also be shown in your project view:
You can watch the above process in video form below.


