Back in Part One of our look at the PlayCanvas HTML5 3D game engine, we started creating our simple bowling game. We already created our lane and pins. Now it is time to continue on and create our bowling ball. Attached to our bowling ball will also be the script the controls the majority of our game. Let’s jump back in.
Creating the Bowling Ball
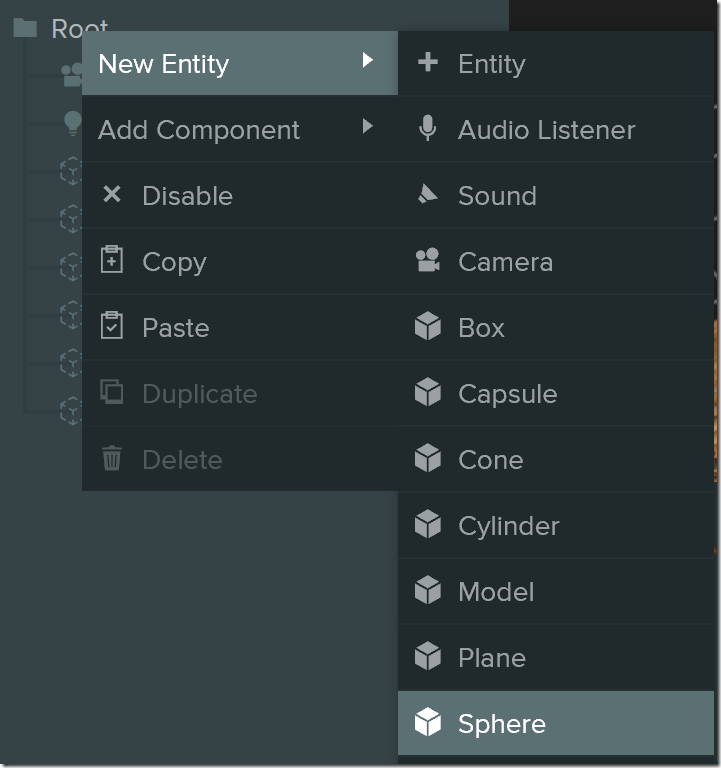
This time, instead of importing a model, we are simply going to use a built in procedurally generated mesh. Simply right click the Root in the Hierarchy view, select New Entity then Sphere.
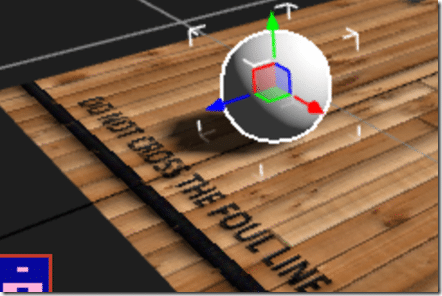
Scale the newly created ball down and position it accordingly.
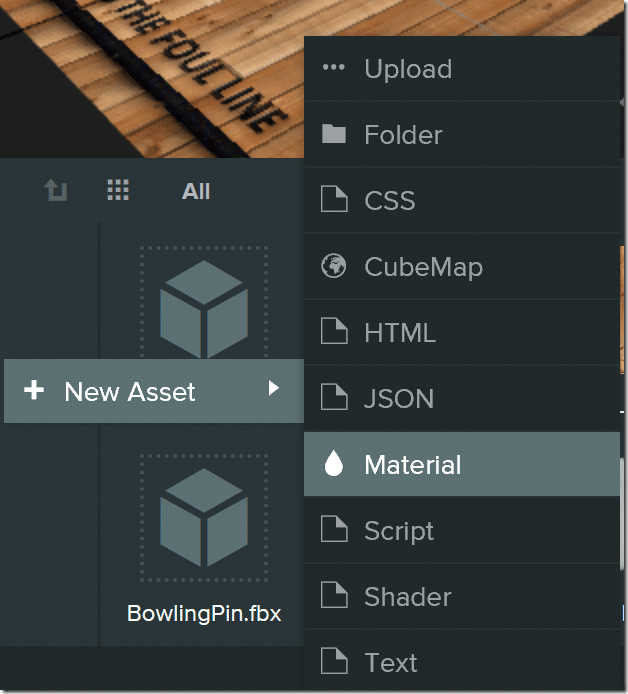
Under the Entity properties, I renamed it from Sphere to BowlingBall. Right now our ball doesn’t look all that great. Let’s go ahead and make it a bit shiny. Right click in the asset area, select New Asset->Material.
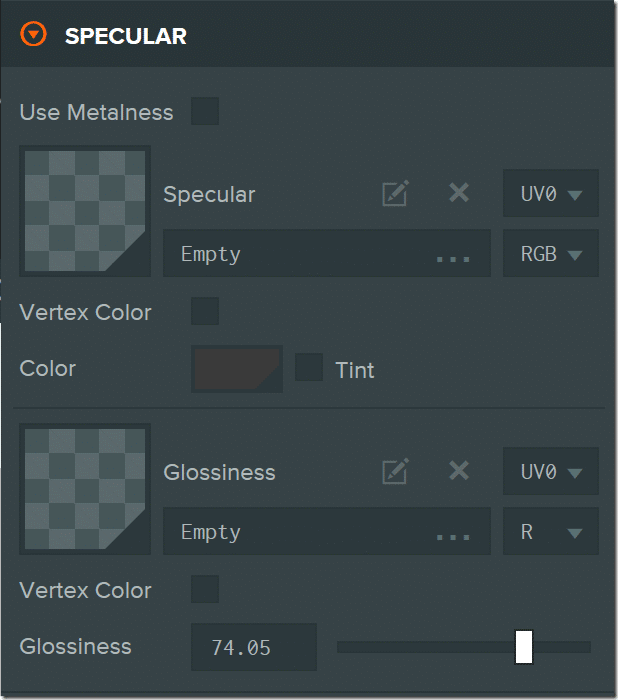
Select the newly created material from the assets tab. In the Material panel, I rename it to BowlingBallMaterial. What I want to do is make the bowling ball a bit shiny. I am going to leave it white, but if you want to change the color, do so under the Diffuse tab. Next head on down to the Specular tab. I used the following settings
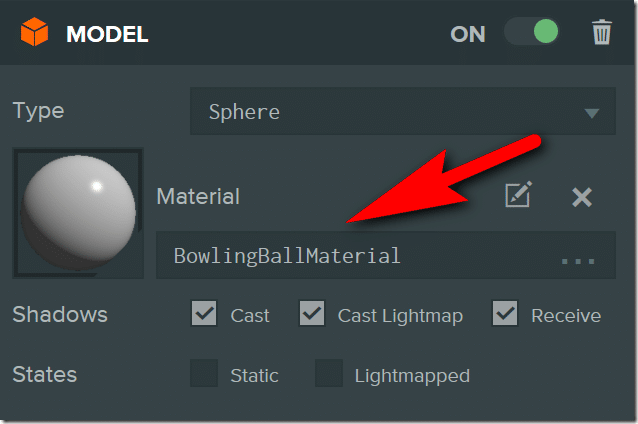
Finally we need to apply the material to our bowling ball. In the Hierarchy view, select the BowlingBall entity, under the Model panel, select our newly created Material.
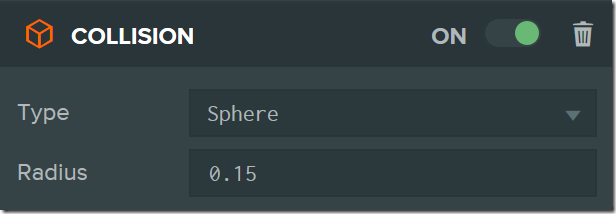
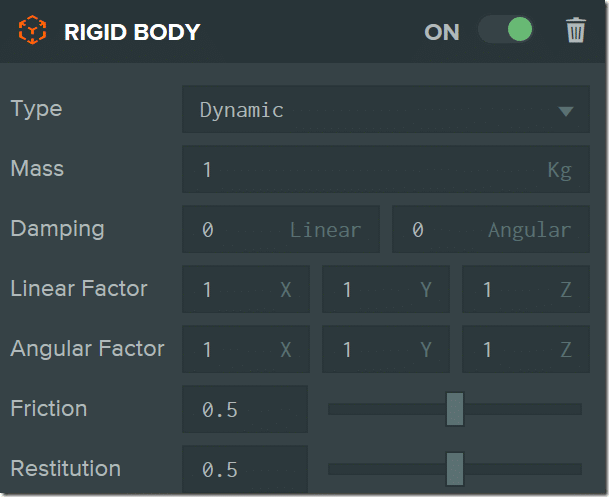
Our bowling ball also needs to have a Collision shape and Rigid Body attached to it.
Be sure to set the Collision object to a Sphere and size the radius to be only slightly larger than our bowling ball model.
Now we have all the pieces needed for our game. The pins, the lane and the bowling ball. Now all we need to do is add some logic to the game. This is done by attaching scripts to entities within our game. In this case we are going to attach the logic to our bowling ball.
Scripting
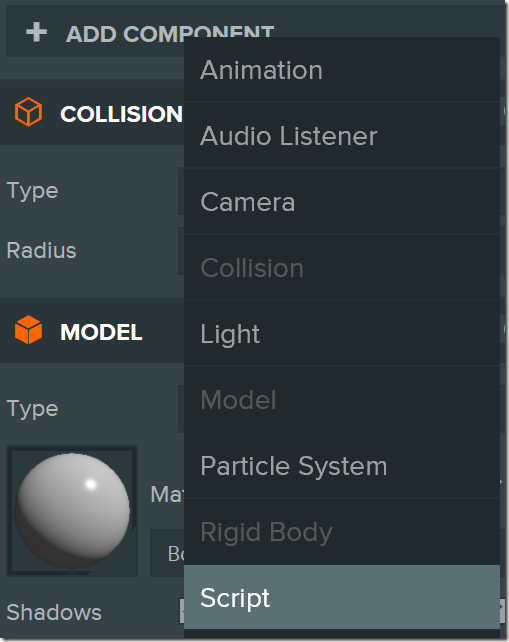
With our BowlingBall entity active, add a component and select Script.
Scroll down to the Script panel, select Add Script->New Script.
Enter a name for the script.
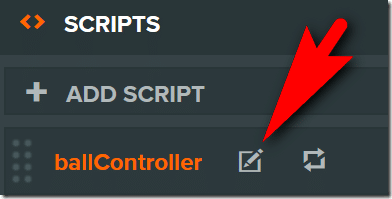
Now click Edit Script to launch the script editor.
Now enter the following script:
var BallScript = pc.createScript('ballScript'); BallScript.attributes.add('speed', { type: 'number', default: -8 }); BallScript.prototype.initialize = function() { this.entity.collision.on('collisionstart', this.onCollisionStart, this); this.app.keyboard.on('keydown', this.onKeyDown, this); var pins = this.app.root.findByTag("Pin"); this.startingPositions = []; this.startingRotations = []; for(var i = 0; i < pins.length; i++){ this.startingPositions.push(pins[i].getLocalPosition().clone()); this.startingRotations.push(pins[i].getLocalRotation().clone()); } this.ballPosition = this.app.root.findByName("BowlingBall").getLocalPosition().clone(); this.ballMoving = false; }; BallScript.prototype.onCollisionStart = function (result) { if (result.other.rigidbody) { if(result.other.name == "BowlingPin") this.entity.sound.play("Hit"); } }; BallScript.prototype.onKeyDown = function(e) { if(e.key == pc.KEY_SPACE || e.key == pc.KEY_W){ this.entity.rigidbody.applyImpulse(0,0, this.speed); this.ballMoving = true; } if(e.key == pc.KEY_R){ var pins = this.app.root.findByTag("pin"); for(var i = 0; i < pins.length; i++){ pins[i].rigidbody.teleport(this.startingPositions[i],this.startingRotations[i]); pins[i].rigidbody.linearVelocity = pc.Vec3.ZERO; pins[i].rigidbody.angularVelocity = pc.Vec3.ZERO; } // now the ball this.entity.rigidbody.teleport(this.ballPosition); this.entity.rigidbody.linearVelocity = pc.Vec3.ZERO; this.entity.rigidbody.angularVelocity = pc.Vec3.ZERO; this.ballMoving = false; } if(e.key == pc.KEY_B){ // Just the ball this.entity.rigidbody.teleport(this.ballPosition); this.entity.rigidbody.linearVelocity = pc.Vec3.ZERO; this.entity.rigidbody.angularVelocity = pc.Vec3.ZERO; this.ballMoving = false; } if(e.key == pc.KEY_LEFT || e.key == pc.KEY_A){ this.entity.rigidbody.applyImpulse(-0.2,0,0); } if(e.key == pc.KEY_RIGHT || e.key == pc.KEY_D){ this.entity.rigidbody.applyImpulse(0.2,0,0); } }; // update code called every frame BallScript.prototype.update = function(dt) { };
One thing you may notice in the script above is the definition of the speed attribute. This exposes this variable back to the editor, like so:
You may notice the line of code in the script for playing audio when we collide with a pin:
if (result.other.rigidbody) { if(result.other.name == "BowlingPin") this.entity.sound.play("Hit"); }
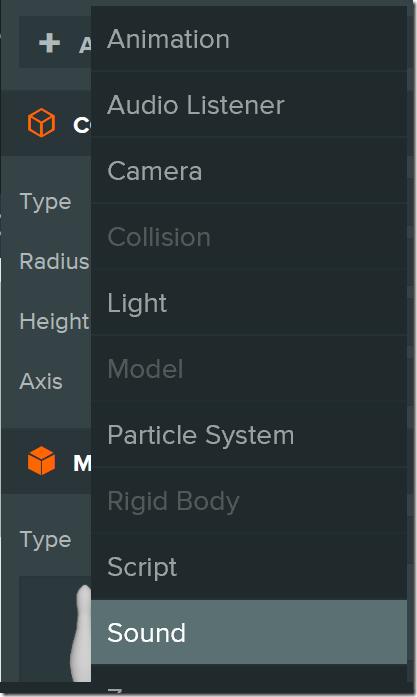
Now we need to add this audio asset to our bowling ball. First add the audio file as an asset. Simply click add asset –> Upload, then upload a WAV file. Now we need to add a sound component to our BowlingBall entity.
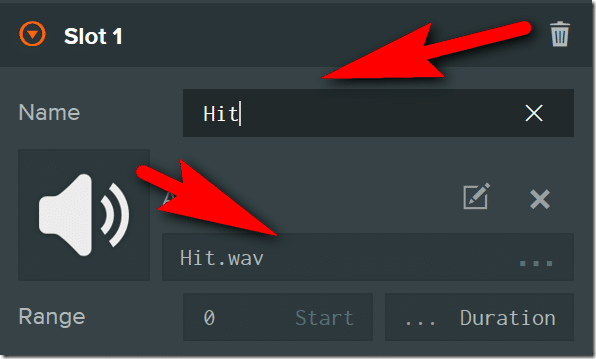
Now scroll down to Slot 1 and add the asset you just uploaded and be sure to set name to Hit.
And done. A complete, rather simple but fully functioning 3D bowling game in just a few minutes.
The Video

