I featured the PlayCanvas engine a couple years ago in this Closer Look review. PlayCanvas is a 3D HTML5 powered game engine with a full suite of editing tools. In the time since that initial review, PlayCanvas has advanced a great deal, so I have decided to revisit the engine. Much of the engine has remained the same as it was, just generally improved all around. Therefore I have decided instead of another review, I will do a hands on tutorial showing how to create a simple game using PlayCanvas. In this case, a bowling game. For Patreon backers all the assets used to make this tutorial are now available including Blender files, FBX, textures and more.
There is a video version of this tutorial available here.
Spoiler alert… here is the “game” we are about to create in this tutorial.
Click the window to focus.
Press spacebar or W to throw bowling ball.
Press left | A and right | D to move the bowling ball.
Press R to reset the table.
Press B to reset just the ball.
Creating your Project
Alright, lets jump in and build this game. First head on over to http://playcanvas.com. Now you either need to create an account or log in to your existing account.
A free account is sufficient for what we are doing here. Once your account is created and you’ve logged in, click the New button
Select Blank Project:
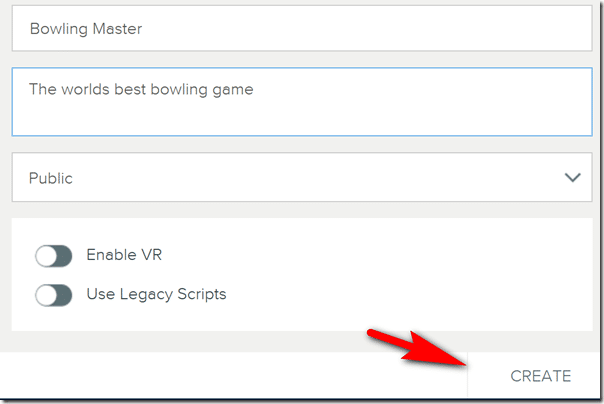
Now name your game and hit Create. Unless you have a premium account, you can’t make private projects.
This will open your project after it’s created. Now head into the settings.
You can set the resolution, change the name, description, etc… but what we want to do in this case is enable physics for our project.
Next scroll to the bottom right corner and click the save button.
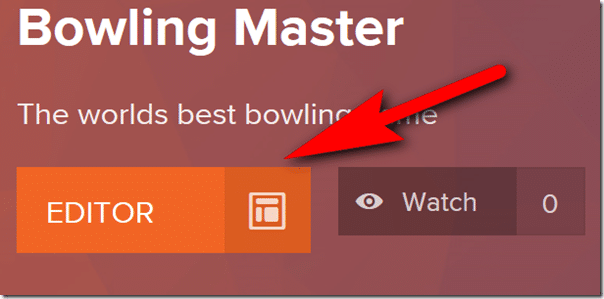
Now we are ready to fire up the editor. Scroll back up and locate the Editor button.
Creating your Game
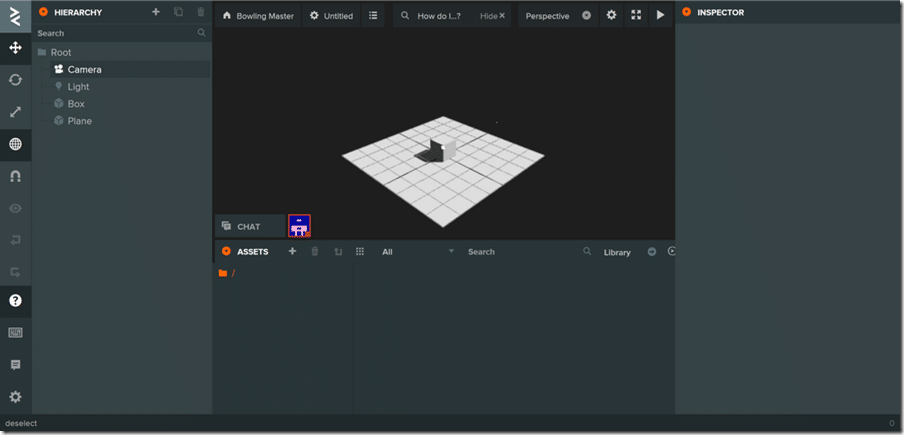
Welcome to the default editor!
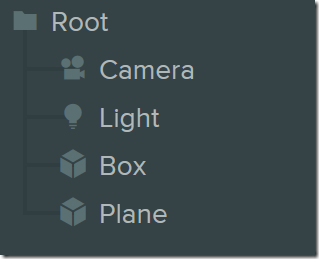
Now that we are in the editor, it’s time to start creating our game. You will notice on the left there is the Hierarchy, this is your games scene graph.
We have no need of the Box or Plane, simply right click each and delete them.
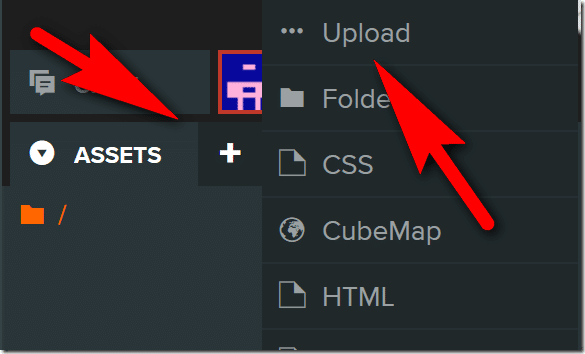
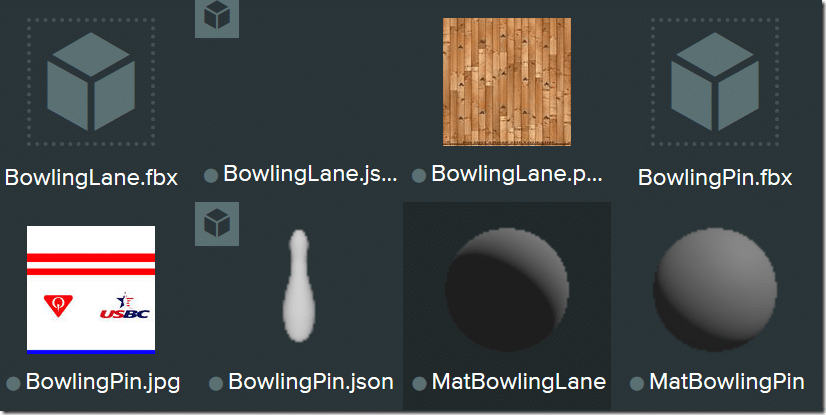
Now let’s get our assets into the game. In Blender I created the bowling lane and pin textured meshes, then exported them as FBX ready for importing. Let’s import them for use into our game, along with the required textures. Locate the Assets window, click the + Icon, select Upload then select your FBX file(s). Repeat the process with any texture maps you require.
This process will create a .json for each of your 3D models. It also creates an empty material for both.
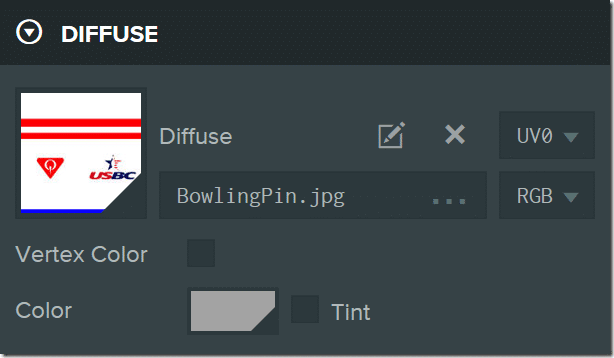
Now let’s set the texture for each material. Simply select the Material, then in the Material tab to your right, scroll down and select Diffuse. Click … then select your texture map from the asset pane, like so:
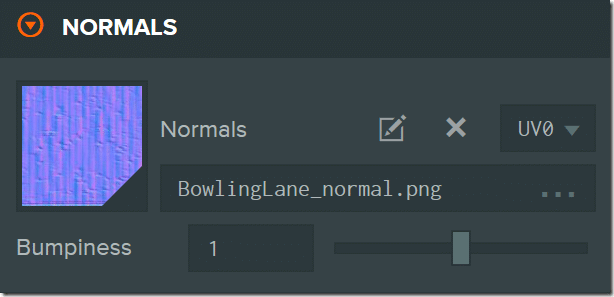
I also have a normal map for the bowling lane, I repeat the above process, but instead of Diffuse I select Normal:
Creating the Bowling Lane
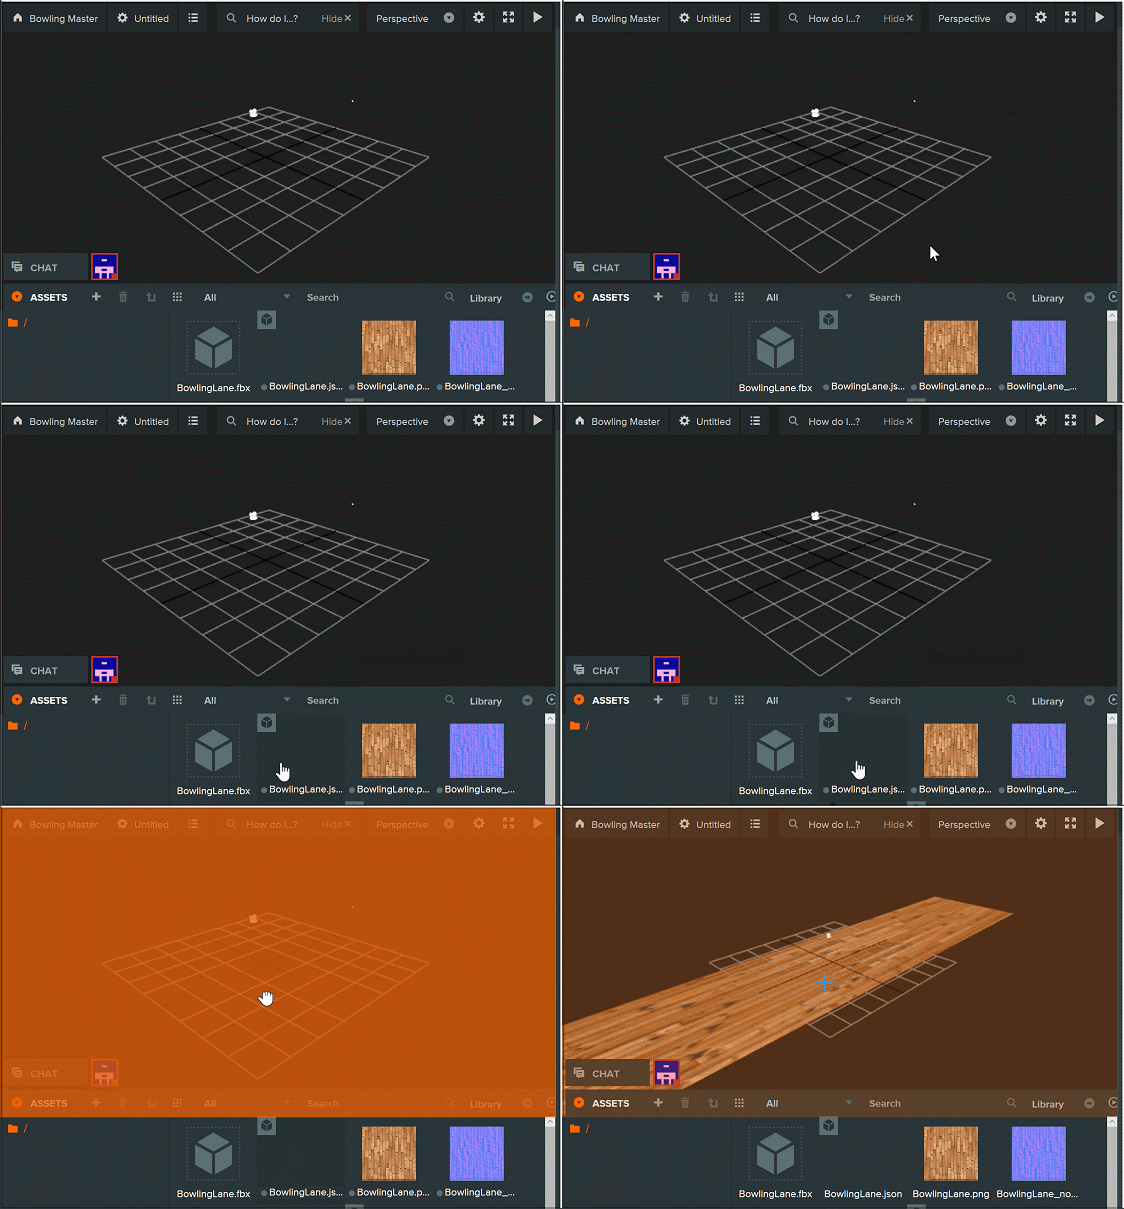
Ok, now that we have our raw assets and our textures linked, lets start creating some game objects. Simply drag the lane into the scene like so:
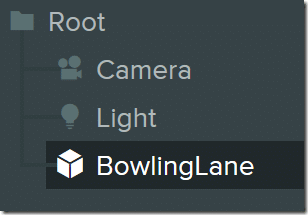
You will notice this creates a new entity in our scene graph:
PlayCanvas takes the traditional Entity Component model that is rapidly becoming the norm in the world of game development.
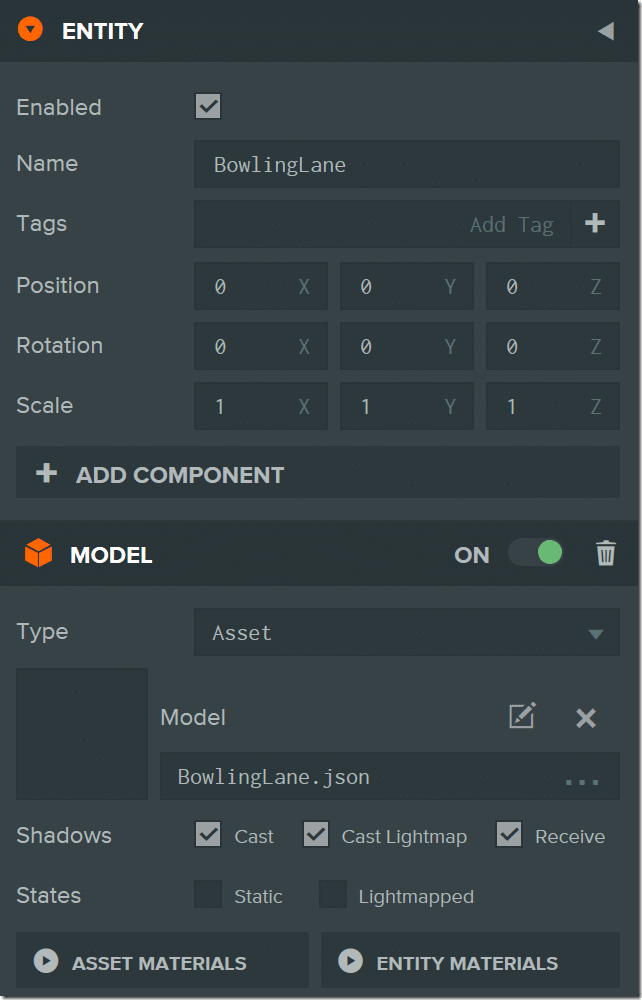
You will notice that we have a Transform component, which enables us to position our entity in the world. It also automatically created a Model component for us. Now we want to add some physics to the game. Since this is the lane, it wont be moving, so we create it as a static physics object. To accomplish this we need to add two components, one for collisions that define the shape of our object to the physics engine, the second a RigidBody that defines our physical properties. Let’s create the Collision shape first.
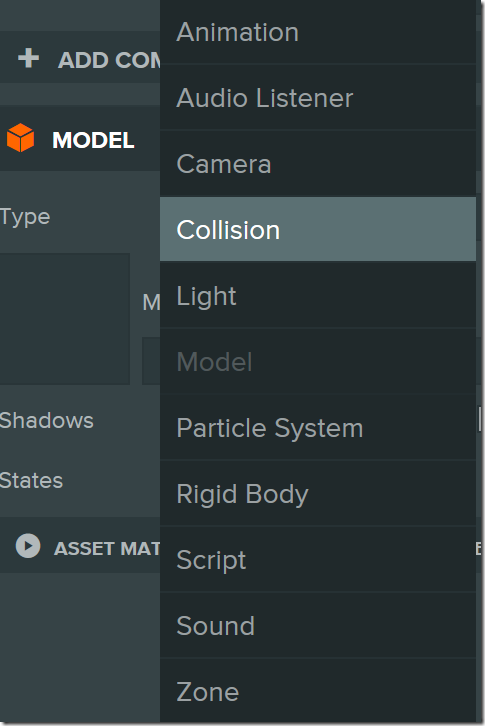
First click the Add Component button:
Then select Collision
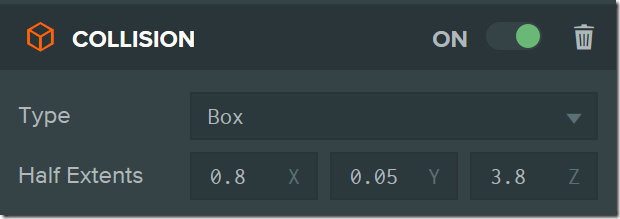
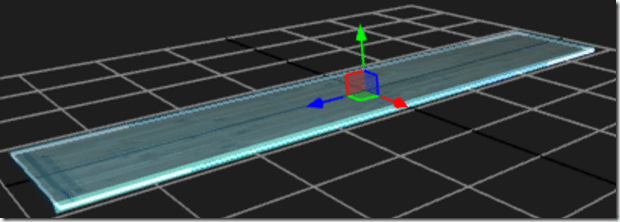
Select Box then set the dimensions to surround your mesh as tightly as possible (note that PlayCanvas is a Y-up game engine):
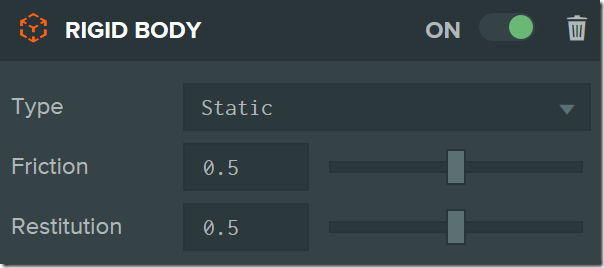
Now Add Component again, this time selecting Rigid Body. The default value should be Static, which is what we want.
Static means the object will be part of the physics simulation, but wont be moved by it. Friction determines how well other objects slide over this surface, while Restitution determines how objects “bounce” off of it.
That’s it! Our lane is completed. Now it’s on to creating the bowling pin object.
Creating the Bowling Pins
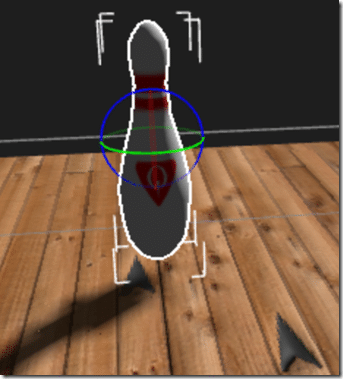
Now it’s time to create the bowling pin. Follow the exact same process you did earlier, drag the .json file onto the scene. Position and scale it appropriately for your scene.
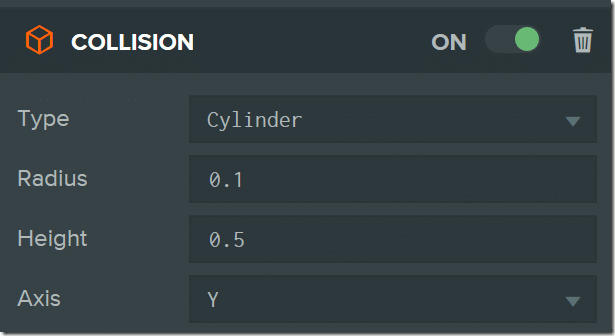
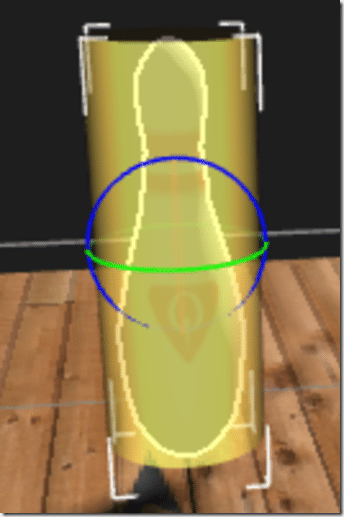
Just like last time, we want to create a collision component for this object. This time instead of a cube, a cylinder is a better fit.
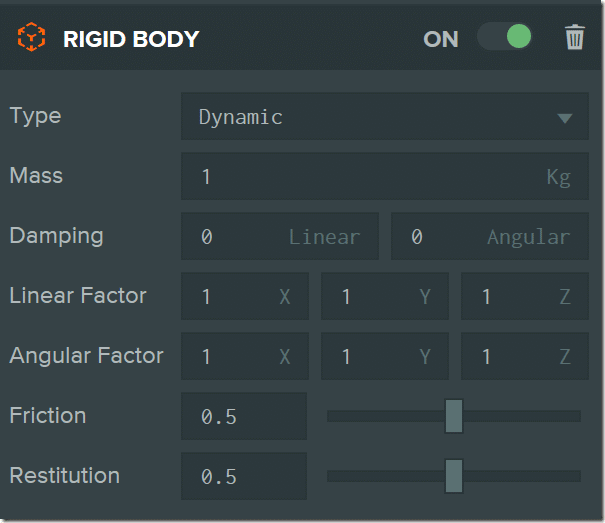
We also need to create a rigid body to control physics for this entity. This time we create our entity as Dynamic ( static means stationary, dynamic is fully simulated, while kinematic takes part in the simulation but expects the movement to come directly from code, not the simulation).
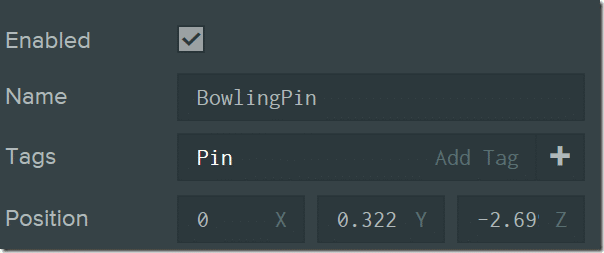
Finally we are going to set a tag under the Entity section so we can identify all pins via code. In the Tags section, enter “Pin” then hit enter to add a tag. You can add multiple tags to an entity, a quick easy way to create ad-hoc groups of objects as we will see in a moment.
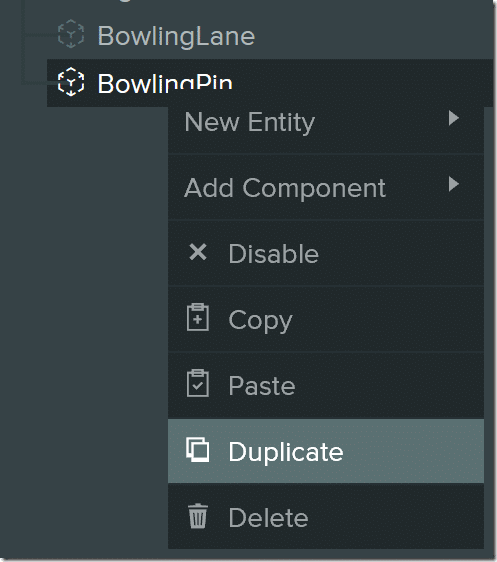
We are simulating 5 pin bowling here, so we need 4 more of them. In the Hierarchy review, right click the pin and select Duplicate (not copy!). This creates a copy of the entity and all of it’s components.
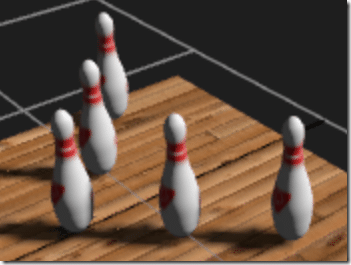
Repeat this process 3 more times, then go ahead and position the pins in a V like so.
Obviously if you are a 10 pin fan, other than being a heathen, you simply have to duplicate and position 5 more pins.
This post is getting pretty long so I’ve decided to split it into two parts. Click here to continue on to part two.


