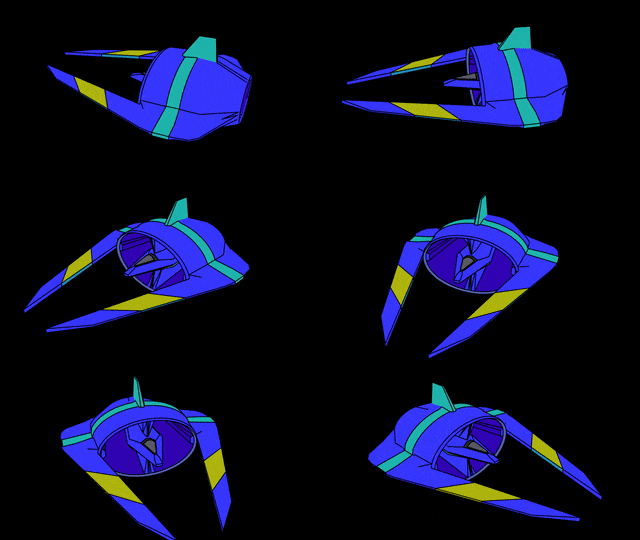
Ever find yourself wanting to render a 360 degree view of your model? If you’ve ever used Blender for game sprite creation I bet you have. What is the best way to go about doing this? One way is to keyframe the object rotating over time, although this may not result in the lighting you want. A better way is to orbit the render target using the camera. The question is, how do you do this? Well you can manually keyframe the camera’s position and rotation but this process is a gigantic pain in the butt. An easier solution is to have the camera follow a spline path. That’s what we are going to look at today, it’s thankfully quite easy, but perhaps not entirely intuitive.
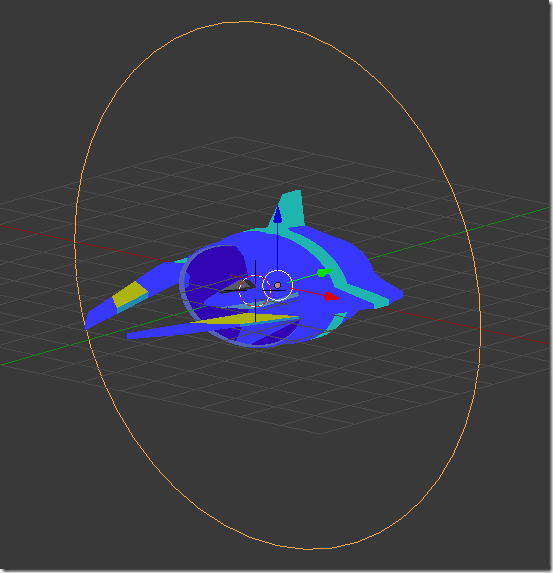
First thing you need to do is create the path for your camera to follow. In my case I’m using a simple circle, with the center of the circle around my target, like so:
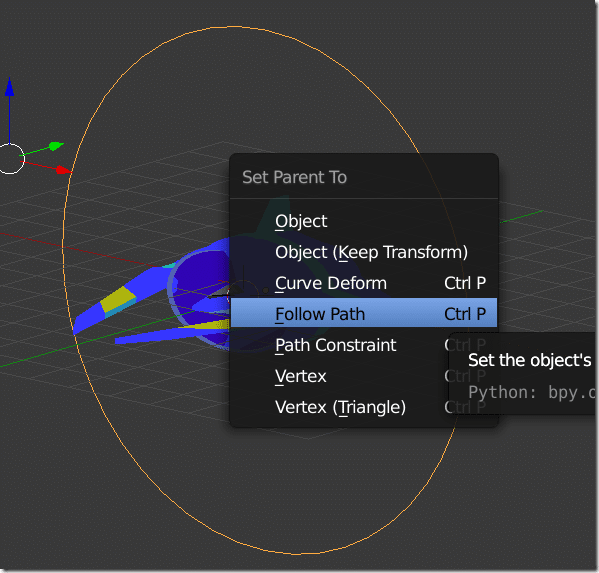
Next, select your camera, then shift select the curve. Then hit CTRL + P and select follow path.
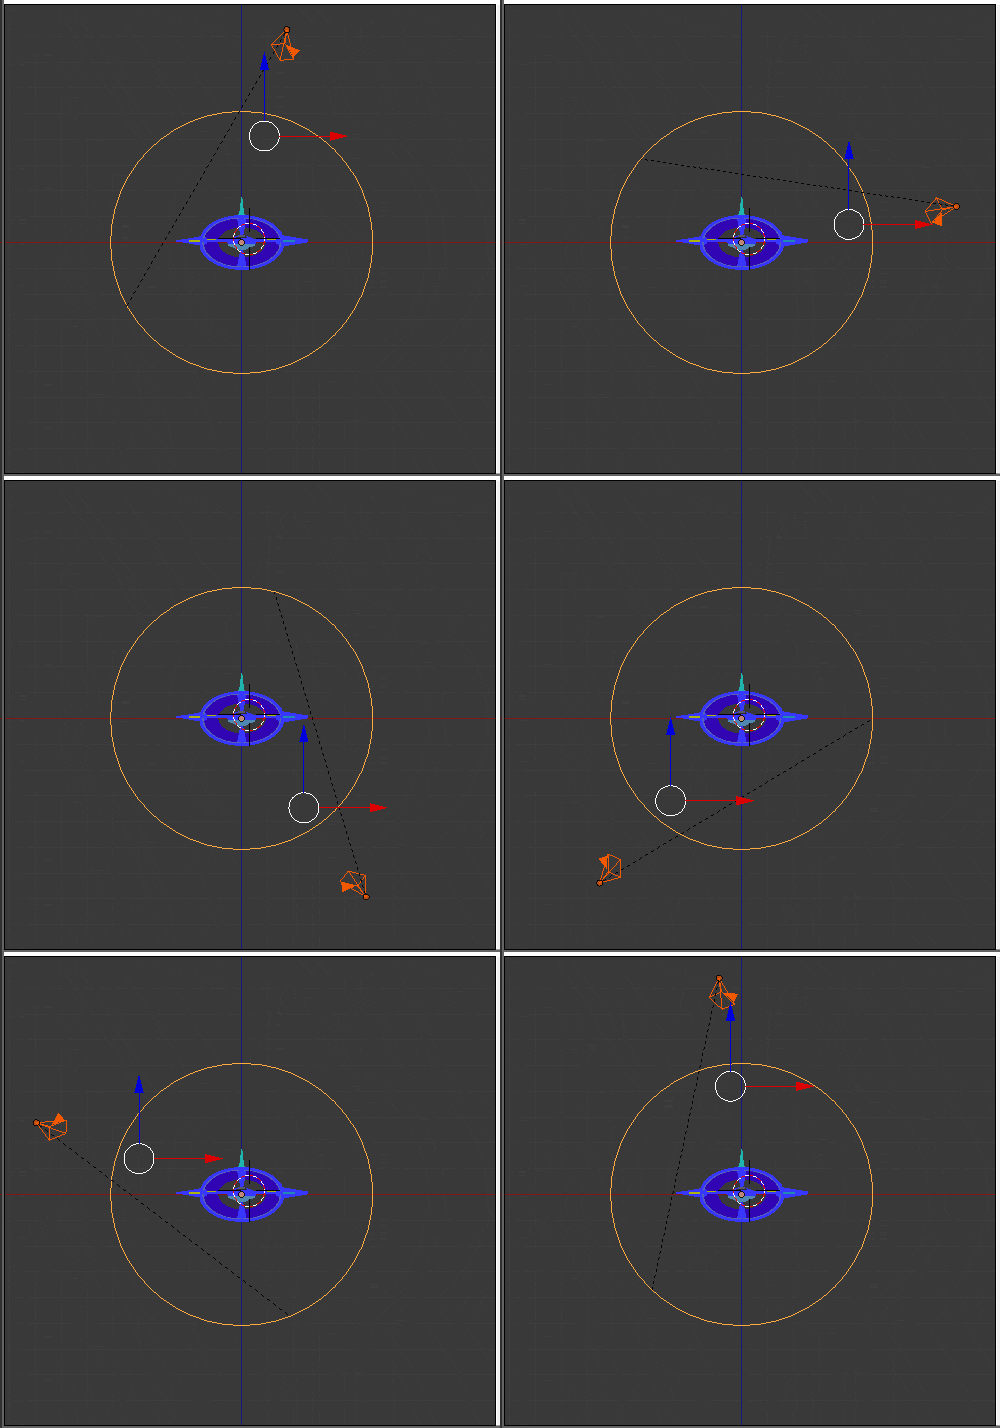
And voila!
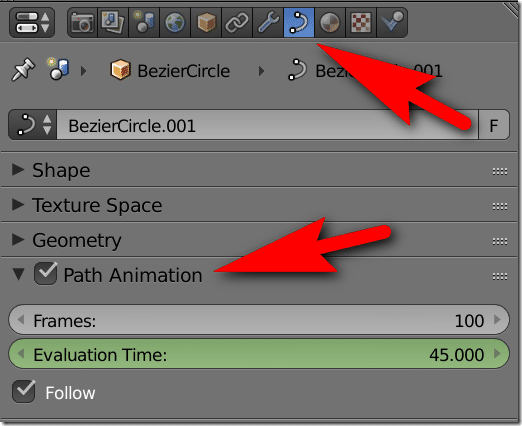
That said, how exactly do you control how fast the animation moves? Don’t worry, it’s quite easy. With the curve selected, go to the Data panel and locate the Path Animation section. The number of frames can be configured here.
Easy 360 degree (or in this case, 180 degree) rendering!
You can watch this in process in the video below.

