Up until this point in the HaxeFlixel Tutorial Series all of our examples have been confined to a single screen. What happens however when your game world is larger than the screen? Well, that’s where cameras come in. In this tutorial we are going to look at creating a camera and navigating around the game world. Cameras in HaxeFlixel are also capable of much more then this, including special effects and even split screen, all of which we will look at in this tutorial.
There is one important concept to understand before we get too far. The camera and the screen resolution are two completely different things. The screen resolution, which we covered in this tutorial, determines the resolution and size of the applications window. A camera on the other hand is a view into our game world. They do not have to be the same, nor do they have to even use the same units.
In the example we are going to create I have a single large image to use as a background, an image many times larger than the screen, then another sprite to represent our player within the game world. Let’s get the setup out of the way. Don’t worry, I’ll do a full source listing later in the tutorial.
class PlayState extends FlxState { var background:FlxSprite; var jet:FlxSprite; var blur:Bool = false; override public function create():Void { super.create(); background = new FlxSprite(); background.loadGraphic(AssetPaths.aerialcropped__jpg,false); jet = new FlxSprite(); jet.loadGraphic(AssetPaths.jet__png); camera = new FlxCamera(0,0,640,480); camera.bgColor = FlxColor.TRANSPARENT; camera.setScrollBoundsRect(0,0,640,background.height); // Replace default camera with our newly created one FlxG.cameras.reset(camera); jet.angle = 90.0; jet.x = 320 - jet.width/2; jet.y = 0; camera.target = jet; add(background); add(jet); } }
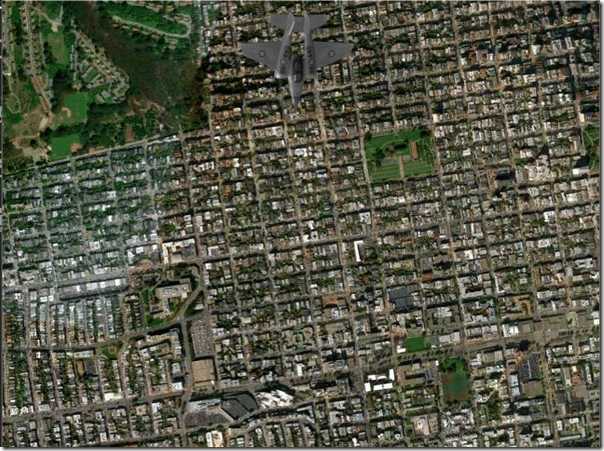
We run this game and get:
Nothing too exciting so far. We setup and add our two sprites and most importantly create our FlxCamera object. We create it with a top left position of 0,0 and size of 640×480. We then set our camera as active with a call to FlxCamera.reset(). One important thing to be aware of, by default Flixel will create a camera for you in FlxG.camera that matches the size of your application’s resolution. In this example there is no reason why we couldn’t just use the default created camera. The other critical line of code to be aware of is
camera.target = jet;
This tells our camera to follow the FlxObject passed in, in this case our jet sprite. The other key line here is
camera.setScrollBoundsRect(0,0,640,background.height);
This line sets the range that our camera will navigate. As you will see in a moment when our jet sprite exceeds the bounds the camera will travel no further. On that topic, let’s get some movement going and see what happens!
Add the following code to your project:
override public function update(elapsed:Float):Void { super.update(elapsed); jet.y+= 300.0 * elapsed; }
And now when we run it (focus and press spacebar to begin):
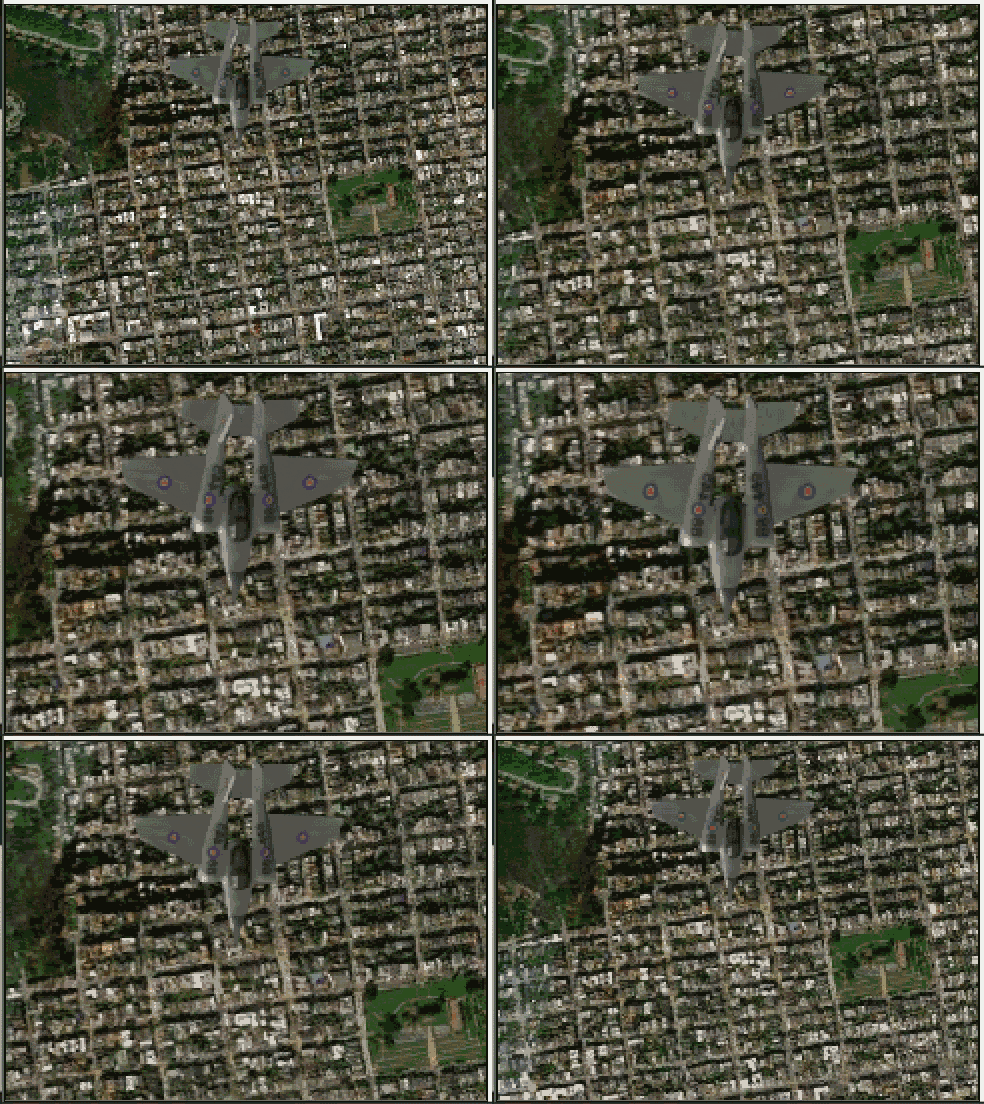
As you can see, the camera smoothly follows the jet until the jet sprite exceeds the predefined bounds. Neat. So that’s the basics of a camera, but by no means all it can do. Let’s look at adding zoom functionality next. Add the following code to your update:
if(FlxG.keys.justReleased.UP) camera.zoom += 0.1; if(FlxG.keys.justReleased.DOWN) if(camera.zoom > 1) camera.zoom -= 0.1;
Now when you press the update and down arrows:
You can also perform special effects, such as camera shake:
if(FlxG.keys.justReleased.SPACE) camera.shake(0.01,1);
Resulting in:
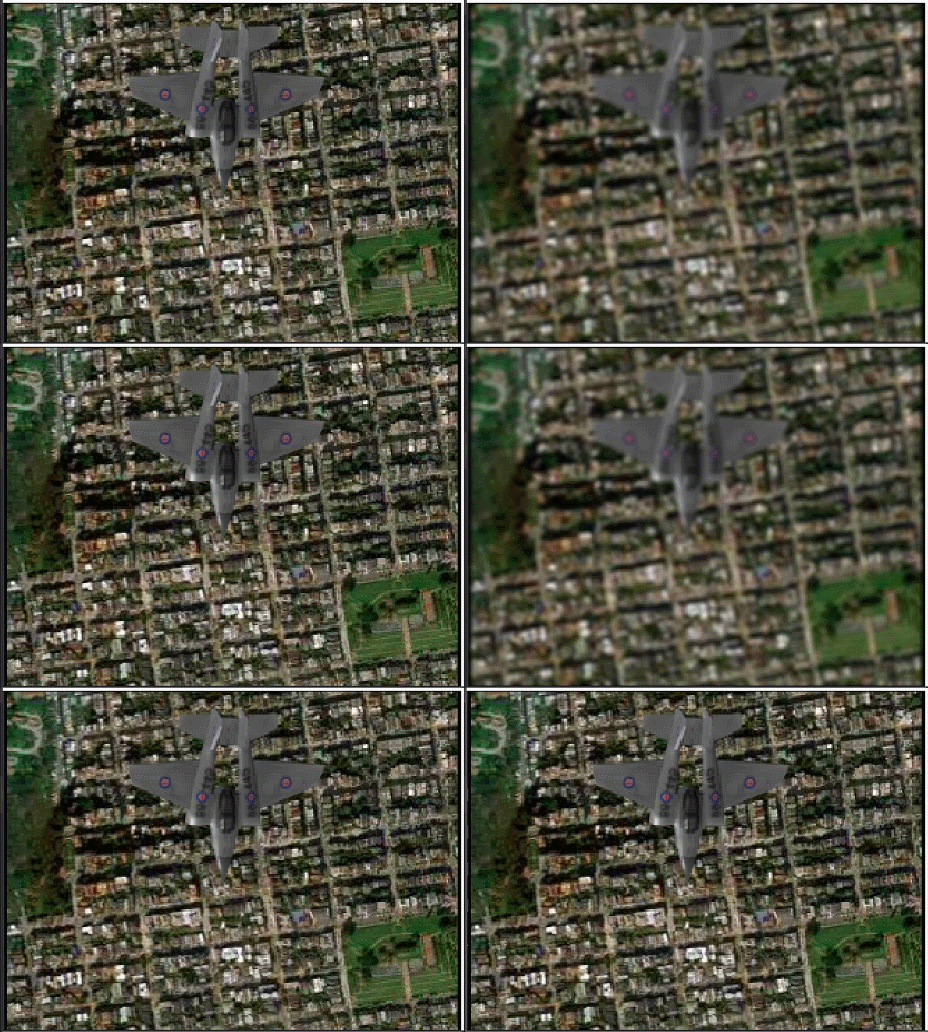
You can even apply special effect filters, such as blur:
if(FlxG.keys.justReleased.ESCAPE){ blur = !blur; if(blur){ var filter = new BlurFilter(); camera.setFilters([filter]); } else { camera.setFilters([]); } }
Resulting in:
Now let’s look at a complete example. In addition to all of the code above this one has a couple more features. You can flash the screen red by pressing the A key. Also when the jet goes off screen, the screen will fade to black then restart a few seconds later.
package; import flixel.FlxG; import flixel.FlxSprite; import flixel.FlxCamera; import flixel.FlxState; import flixel.util.FlxColor; import flash.filters.BlurFilter; class PlayState extends FlxState { var background:FlxSprite; var jet:FlxSprite; var blur:Bool = false; var start:Bool = false; override public function create():Void { super.create(); background = new FlxSprite(); background.loadGraphic(AssetPaths.aerialcropped__jpg,false); jet = new FlxSprite(); jet.loadGraphic(AssetPaths.jet__png); camera = new FlxCamera(0,0,640,480); camera.bgColor = FlxColor.TRANSPARENT; camera.setScrollBoundsRect(0,0,640,background.height); // Replace default camera with our newly created one FlxG.cameras.reset(camera); jet.angle = 90.0; jet.x = 320 - jet.width/2; jet.y = 0; camera.target = jet; add(background); add(jet); } override public function update(elapsed:Float):Void { super.update(elapsed); if(FlxG.keys.justReleased.SPACE) start = true; if(FlxG.keys.justReleased.UP) camera.zoom += 0.1; if(FlxG.keys.justReleased.DOWN) if(camera.zoom > 1) camera.zoom -= 0.1; if(FlxG.keys.justReleased.S) camera.shake(0.01,1); if(FlxG.keys.justReleased.ESCAPE){ blur = !blur; if(blur){ var filter = new BlurFilter(); camera.setFilters([filter]); } else { camera.setFilters([]); } } if(FlxG.keys.justReleased.A) camera.flash(flixel.util.FlxColor.RED,0.5); if(start){ if(jet.y > background.height) camera.fade(FlxColor.BLACK,2.0,false, function(){ FlxG.resetGame(); }); jet.y+= 300.0 * elapsed; } } }
Click the window below and press Space to begin. S to shake, Up and Down arrows to zoom. Unfortunately the Blur filter depends on the Flash target so does not work in the browser.
One final thing we are going to cover is supporting multiple cameras. Let’s just jump in with a code example.
override public function create():Void { super.create(); background = new FlxSprite(); background.loadGraphic(AssetPaths.aerialcropped__jpg,false); jet = new FlxSprite(); jet.loadGraphic(AssetPaths.jet__png); var camera = new FlxCamera(0,0,320,480); camera.bgColor = FlxColor.TRANSPARENT; camera.setScrollBoundsRect(0,0,640,background.height); var camera2 = new FlxCamera(320,0,320,480); camera2.focusOn(new FlxPoint(320/2,480/2)); // Replace default camera with our newly created one FlxG.cameras.reset(camera); FlxG.cameras.add(camera2); jet.angle = 90.0; jet.x = 320/2 - jet.width/2; jet.y = 0; camera.target = jet; add(background); add(jet); }
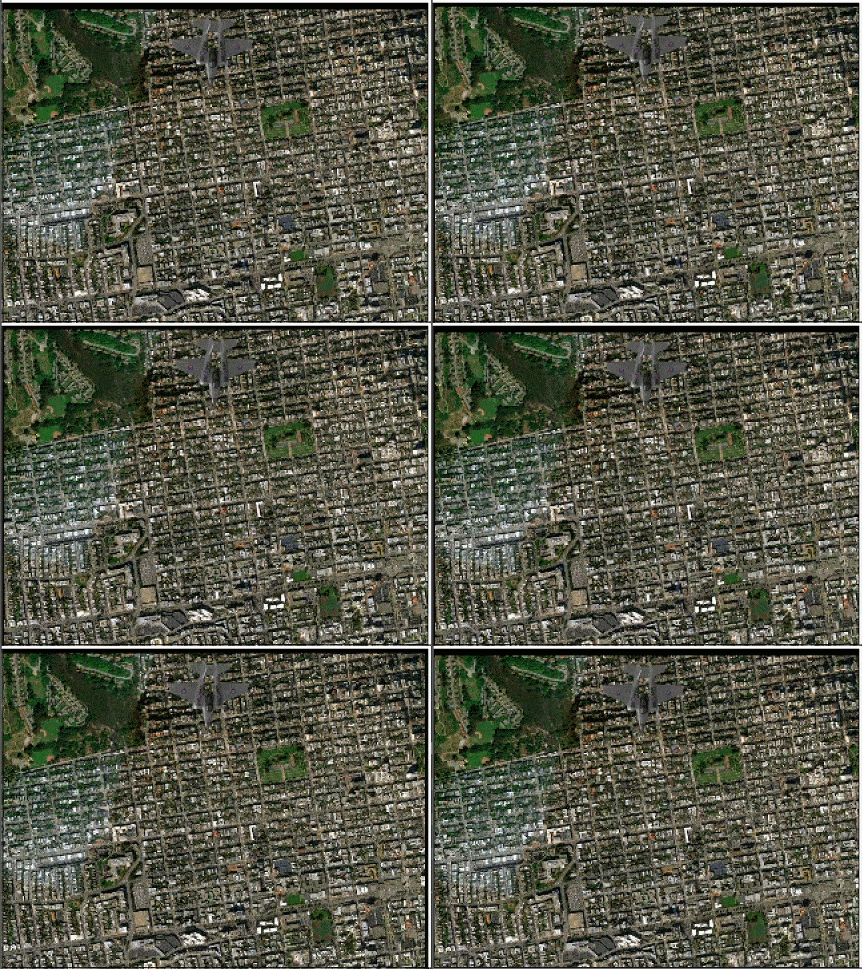
Now when run you see the screen is now split:
The second camera stays stationary while the camera on the left behaves exactly as the original did.
fin
The Video


