Welcome back to our ongoing tutorial series on using the Heaps framework with the Haxe programming language. In the first tutorial we covered the configuration and programming a simple game using Heaps. Then we covered the basics of 2D graphics in the next tutorial. In this tutorial we are going to look at using 2D animation in Heaps. We are going to cover three specific ways, first using a sequence of images for each individual frame of animation, second using a single simple spritesheet image and finally we are going to look at using a texture atlas. All of the images used in this tutorial are available here, while the project files, source, images etc. are all available to Patreon backers.
As always there is a HD video version of this tutorial available here and embedded below.
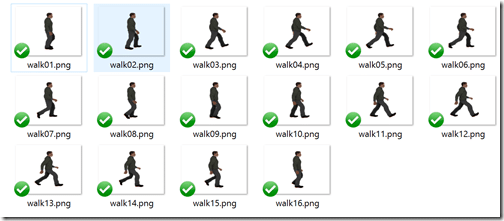
First copy the animation frames into the resource folder. Each is named along the lines of walk01, walk02, walk03, etc like so:
Now let’s jump into the code. The process is almost identical to the sprite handling process from the previous tutorial:
import h2d.Anim; import h2d.Bitmap; import h2d.Sprite; import h2d.Text; import h2d.Tile; import hxd.Res; import hxd.res.Font; import js.Lib; import hxd.App; class Main extends App { var animation:Anim; override function init() { Res.initEmbed(); var tiles = new Array<Tile>(); tiles.push(Res.walk01.toTile()); tiles.push(Res.walk02.toTile()); tiles.push(Res.walk03.toTile()); tiles.push(Res.walk04.toTile()); tiles.push(Res.walk05.toTile()); tiles.push(Res.walk06.toTile()); tiles.push(Res.walk07.toTile()); tiles.push(Res.walk08.toTile()); tiles.push(Res.walk09.toTile()); tiles.push(Res.walk10.toTile()); tiles.push(Res.walk11.toTile()); tiles.push(Res.walk12.toTile()); tiles.push(Res.walk13.toTile()); tiles.push(Res.walk14.toTile()); tiles.push(Res.walk15.toTile()); tiles.push(Res.walk16.toTile()); animation = new Anim(tiles, 10, s2d); } override function update(dt:Float) { } static function main() { new Main(); } }
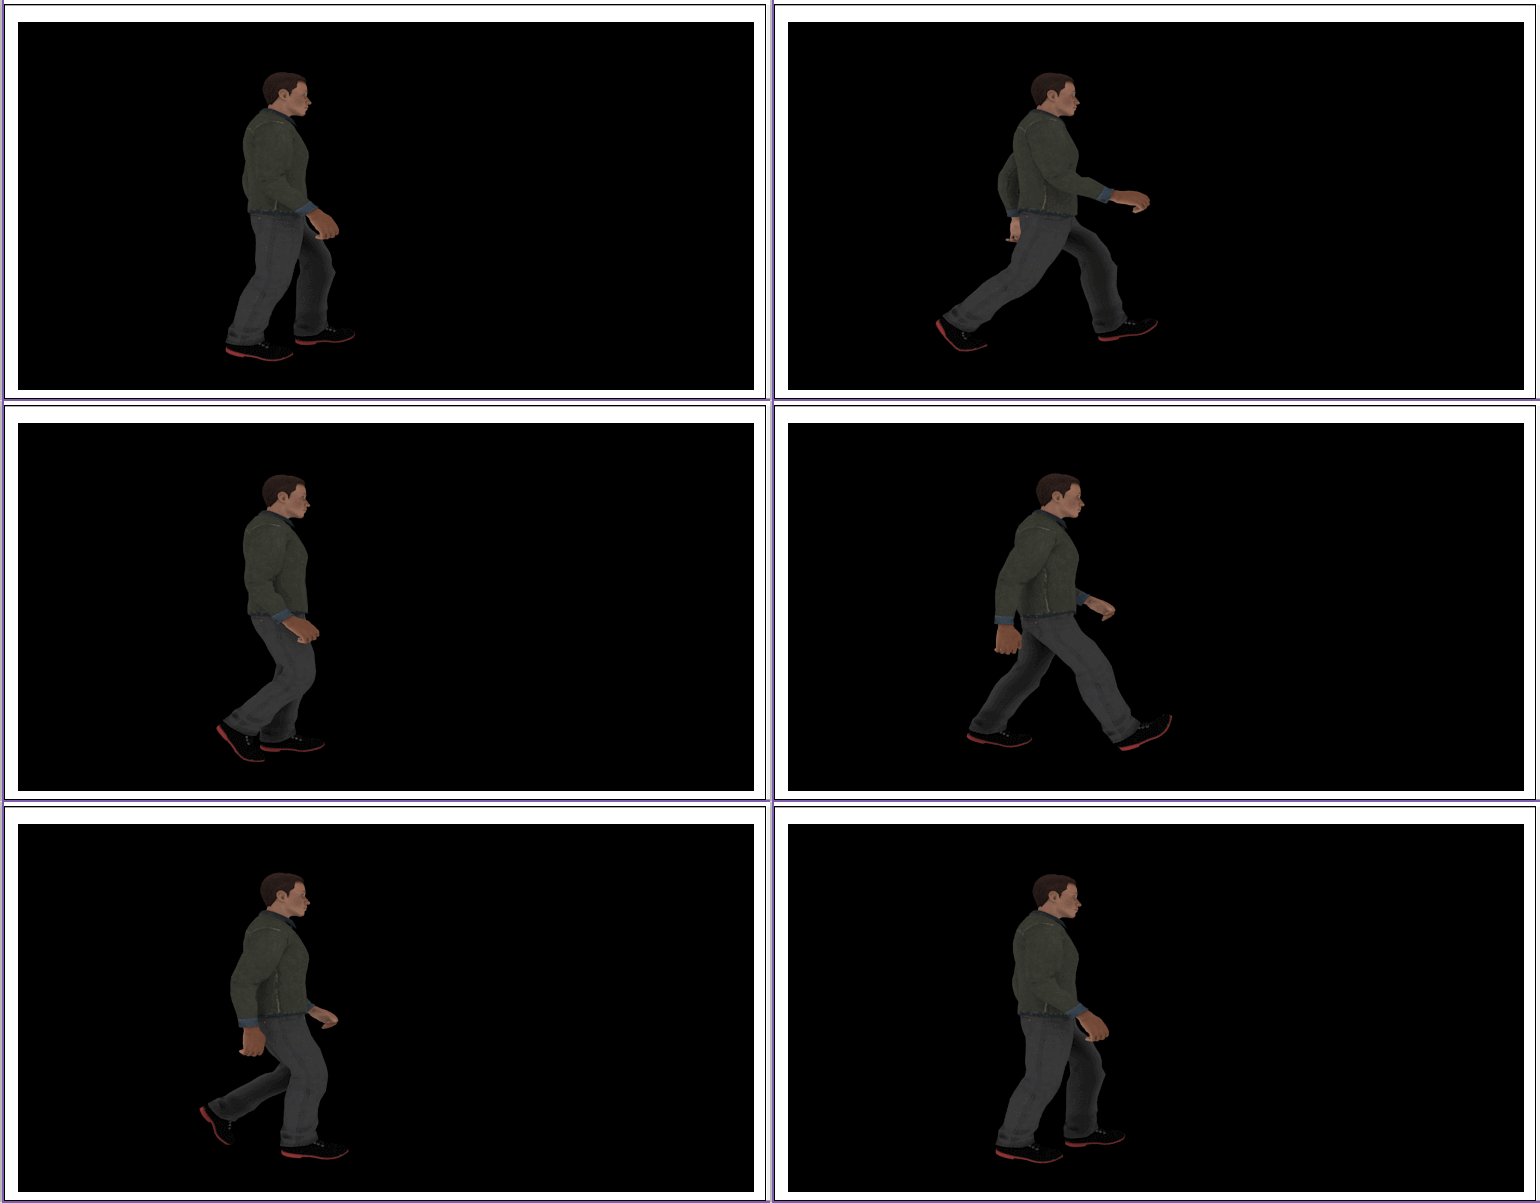
Here we populate an array of type Tile with all of the images. Remember Heaps will automatically make available any resource type with an appropriate loader. Finally we pass this array to the constructor of Anim. Anim is a special kind of drawable that contains several tiles that represent individual frames of animation. Also in the constructor we pass along the frame rate to play the animation at, as well as the parent to play the animation relative to, in this case the default scene, s2d. When you run this code you should see:
Pretty simple eh?
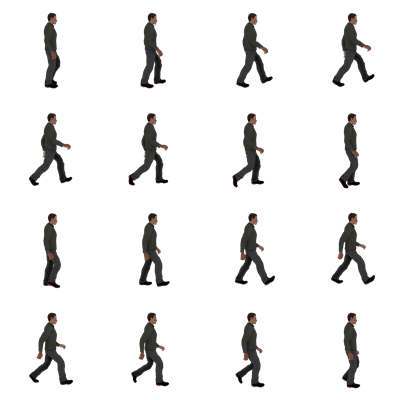
It’s also quite common to want to group all of your sprites together in a single image. The following example does exactly that using this evenly spaced spritesheet (click for full sized image). Just be aware, this code requires the width and height of each tile to be the same size.
Now the code:
override function init() { Res.initEmbed(); var tileSrc = Res.animation.toTile(); var tiles = tileSrc.grid(512); animation = new Anim(tiles, 10, s2d); animation.speed = 5; }
This code has basically the exact same end result. Basically we load the entire spritesheet into a single tile, then split it into a number of smaller tiles using the grid() method, passing in the dimension to cut by. Hopefully in the future this function will be updated to take both a width and a height value, removing the square requirement. As you can see from this example, you can modify the Anim object after the fact, changing the animation speed, it’s position, rotation, scale etc.
One final option is to use an Atlas. An Atlas is basically another form of spritesheet, but instead of being fixed dimensions, it comes with a text description file that says where each frame of animation within the texture is. This allows you to more tightly store your images in a single image. In terms of creating an atlas file, two options are LibGDX’s TexturePacker or CodeAndWeb’s TexturePacker. Of course you could create the file by hand if you preferred. Now some more code:
override function init() { Res.initEmbed(); var frame = Res.animationAtlasv1.get("walk01"); var bmp = new Bitmap(frame, s2d); bmp.x = 400; }
As you can see, there is also a loader for Atlas files, so it’s simply a matter of accessing it via the Res interface. In this particular example we are retrieving a single frame of animation that we use to populate a Bitmap and display on screen. The Atlas loader also has the option of return an Anim object if preferred.
The Video


