In the previous tutorials, we covered configuration, game loop, and finally keyboard handling. Today we are going to move on to the basics of graphics programming in SFML. We are going to start with simple geographic primitives, then in the following tutorial, we will move on to sprites. You will notice right away that SFML is remarkably consistent in its approach to graphics, just like it is with Events.
As always, there is an HD video of this tutorial available here.
Let’s jump right in with a simple example that draws a blue circle on the screen.
// Demonstrate primitve drawing in SFML

#include "SFML/Graphics.hpp"

int main(int argc, char ** argv){
  sf::RenderWindow renderWindow(sf::VideoMode(640, 480), "Demo Game");

  sf::Event event;

  sf::CircleShape circleShape(200);
  circleShape.setFillColor(sf::Color::Blue);

  while (renderWindow.isOpen()){
    while (renderWindow.pollEvent(event)){
      if (event.type == sf::Event::EventType::Closed)
        renderWindow.close();
    }

    renderWindow.clear();
    renderWindow.draw(circleShape);
    renderWindow.display();
  }


}
Run this code and you will see:
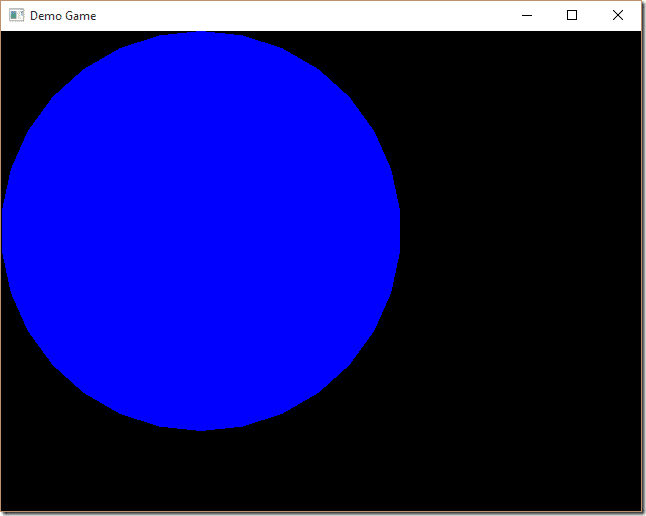
This example creates a circle with a radius of 200 pixels that is filled with the colour blue. Drawing is simply a matter of passing the shape into the draw() method of RenderWindow. This is the way you draw pretty much everything in SFML. If you take a look at the class reference for Drawable, the base class of any object passed into draw(), you can get a good idea of what classes are available.

As you can see, our CircleShape is part of that hierarchy. Other than showing how to draw things to a window, this example shows us a few key concepts. First, notice that we didn’t specify the location of our circle and by default, it drew itself at the top left corner of the screen? This shows us two critical things. First, that the origin (0,0) of a window in SFML is the top left corner. Second, that the origin/pivot ( the point within a shape a Drawable is drawn relative to ) is also it’s top left corner. What if for example, we wanted to position our circle relative to it’s midpoint instead? Fortunately, this is quite simple:
  sf::CircleShape circleShape(200);
  circleShape.setOrigin(circleShape.getRadius(), circleShape.getRadius());
  // or you could have calculated the mid point like so:
  // circleShape.setOrigin(circleShape.getLocalBounds().width / 2.0f, circleShape.getLocalBounds().height / 2.0f);

  circleShape.setFillColor(sf::Color::Blue);
Here we are setting the point draw calls are performed relative to by calling setOrigin(). This call sets that point in pixel coordinates relative to the top left corner of the Drawable. Now this code will result in the following:
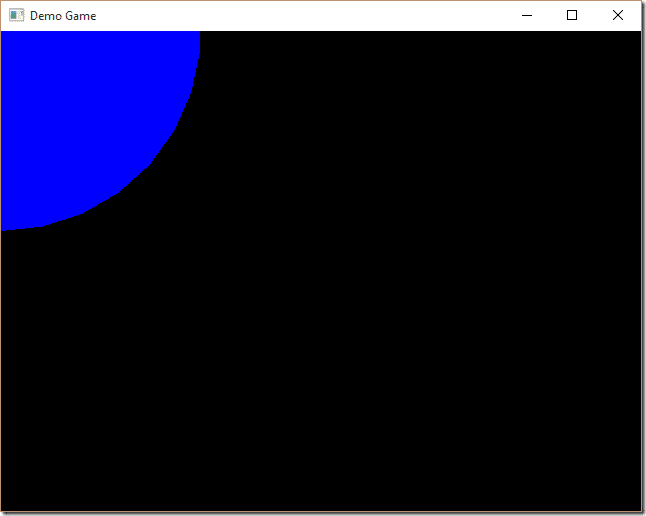
One other concept we didn’t cover is actually positioning our objects. It is simply a matter of calling setPosition() like so:
circleShape.setPosition(100.0f, 100.0f);
This will result in the shape being drawn 100 pixels right and 100 pixels down from the top left corner of the window. Of course the origin value is going to influence how that draw is performed.
Another important concept to cover is draw order. Let’s throw in another circle, this time a red one, to illustrate what I mean:
  sf::CircleShape circleShape(200);
    circleShape.setFillColor(sf::Color::Blue);
    circleShape.setPosition(100.0f, 100.0f);

    sf::CircleShape circleShape2(200);
    circleShape2.setPosition(0.0f,0.0f);
    circleShape2.setFillColor(sf::Color::Red);

    //snip

    renderWindow.clear();
    renderWindow.draw(circleShape);
    renderWindow.draw(circleShape2);
    renderWindow.display();
Now run it and:
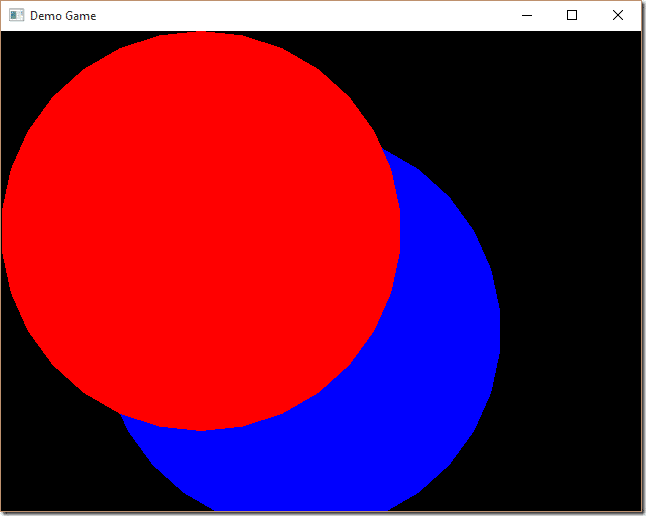
The order of draw calls is critically important. Swap around the code, like so:
  renderWindow.clear();
    renderWindow.draw(circleShape2);
    renderWindow.draw(circleShape);
    renderWindow.display();
And you get:
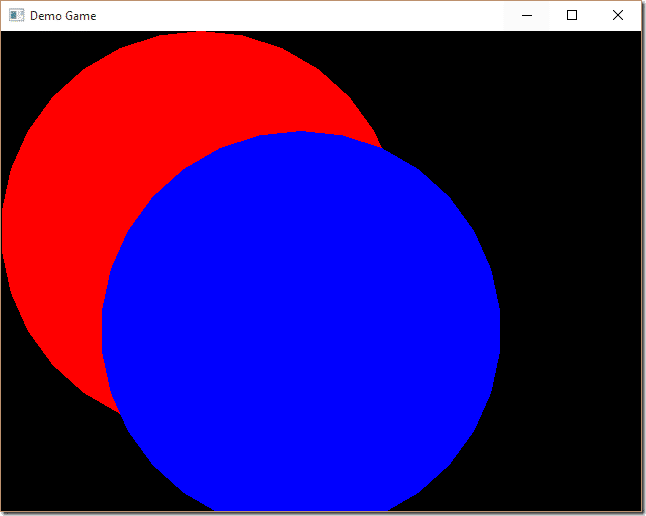
As you can see, the later the draw call, the higher the z order. Or put simply, things draw first are drawn first, then subsequent draw calls are drawn over top. For future reference, this order is often referred to as the z-index.
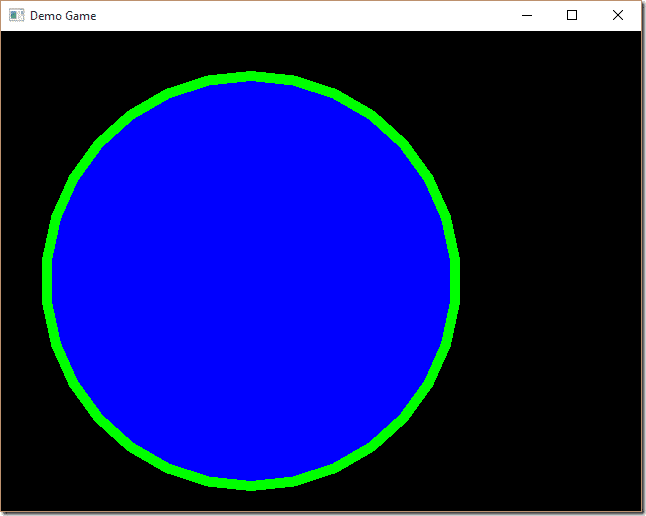
Now that we have graphics to play with, there are a few things we can do with them… such as move, rotate and scale. Each of those functions transforms relative to the current position. You can also directly set all three values using setPosition, setRotation and setScale. With shapes, you also have control over the contour or line that composes the shape, like so:
 sf::CircleShape circleShape(200);
  circleShape.setFillColor(sf::Color::Blue);
  circleShape.setPosition(50.0f, 50.0f);
  circleShape.setOutlineThickness(10);
  circleShape.setOutlineColor(sf::Color::Green);
Here we set the line width to 10pixels and the color to green, resulting in:
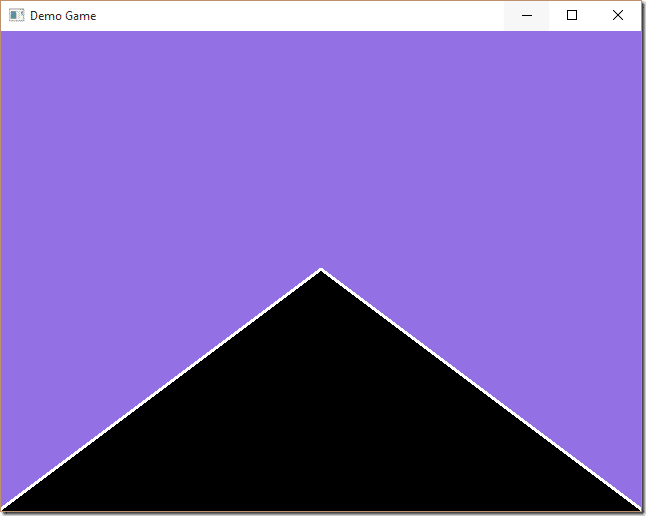
As you may have noticed from the inheritance diagram earlier, there exist other shapes, ConvexShape and RectangleShape. RectangleShape should be pretty self explanatory, bull ConvexShape requires a touch of explanation. The Convex shape represents a convex hull, which is to say a closed shape of lines that never intersect or exceed 180 degrees. You define a ConvexShape as a series of points, but it is important that you draw your shape in either a clockwise or counter-clockwise order so SFML knows how to draw it. Here is an example creating a ConvexShape:
 sf::ConvexShape convexShape;
  convexShape.setPointCount(5);
  convexShape.setFillColor(sf::Color(147, 112, 227)); // PURPLE!
  convexShape.setOutlineThickness(3.0f);
  convexShape.setOutlineColor(sf::Color::White);
  convexShape.setPoint(0, sf::Vector2f(0.0f, 0.0f));
  convexShape.setPoint(1, sf::Vector2f(renderWindow.getSize().x, 0.0f));
  convexShape.setPoint(2, sf::Vector2f(renderWindow.getSize().x, renderWindow.getSize().y));
  convexShape.setPoint(3, sf::Vector2f(renderWindow.getSize().x / 2, renderWindow.getSize().y / 2));
  convexShape.setPoint(4, sf::Vector2f(0, renderWindow.getSize().y));
Resulting in
That’s it for basic graphics and shape rendering. In the next tutorial we will expand upon this graphics knowledge and start looking at using sprites.
