In this Closer Look At we look at take a look at the jMonkeyEngine. The Closer Look At game engine series is a cross between an overview, a review and a getting started tutorial to help you decide if a game engine is the right fit for you. The jMonkeyEngine engine is a Java based, open sourced, cross platform 3d
This closer look is also available in HD video format here.
Although we are going to focus on the complete set of tools including in the jMonkeyEngine SDK, keep in mind it can be used in library form if you prefer working in Eclipse or IntelliJ. You will however lose access to some very convenient tools.
Meet jMonkeyEngine
As I mentioned earlier, jMonkeyEngine ships in two forms, as a set of libraries, or as a complete SDK build on top of the Netbeans IDE. You can download load the SDK for Windows, Mac or Linux right here. As of writing, 3.0 is the current released version, while 3.1 is available in development on Github. This version marks the first public release using the Github platform. jMonkeyEngine has a few prerequisites before installing, but they basically boil down to having an OpenGL 2 compatible video card and JDK 6 or higher installed.
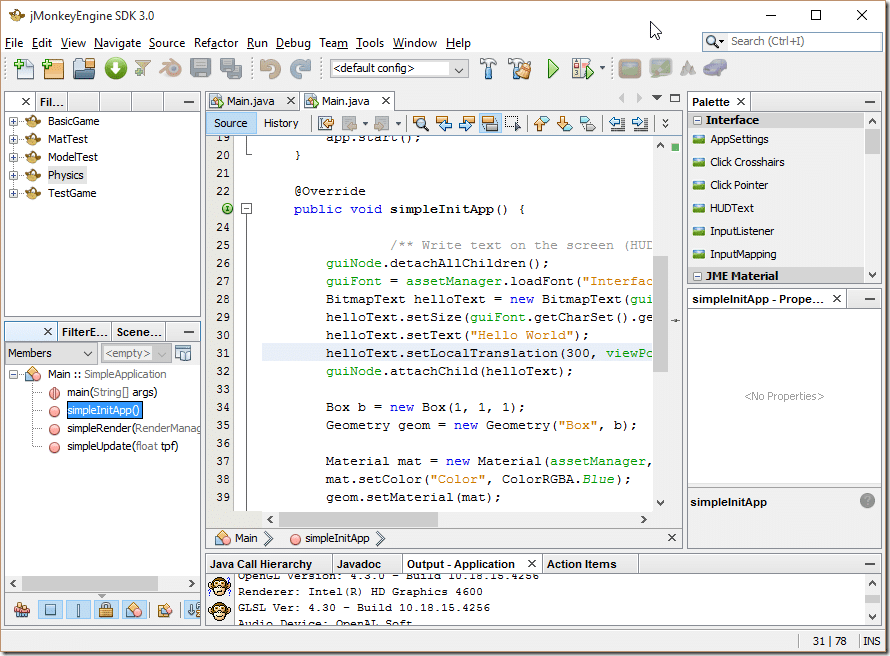
Once downloaded and installed simply run the jMonkeyEngine SDK application. This is jMonkeyEngine:
As mentioned earlier, this is actually a preconfigured version of the Netbeans IDE with a set of plugins and extensions to support jMonkeyEngine development. This means in addition to the various jME tools you get a complete modern Java development environment, meaning code completion, project management, refactoring tools, debugging and more. I won’t be specifically covering Netbeans functionality in this guide. If you’ve got prior experience in Eclipse or IntelliJ, you should feel right at home. Personally I rate the Netbeans experience somewhere between the two, with IntelliJ being quite a bit better, while Eclipse is many many many times worse. That all said, that is purely opinion, each platform has it’s strength and weakness, it’s fans and haters. If you prefer to use Eclipse or IntelliJ you can.
Hello jMonkeyEngine
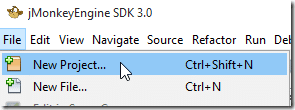
It is often easiest to start with a simple project, so let’s do exactly that. Select File->New Project
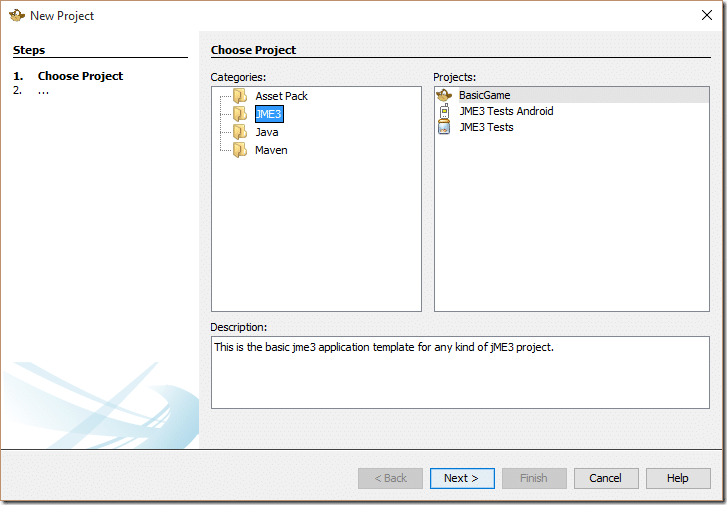
A New Project wizard will appear. All of the standard project types supported by Netbeans are available, but also the new jMonkeyEngine templates are available too. Select BasicGame and click Next.
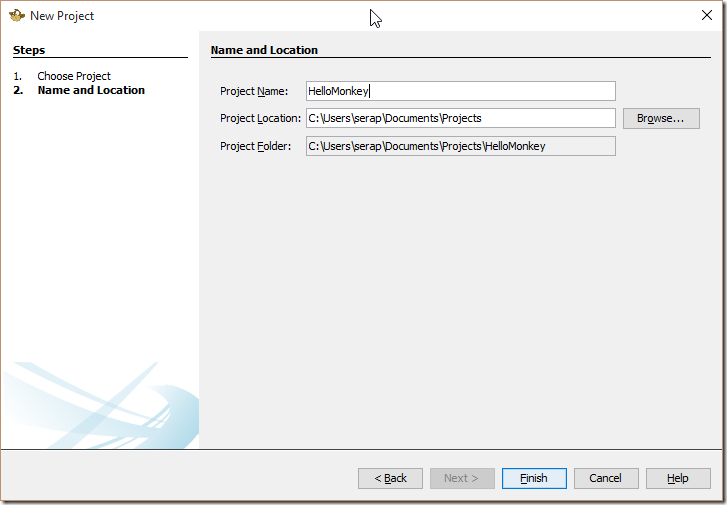
Pick a name and location and click Finish.
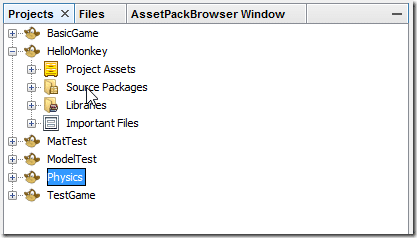
Your project will now be created. You can have several projects open in the IDE at the same time, just be sure to select the right one in the Projects panel:
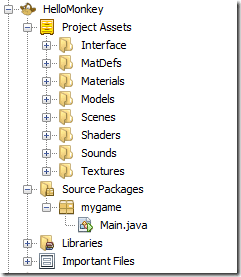
The wizard will have automatically created a project hierarchy for you:
It’s optional to use this layout, but you are making life more difficult for yourself if you do not. File paths for textures in imported models are absolute, forcing your hand somewhat in how you import your data. Again, you can code around this design, but you are making your life more complicated. For the most part I found the layout fairly logical, but the suggestion to import your models into the Textures folder then relocating them to Models ( well discuss this more later ), well that simply a gross kludge.
The New Project wizard also generated a default source file for us, Main.java, with the following contents:
package mygame; import com.jme3.app.SimpleApplication; import com.jme3.material.Material; import com.jme3.math.ColorRGBA; import com.jme3.math.Vector3f; import com.jme3.renderer.RenderManager; import com.jme3.scene.Geometry; import com.jme3.scene.shape.Box; /** * test * @author normenhansen */ public class Main extends SimpleApplication { public static void main(String[] args) { Main app = new Main(); app.start(); } @Override public void simpleInitApp() { Box b = new Box(1, 1, 1); Geometry geom = new Geometry("Box", b); Material mat = new Material(assetManager, "Common/MatDefs/Misc/Unshaded.j3md"); mat.setColor("Color", ColorRGBA.Blue); geom.setMaterial(mat); rootNode.attachChild(geom); } @Override public void simpleUpdate(float tpf) { //TODO: add update code } @Override public void simpleRender(RenderManager rm) { //TODO: add render code } }
The code is all pretty straight forward. You game code extends the class SimpleApplication, which in turn implements Application plus implements some “out of the box” behaviour like key mappings for exiting the application and implementing a camera. These default behaviours can easily be overridden as we will see shortly. SimpleApplication exposes three critical methods as part of your games life cycle, simpleInitApp(), called when your app is created, then simpleUpdate() and simpleRender() called over and over by the game event loop. Basically stick your setup code in the init() method, your update code in the update() method and drawing code in the render() method. If these methods start getting overly complex, you can refactor your design to use States, something we will cover later on.
You can run or debug your project using the toolbar:
Or via the Run menu:
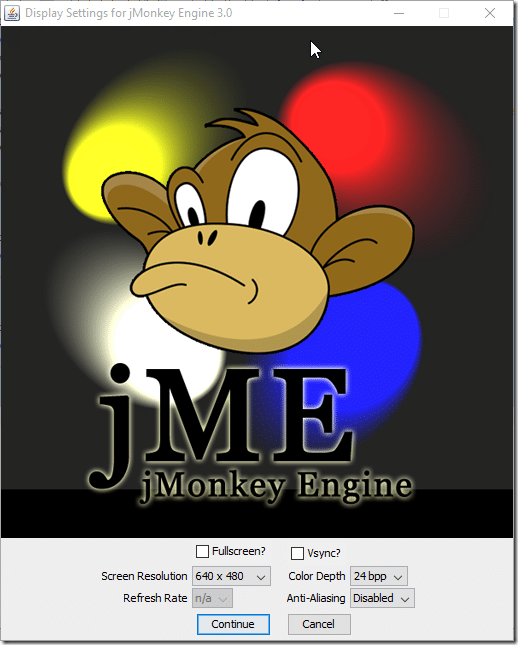
Once launched you will see a configuration Window.
Select your preferred configuration and click Continue. You may be asking, can I get rid of this damned window? The answer is yes you can, but you have to use code to do it. I can’t really fathom why there isn’t a “Remember my settings” check box. Once you click Continue, your first app will run.
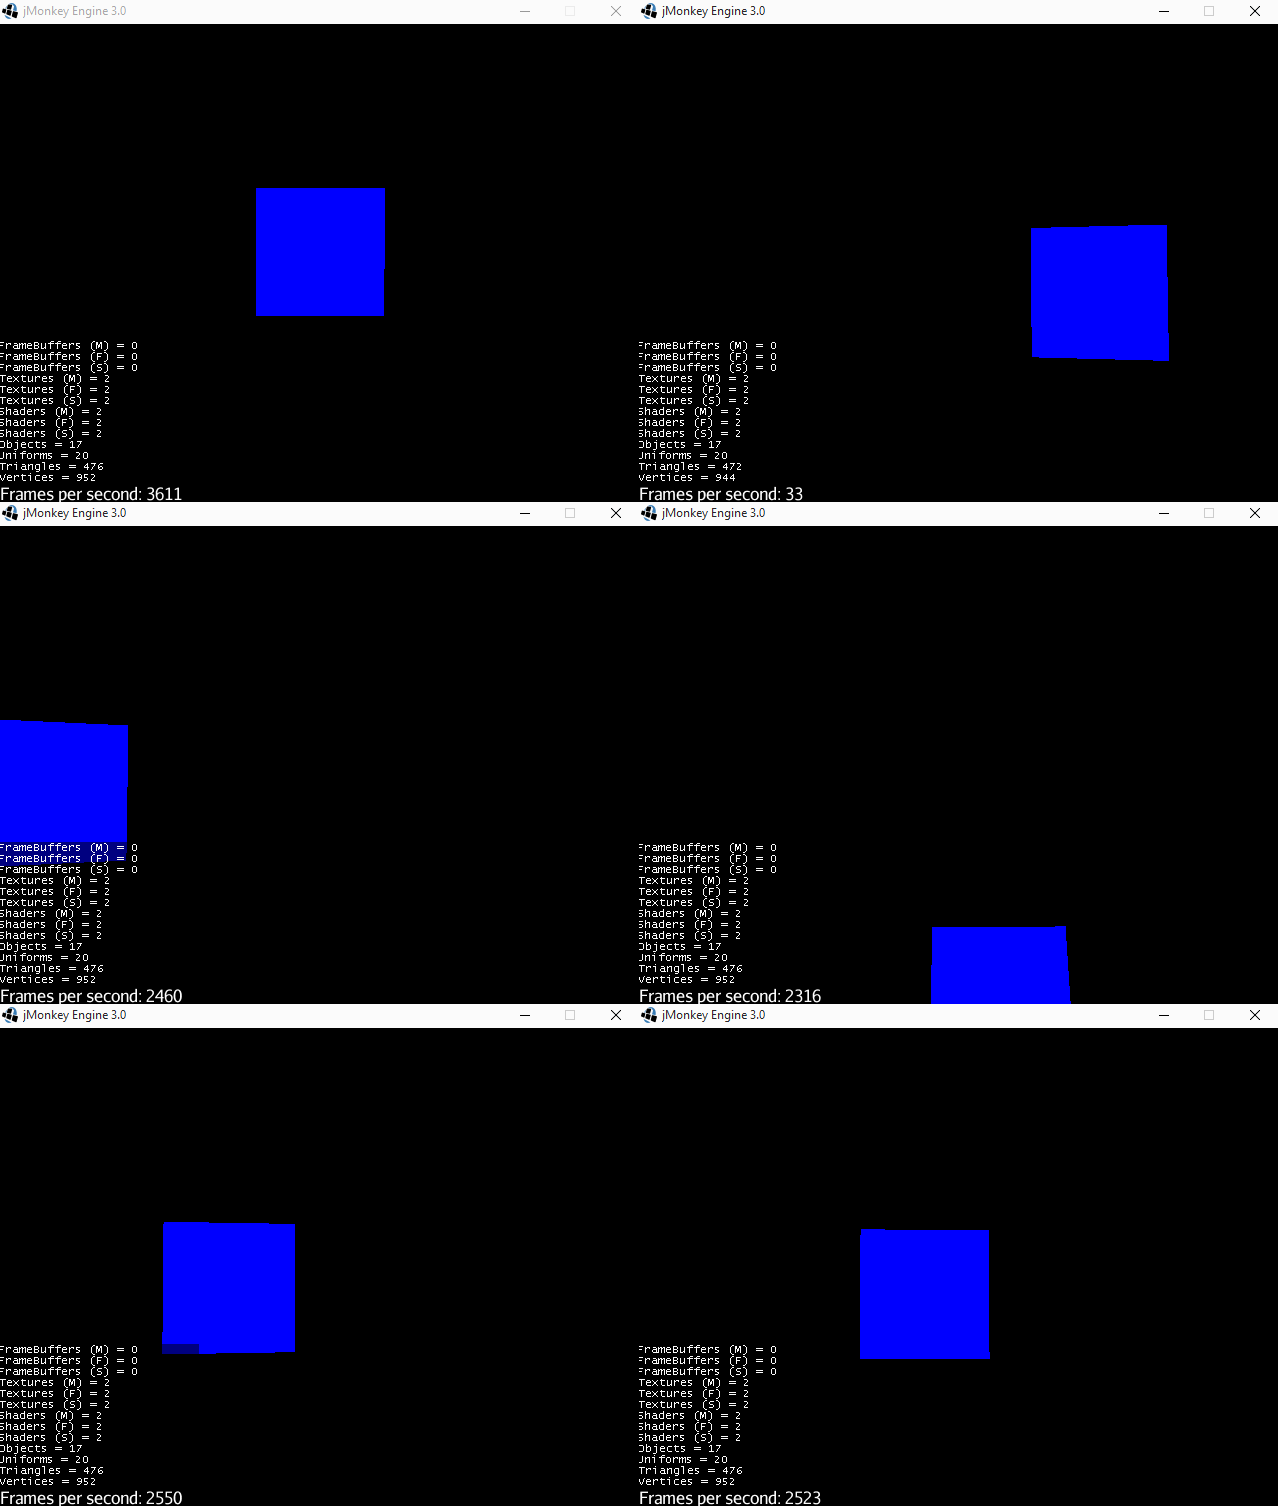
As you move the mouse cursor around, the camera implemented in SimpleApplication is moving the camera position around. You may also notice the debug details and of course that startup window. As said earlier, this can all be override, let’s look at how.
First we can get rid of the configuration window ( which I admit, gets old very quickly ) and set a default resolution using the following code:
public static void main(String[] args) { Main app = new Main(); // Dont show window app.showSettings = false; // Create a new app settings loaded with defaults AppSettings appSettings = new AppSettings(true); // Override resolution appSettings.put("Width",720); appSettings.put("Height",480); // Add a title, just because appSettings.put("Title", "Super Awesome Megagame 9000!"); app.setSettings(appSettings); app.start(); }
Next in our init we add the following logic to disable the camera and debug info. These need to be called after app.start(), thus why they are in init.
@Override public void simpleInitApp() { // Disable fly cam this.flyCam.setEnabled(false); // Turn off debug info and FPS window this.setDisplayFps(false); this.setDisplayStatView(false); Box b = new Box(1, 1, 1); Geometry geom = new Geometry("Box", b); Material mat = new Material(assetManager, "Common/MatDefs/Misc/Unshaded.j3md"); mat.setColor("Color", ColorRGBA.Blue); geom.setMaterial(mat); rootNode.attachChild(geom); }
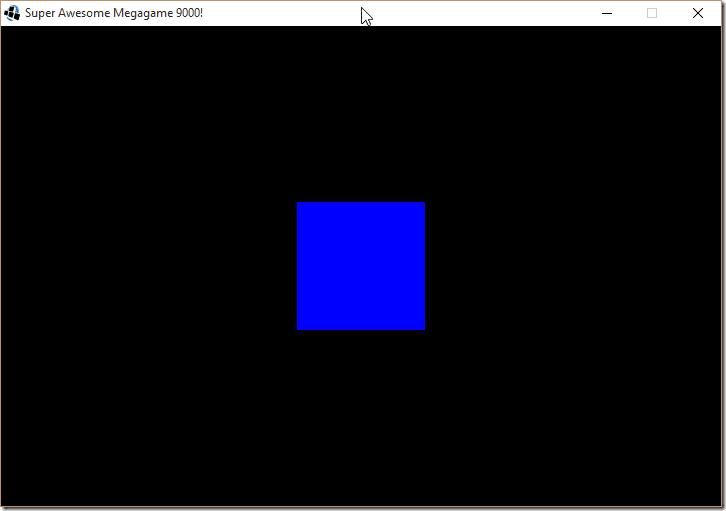
Now when you run your game, you should no longer see the config window, nor display stats when running. Instead you should see:
Importing a 3D Model
One of the first things I do when testing a new engine is check to see how hard it is to get a 3D model imported. In jMonkeyEngine you have a couple of options, you can import to their native format, use a Blender plugin, support an OBJ file, or import files converted using the Ogre XML toolchain, which is also available as a Blender plugin as well as several other packages.
I will use the native format (j3o) later, for now, let’s look at the process of importing a Blender model, since jMonkeyEngine has solid Blender integration built in. In fact, jMonkeyEngine actually ships with a copy of Blender as part of the SDK install, currently version 2.69 (as of writing, 2.75 is the most current version). When you run Blender from within jMonkeyEngine, this included version is the one that is run. (Note, for performance, you should always prefer using the native binary format unless you have a very good reason not to).
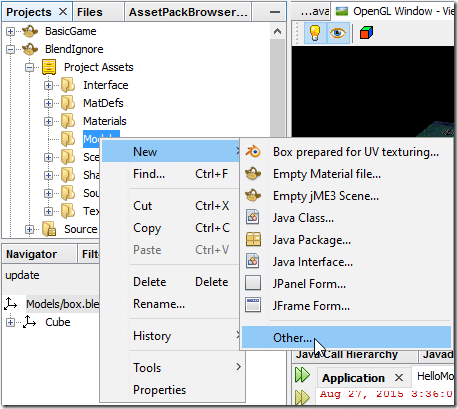
You can add a new textured Blender cube (you don’t have to by the way), right click the desired location and select File->New->Other…
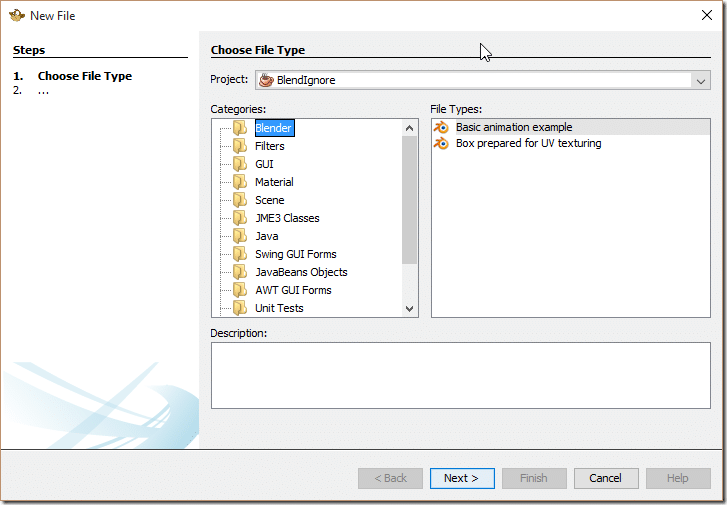
Then select Blender->Box prepared for UV texturing.
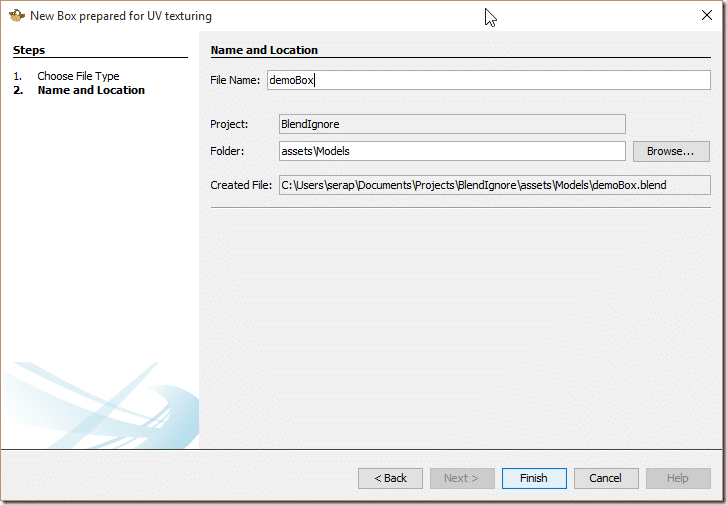
Name it and confirm the location, then click Finish.
This will run a copy of Blender and set up a cube with textures defined for you.
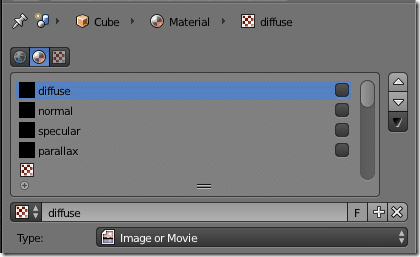
What’s extremely odd here is the configured cube isn’t actually ready to go. You still need to UV unwrap the cube, attach a texture and set the UVmap. You can see the entire process in the video if you need more details.
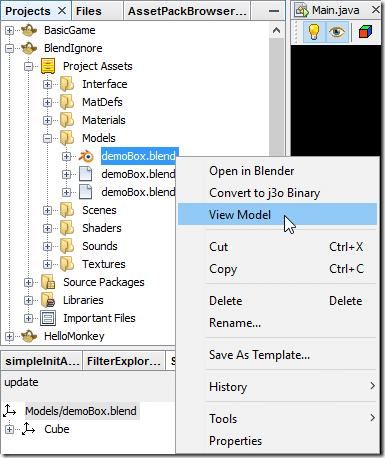
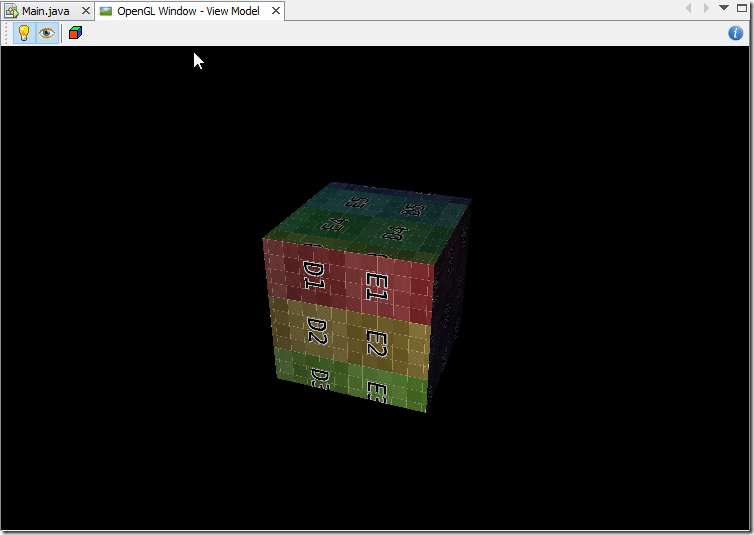
You can confirm that the blend file works fine, right click the blend and select View Model.
This will open the Viewer.
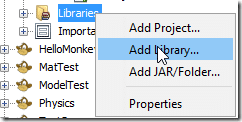
Be sure to click the light icon (top left) to enable lighting in the viewer. Now that we know the Blender file works, let’s move over to the code to load a Blender file. there is a bit of a challenge first, Blender support is actually added as a plugin, we need to add it in first.
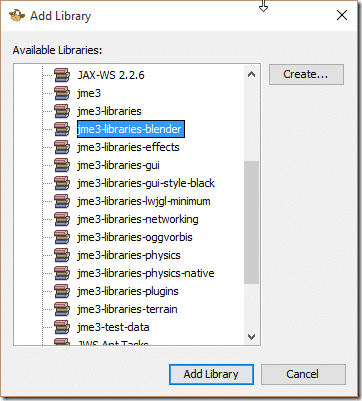
Right click Libraries and select Add Library…
Select jme3-libraries-blender then click Add Library.
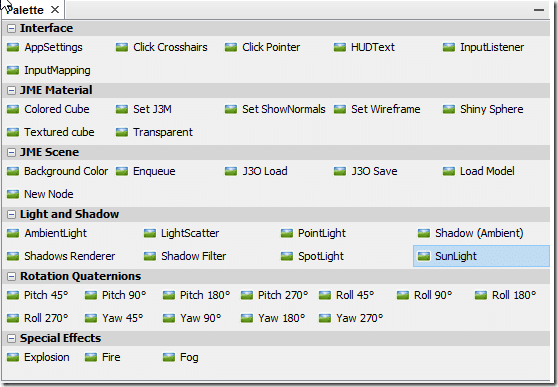
We need to add a light to the scene or the model isn’t going to show up. Simply drag and drop SunLight from to the drop of the simpleInitApp() code and it will drop all the code we need.
package mygame; import com.jme3.app.SimpleApplication; import com.jme3.light.DirectionalLight; import com.jme3.math.ColorRGBA; import com.jme3.math.Vector3f; import com.jme3.renderer.RenderManager; import com.jme3.scene.Spatial; public class Main extends SimpleApplication { public static void main(String[] args) { Main app = new Main(); app.start(); } @Override public void simpleInitApp() { /** A white, directional light source */ DirectionalLight sun = new DirectionalLight(); sun.setDirection((new Vector3f(-0.5f, -0.5f, -0.5f)).normalizeLocal()); sun.setColor(ColorRGBA.White); rootNode.addLight(sun); Spatial blenderModel = assetManager.loadModel("Models/demoBox.blend"); rootNode.attachChild(blenderModel); } @Override public void simpleUpdate(float tpf) { //TODO: add update code } @Override public void simpleRender(RenderManager rm) { //TODO: add render code } }
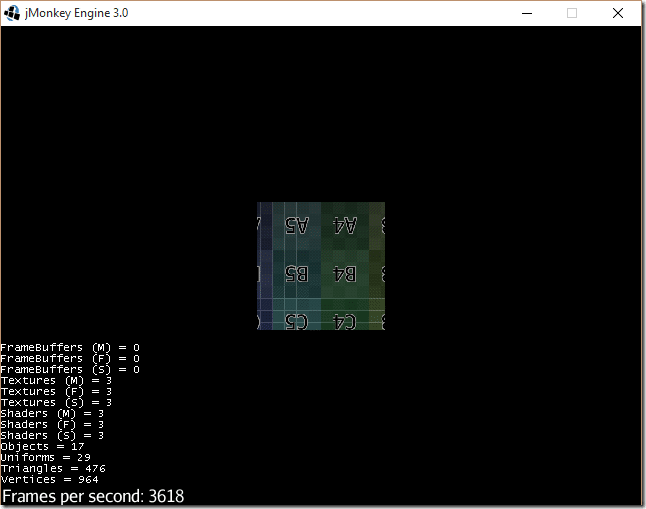
And run it:
So other than Blender configuration, getting a model into a jMonkeyEngine app is fairly straight forward.
Tools in jMonkeyEngine
Code Palette
We briefly saw the Palette in action in the previous example.
This is a selection of code snippets you can drag and drop into the editor. One major gotcha however, many of these samples depend on a library, jme3-test-data, that isn’t included by default oddly enough. We saw earlier when we set up the Blender plugin the process of adding a library.
3D File Importer
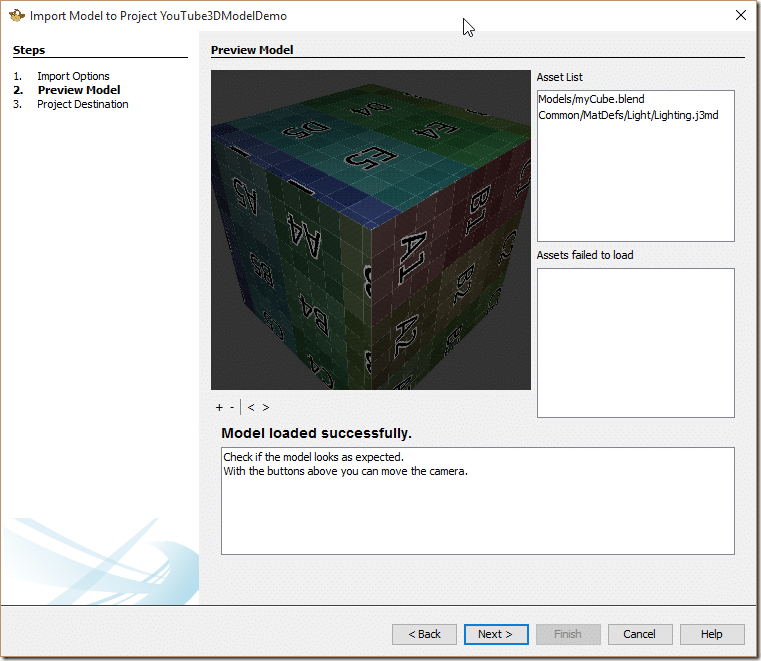
While jMonkeyEngine supports the Ogre XML format and Blend files, working with a game oriented file format is almost always the best performing option. Fortunately jMonkeyEngine provides just such a format, j3o. These files can be created easily using the menu File->Import Model menu:
Then select the model
Material/Shader Editor
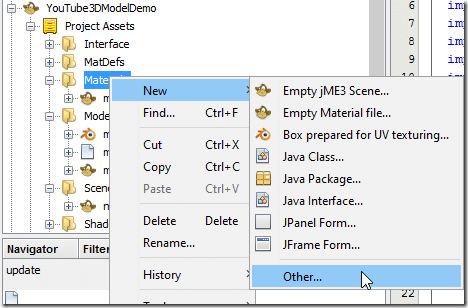
You can easily create shaders right clicking an Asset folder such as Materials, New->Other…
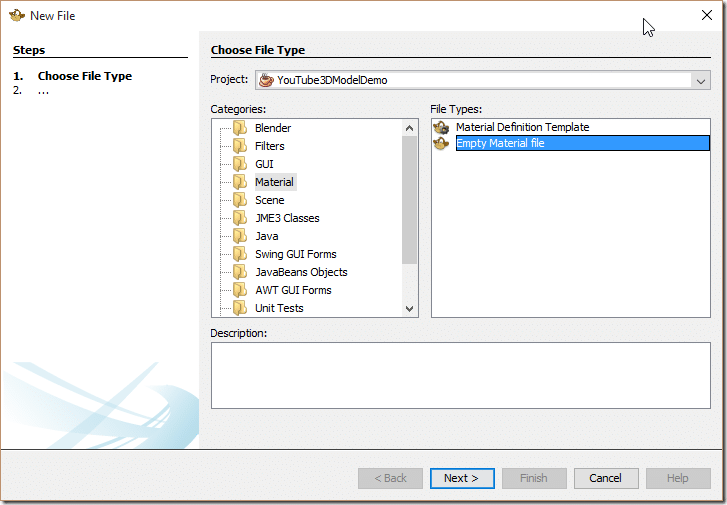
Then Material->Empty Material file
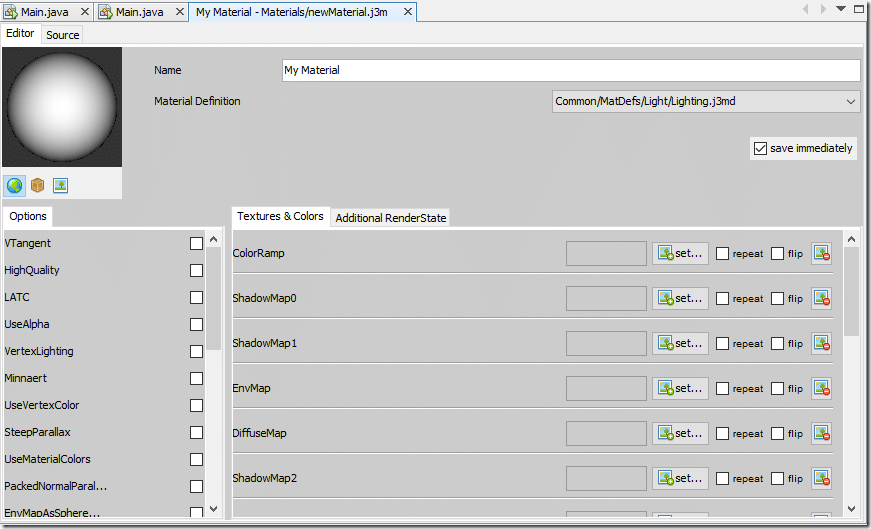
You can then define a shader using a UI tool. You can also set a template that other materials inherit from.
3D Scene Composer
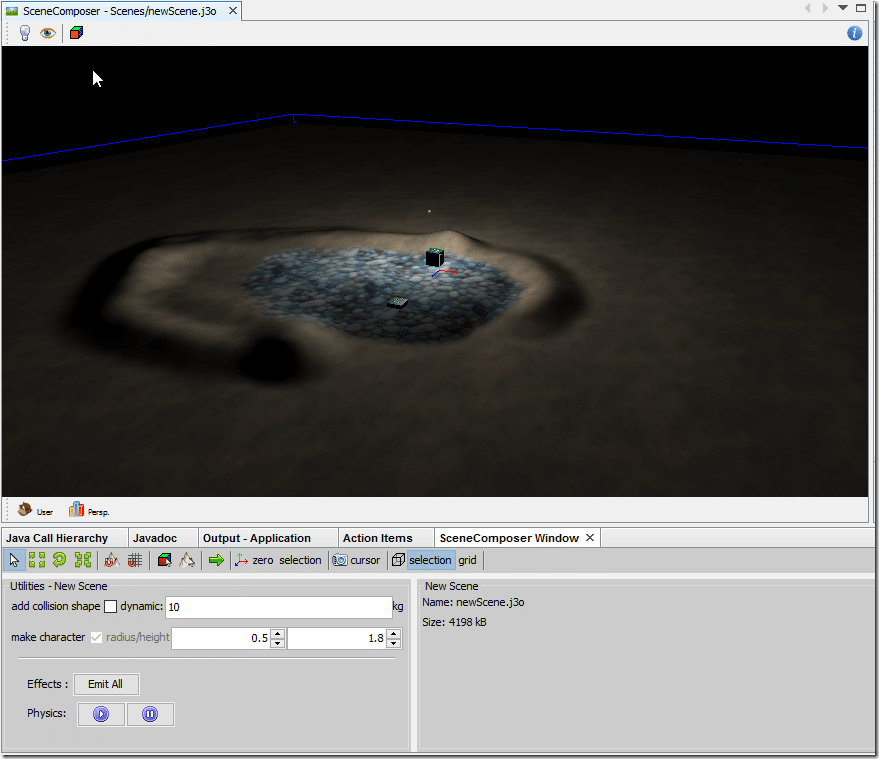
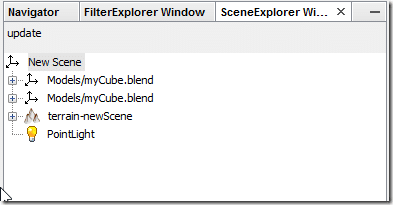
The Scene Composer can be use to assemble and create 3D scenes. There is also a corresponding scene graph:
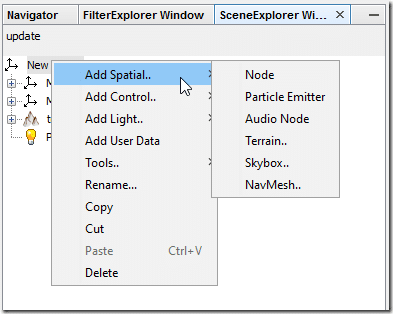
A variety of game nodes can be created here:
Terrain Editor
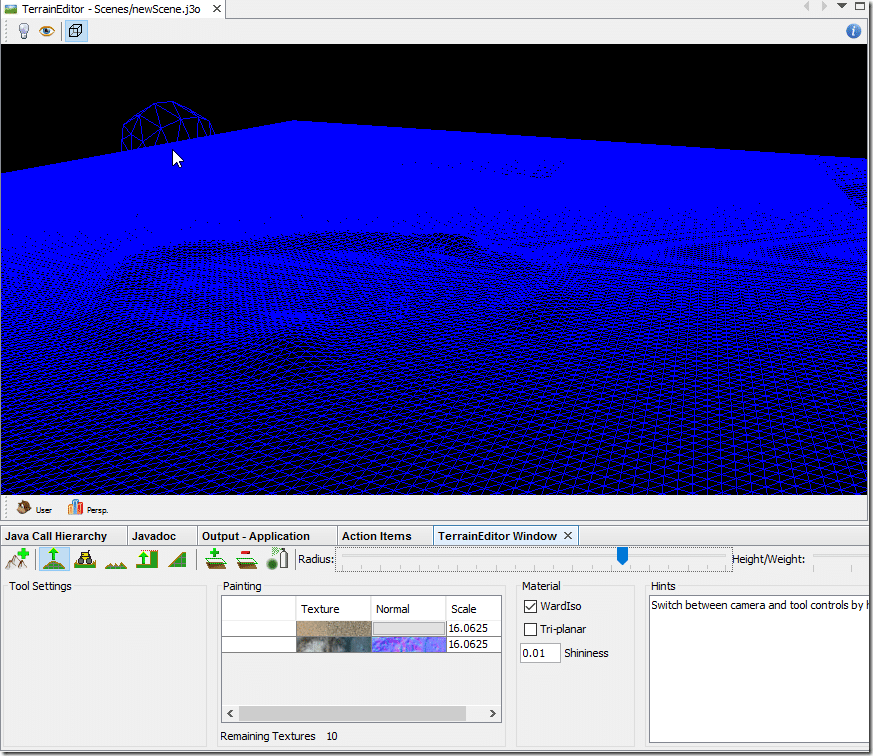
In addition to the Scene Composer, there is also a 3d terrain tool:
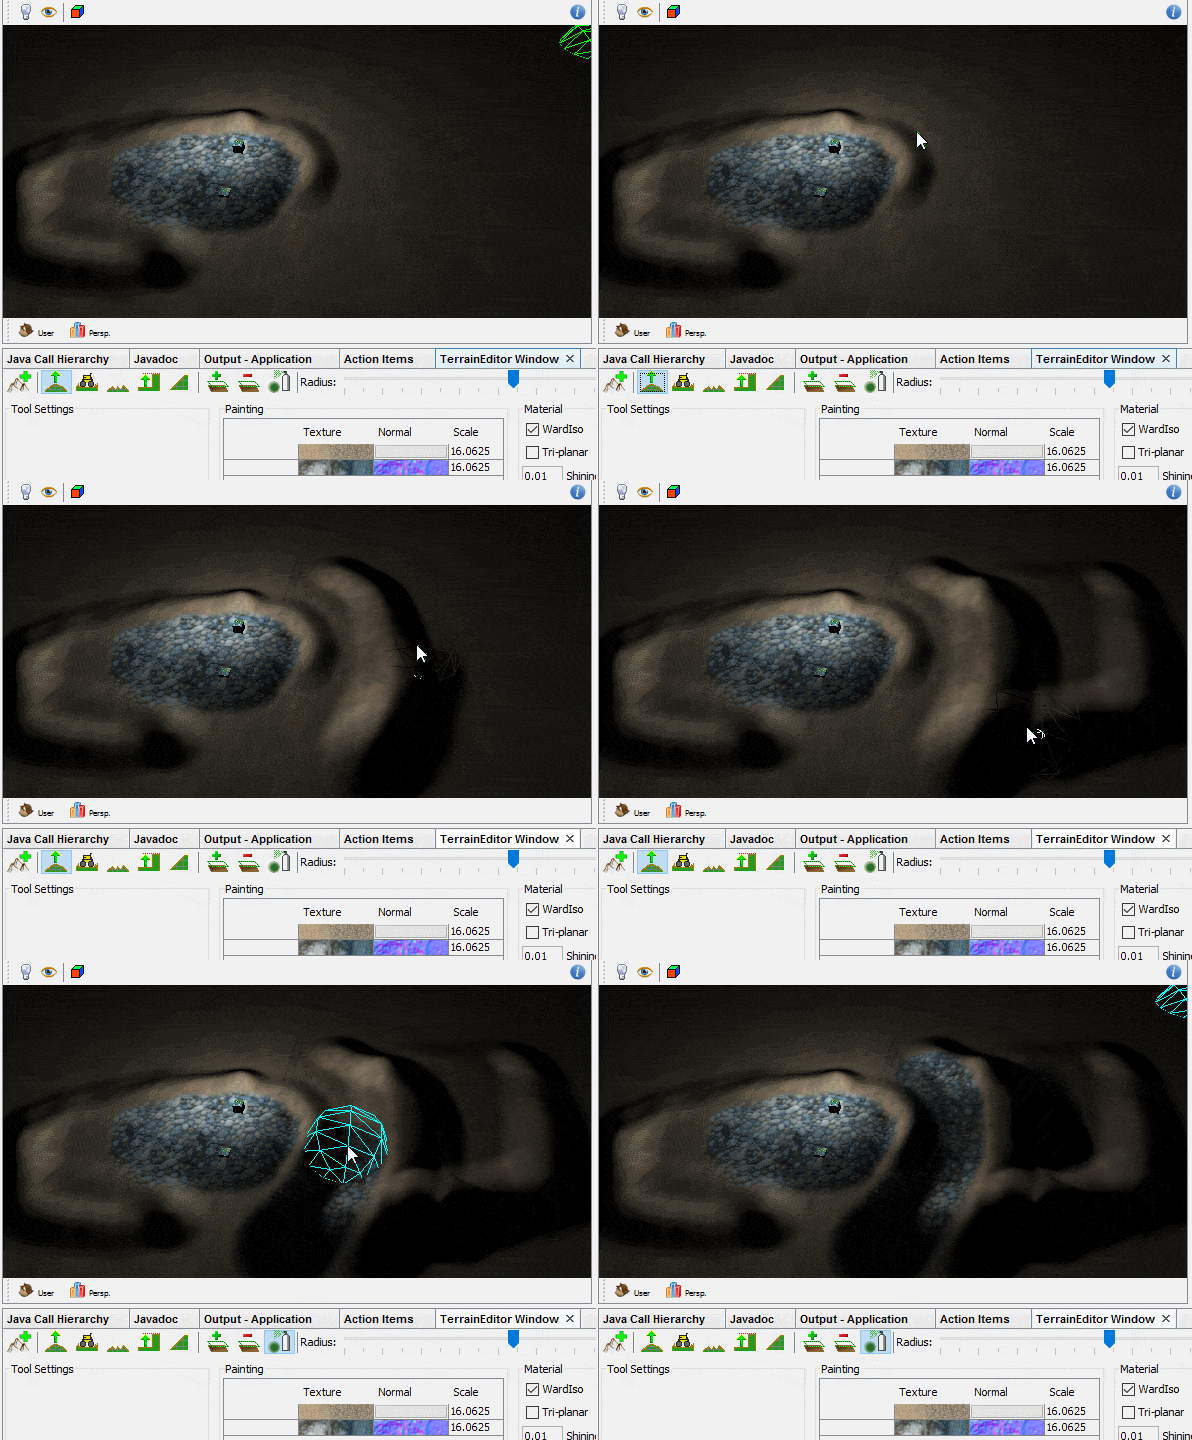
You can create terrain visually. Easily pull and push terrain into shape, paint with multiple textures. The generated terrain can be used in the scene composer.
Engine Capabilities
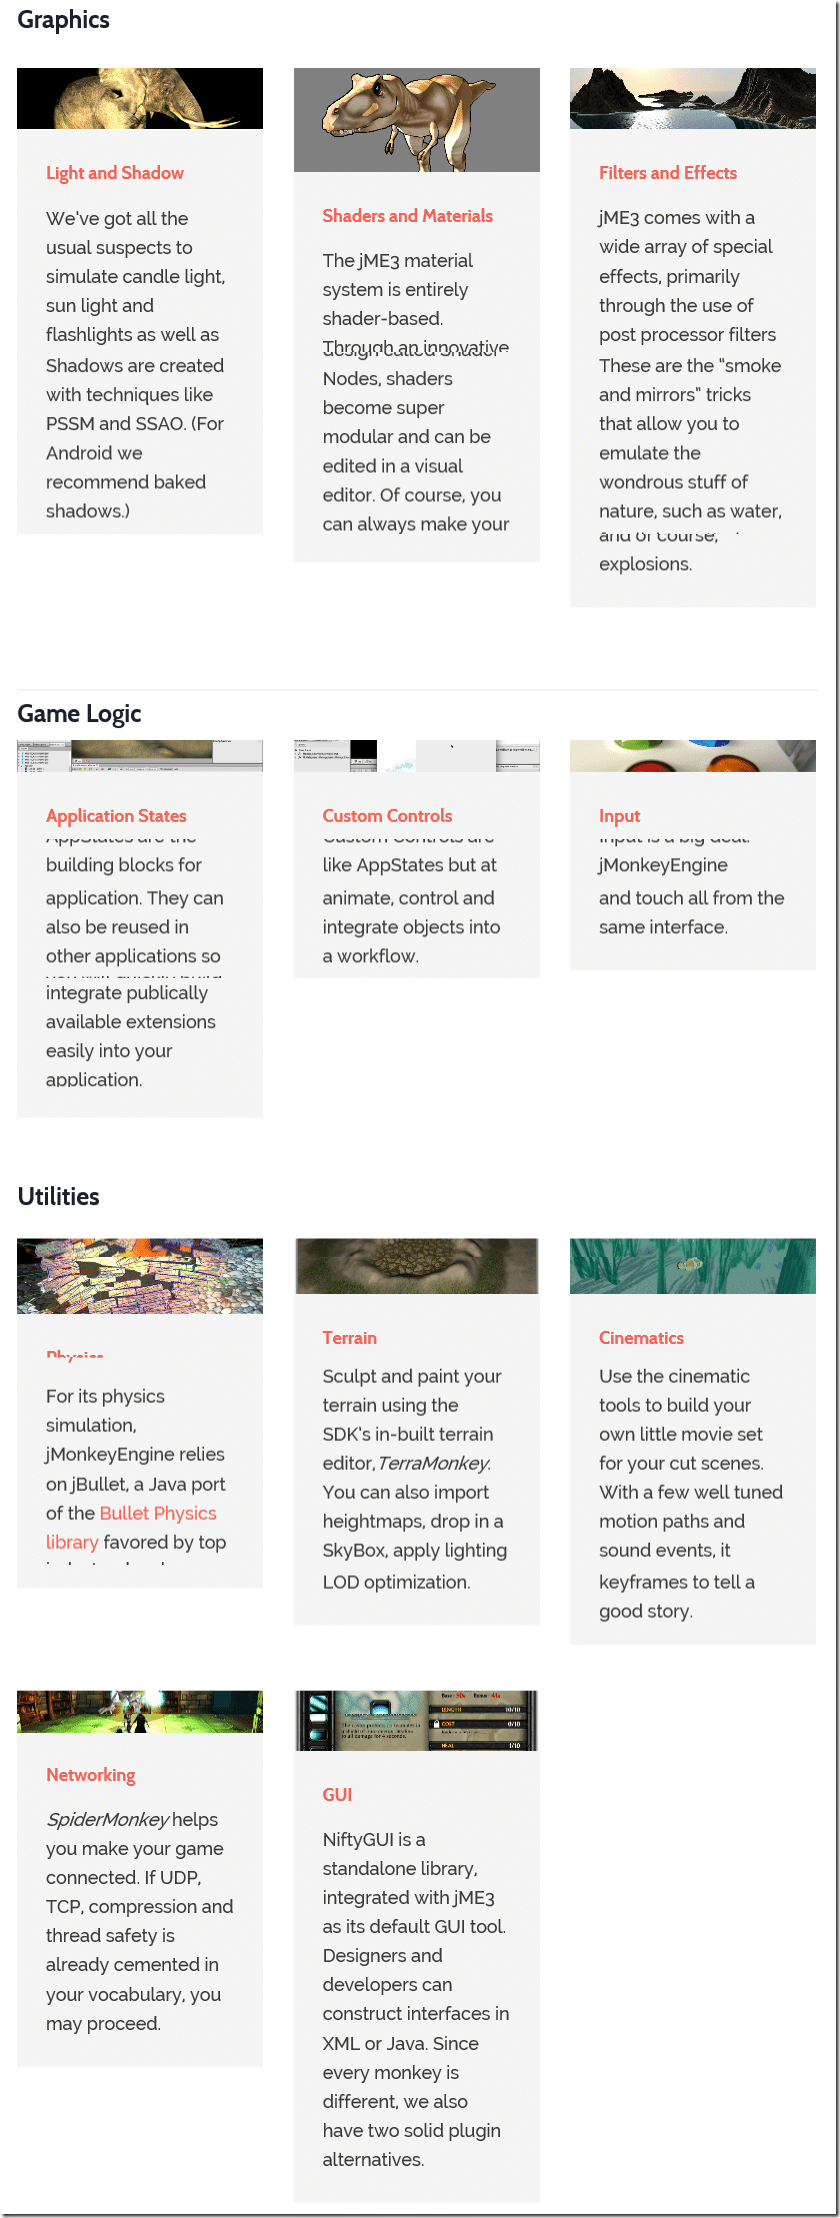
We only briefly touched upon the code capabilities of the jMonkeyEngine due to time and space restraints. jMonkeyEngine is a full functioning engine with the following functionality, excerpted from their website.
Documentation and Community
jMonkeyEngine is well documented, with a comprehensive collection of tutorials and guides available on the wiki. I encountered a few entries that were out of date or invalid, but for the most part the document was solid and easy to follow. There is also a good reference in the form of the JavaDoc. I may not always be the biggest Java fan, but I almost always love JavaDoc generated references!
Until recently the forums for jMonkeyEngine were pretty terrible, but thankfully they’ve recently transitioned to an improved forum. There is an active community and questions rarely go unanswered. They have also recently transitioned the source code to Github.
Books
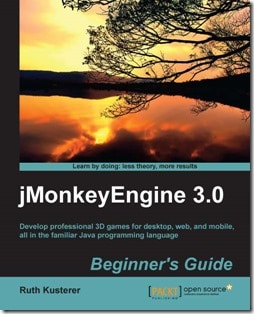
There are two books available for jMonkeyEngine.
The Video

