Now we are going to look at using the P2 Physics engine. Truth of the matter is, the experience is very similar to what we just experienced with Arcade physics. The biggest difference is P2 is more accurate, has greater options for simulation and critically, takes up more CPU power.
Let’s jump in straight away with a simple example. We are going to load two identical sprites, anchor one and create a spring between them. Code time!
/// <reference path="phaser.d.ts"/> class SimpleGame { game: Phaser.Game; player1: Phaser.Sprite; player2: Phaser.Sprite; constructor() { this.game = new Phaser.Game(640, 480, Phaser.AUTO, 'content', { create: this.create, preload: this.preload }); } preload() { this.game.load.image("decepticon", "decepticon.png"); } create() { this.player1 = this.game.add.sprite(this.game.width/2, 0 + 50, "decepticon"); this.player2 = this.game.add.sprite(this.game.width/2, this.game.height, "decepticon"); this.game.physics.startSystem(Phaser.Physics.P2JS); // Enabled physics on our sprites this.game.physics.p2.enable([this.player1, this.player2]); // Make our one body motionless this.player1.body.static = true; // Now create a sprite between our two bodies, parameters are rest length, stiffness and damping // Rest length is the length of the spring at rest ( where it's not under pressure ) // Stiffness is the resistance to movement of the spring // Damping determines how fast the spring loses it's "boing" Our low damping keeps our spring "boinging" // Boing is a word I made up to describe the up and down motion of a spring doing it's spring thing this.game.physics.p2.createSpring(this.player1, this.player2, 200, 2, 0.3); // Lets loop a timed event every 10 seconds that moves the one end of our spring back to the start // Mostly just so people that didn't see it run the first time in the browser have something to see! this.game.time.events.loop(Phaser.Timer.SECOND * 10, () => { this.player2.body.x = this.game.width/2; this.player2.body.y = this.game.height; }, this); } } window.onload = () => { var game = new SimpleGame(); };
The code is fairly well commented, so I’ll just go through the gist of what’s happening here. Just like before, you have to start the Physics subsystem, this time we pass in Phaser.Physics.P2JS. You also have to register your objects with the physics system. In this case we do it by passing an array of Sprite to p2.enable(); We set one of our physics bodies to static, which will cause it to not be moved or updated by the physics system. We then create a spring between the two sprites. This will cause the second sprite to “spring” toward the first, until the rest length is met ( plus any momentum ), then the spring will, well, spring. Finally, just to make the demo run a bit better in the browser, we schedule a looping event every 10 seconds that resets the second sprites physics body back to the starting position to start the whole game all over again.
Here is our code running in the browser:
One of the big advantages to P2 is it can use Polygon data for more precise collision calculates than body boxes. Consider the following sprite:
When doing bounding box based collisions tests, this would be considered a “hit”:
Ideally instead we should create a tighter bounding volume for our collision tests, like so:
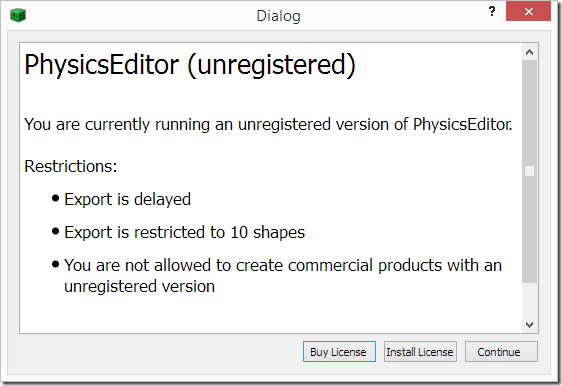
Well, the good news is we can, but we need a third party editor to create the bounding volumes. One such tool and the one I am going to use in this example is Physics Editor by CodeAndWeb. It’s commercial software, but there is a free version with the following restrictions:
It can be purchased currently for about $20.
CURRENTLY, I COULD NOT GET THE CURRENT WINDOWS VERSION TO EXPORT!
There is a DLL missing, I’ve reported it to the developer, for now instead use the older version available here.
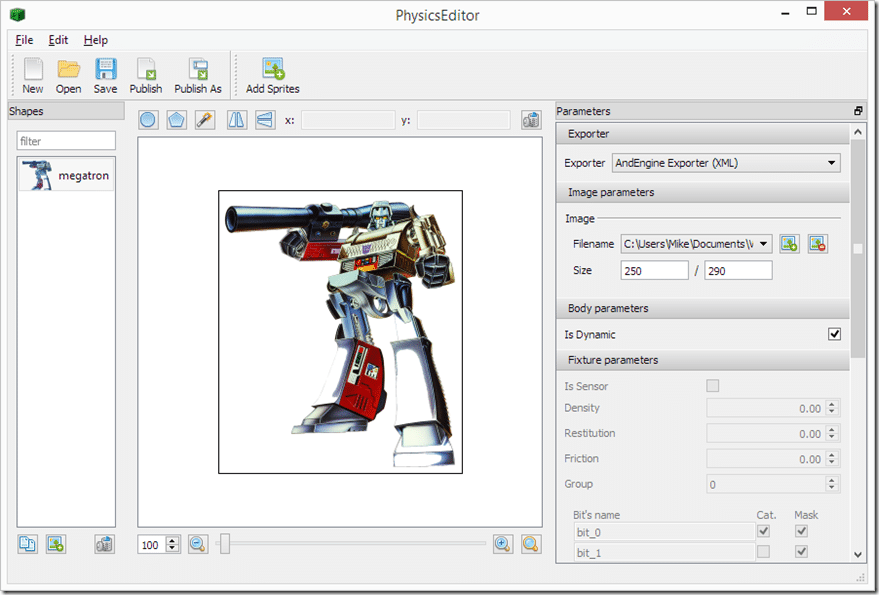
For this, I am just using the unregistered version. Load it up, then click Add Sprites:
Navigate to the sprite you want to work with and click OK. It should appear in the window like so:
I’m full of serious lazy, so I’m going to let the app do the work, simply click the Shape Tracer icon:
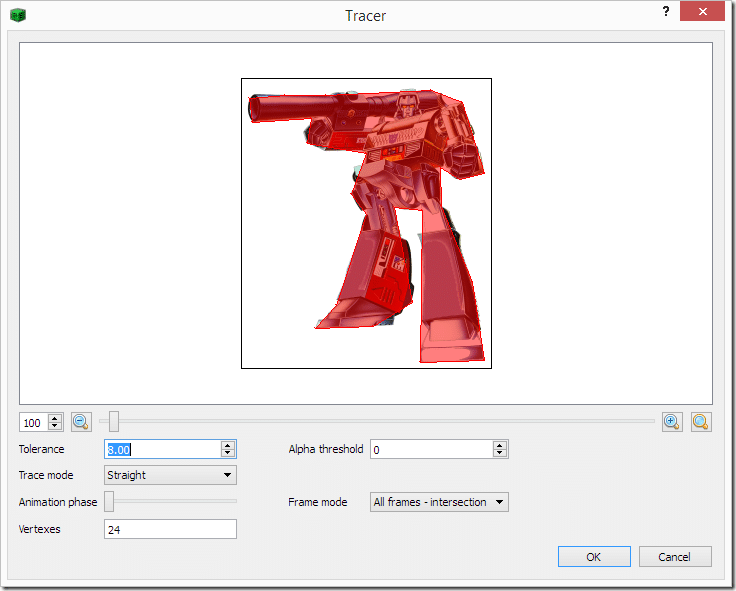
Now in the resulting dialog, play with the tolerance and alpha value until you have a bounding volume you like with a vertex count you can deal with:
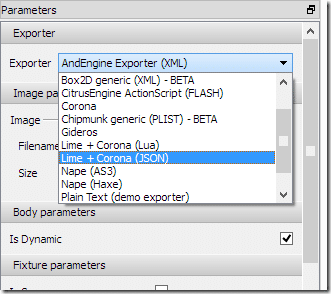
Once you are happy with it, set the Exporter on the right to Lime + Corona ( JSON ).
Save the resulting file to your project directory.
Now time to actually use the results in Phaser:
/// <reference path="phaser.d.ts"/> class SimpleGame { game: Phaser.Game; player1: Phaser.Sprite; player2: Phaser.Sprite; constructor() { this.game = new Phaser.Game(640, 480, Phaser.AUTO, 'content', { create: this.create, preload: this.preload }); } preload() { this.game.load.image("megatron", "megatron.png"); this.game.load.physics("physicsInfo", "physics.json"); } create() { this.player1 = this.game.add.sprite(0, 0, "megatron"); this.player2 = this.game.add.sprite(0, 0, "megatron"); // Being lazy, positioning sprite after creation so we have a valid width/height this.player1.position.set(this.player1.width / 2, this.player1.height / 2); // Now another sprite on the right side of the screen, down slightly this.player2.position.set(this.game.width - (this.player2.width / 2), this.player2.height / 2 + 85); this.game.physics.startSystem(Phaser.Physics.P2JS); // Passing in true while enabling physics on an object causes the debug renderer to draw the physics body this.game.physics.p2.enable([this.player1, this.player2], true); // You need to call clearShapes() to get rid of the existing bounding box this.player1.body.clearShapes(); this.player2.body.clearShapes(); // Now load the polygon bounding data we created externally this.player1.body.loadPolygon("physicsInfo", "megatron"); this.player2.body.loadPolygon("physicsInfo", "megatron"); // Now let's get this party started this.player2.body.moveLeft(80); // Finally, when the collision occurs, move back to the beginning and start over this.player2.body.onBeginContact.add((body, shapeA, shapeB, equation) => { this.player2.body.x = this.game.width - (this.player2.width / 2); this.player2.body.y = this.player2.height / 2 + 85; }, this); } } window.onload = () => { var game = new SimpleGame(); };
WARNING! When using P2 physics, if your physics body starts even slightly outside the bounds of the screen, it will start with forces applied against it!
When you run this code, it creates two identical Megatrons, on each side of the screen, slightly offset, then sends one towards the other… ok, let’s just watch it:
As you can see, using Polygon volumes allow for much greater precision in your collision tests. Using simple bounding boxes, the collision would occur a great deal earlier.
There is a lot more about P2 physics, but in all honesty, Polygon’s are probably the single biggest reason to use it. Again it is important to remember that P2 is the slowest option, but the most precise. Also, you have the option of mixing and matching physics engines within the same game.


