Now that we’ve tackled the basics of graphics, let’s take a look at making our game “do” something. This is often the job of SKActions, so let’s jump right in with a simple example. Just like in the last example I am going to use the basic project structure we established back in the very first post. All code samples are going to be in the GameScene.
import SpriteKit
class GameScene: SKScene {
let monkey = SKSpriteNode(imageNamed: “EvilMonkey.png”)
override func didMoveToView(view: SKView) {
let background = SKSpriteNode(imageNamed: “beach.png”)
background.position = CGPoint(x:0,y:0)
background.anchorPoint = CGPoint(x:0.0,y:0.0)
background.size = view.bounds.size
monkey.anchorPoint = CGPoint(x:0.5,y:0.5)
monkey.position = CGPoint(x:view.bounds.midX,y:view.bounds.midY)
self.addChild(background)
self.addChild(monkey)
}
override func mouseDown(theEvent: NSEvent!) {
let action = SKAction.moveTo(
CGPoint(x:theEvent.locationInWindow.x,y:theEvent.locationInWindow.y),
duration:2
);
monkey.runAction(action)
}
}
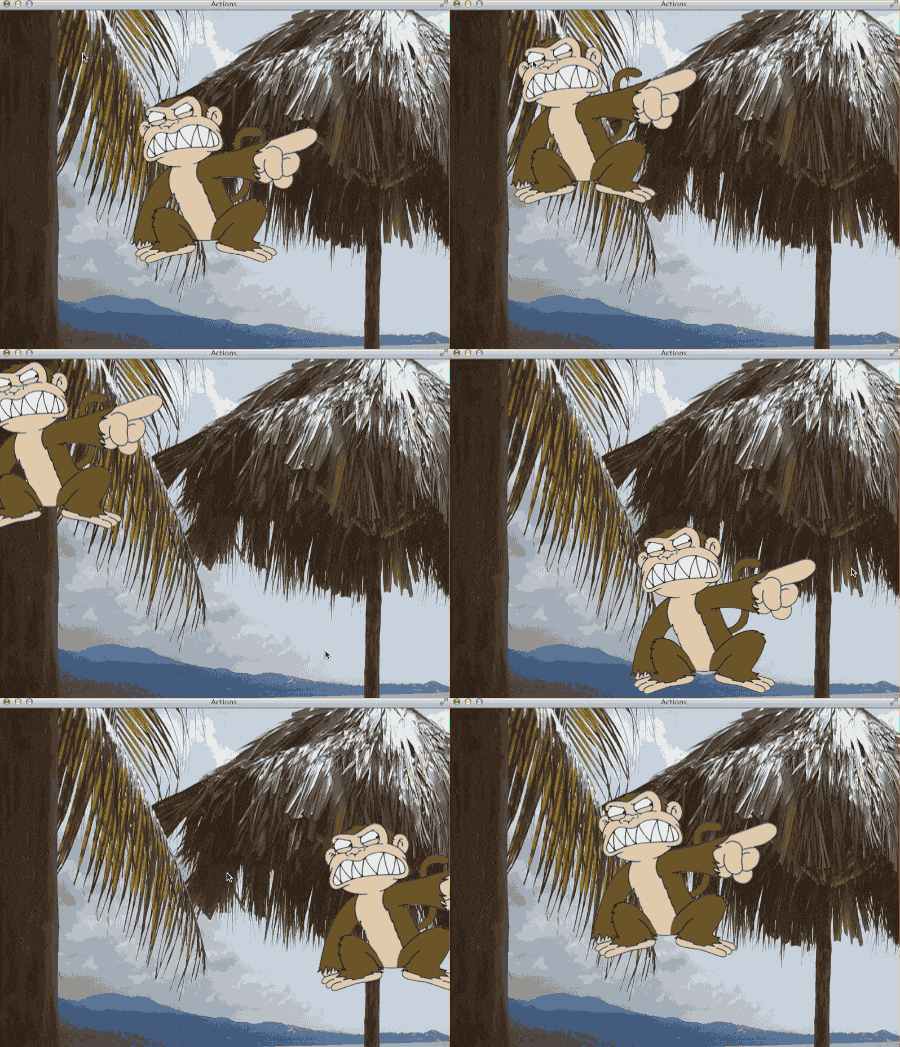
Now when you run it, wherever you click the screen, that’s where the monkey will go. It will move at whatever rate is required to get there in 2 seconds.
Note, the terrible jerkiness and colour saturation were a side effect of me trying to keep the animated gif small, not because of SpriteKit.
The magic here is of course the SKAction class. Here we create a moveTo action and pass in the mouse pointer location and the duration of how long we want the action to last. Finally we assign the action to our sprite using runAction, passing in the action to run. Spritekit automatically determines how much to update each frame to match the animation to the duration you provided.
Here each time you click the mouse you override the current action, causing the last action to stop. What if we wanted each action to queue up instead? Let’s find out.
import SpriteKit
class GameScene: SKScene {
let monkey = SKSpriteNode(imageNamed: “EvilMonkey.png”)
var actions = Array<SKAction>();
override func didMoveToView(view: SKView) {
let background = SKSpriteNode(imageNamed: “beach.png”)
background.position = CGPoint(x:0,y:0)
background.anchorPoint = CGPoint(x:0.0,y:0.0)
background.size = view.bounds.size
monkey.anchorPoint = CGPoint(x:0.5,y:0.5)
monkey.position = CGPoint(x:view.bounds.midX,y:view.bounds.midY)
self.addChild(background)
self.addChild(monkey)
}
override func mouseDown(theEvent: NSEvent!) {
let action = SKAction.moveTo(
CGPoint(x:theEvent.locationInWindow.x,y:theEvent.locationInWindow.y),
duration:2
);
actions.insert(action, atIndex:0);
if(monkey.hasActions() == false){
monkey.runAction(actions.removeLast(), completion: queueNextActionIfExists);
}
}
func queueNextActionIfExists(){
if(actions.count > 0){
monkey.runAction(actions.removeLast(), completion: queueNextActionIfExists);
}
}
}
In this example, the monkey will now follow your clicks after it finishes handling its current action. So for example if you click 20 times, the monkey is going to move 20 times, taking a total of 40 seconds. The trick here is the completion callback in runAction. Basically this is a function that will be called when the current action complete. In this case, when an action finishes, it checks to see if there are any more actions awaiting, and if there are, runs them.
This is a special case example of a completion, as it is recursive. In many cases you can write more compact code using closures, a feature of most modern languages, including Swift. Let’s take a look at a closure example for handling completion:
override func mouseDown(theEvent: NSEvent!) {
let action = SKAction.moveTo(
CGPoint(x:theEvent.locationInWindow.x,y:theEvent.locationInWindow.y),
duration:2
);
monkey.runAction(action,completion: { () -> Void in
self.monkey.runAction(SKAction.moveTo(CGPoint(x:0,y:0),duration:2));
}
);
}
In this example the completion function is passed in to runAction as an unnamed closure. In other languages this is often known as an anonymous function. When run, this will cause the monkey to move to where ever you click, then immediately to the origin once it’s done moving. Which syntax you prefer is up to you. Closures are a big part of functional programming, but they are also completely optional in Swift.
So far we have looked at performing a series of actions on demand ( as the user clicks, we queue them up ). However, if you want to run a series of pre-determined actions in sequence, there is a much easier way to accomplish this. Let’s take a look.
import SpriteKit
class GameScene: SKScene {
let monkey = SKSpriteNode(imageNamed: “EvilMonkey.png”)
override func didMoveToView(view: SKView) {
let background = SKSpriteNode(imageNamed: “beach.png”)
background.position = CGPoint(x:0,y:0)
background.anchorPoint = CGPoint(x:0.0,y:0.0)
background.size = view.bounds.size
monkey.anchorPoint = CGPoint(x:0.5,y:0.5)
monkey.position = CGPoint(x:view.bounds.midX,y:view.bounds.midY)
self.addChild(background)
self.addChild(monkey)
doStuff();
}
func doStuff(){
var actions = Array<SKAction>();
actions.append(SKAction.moveTo(CGPoint(x:300,y:300), duration: 1));
actions.append(SKAction.rotateByAngle(6.28, duration: 1));
actions.append(SKAction.moveBy(CGVector(150,0), duration: 1));
actions.append(SKAction.colorizeWithColor(NSColor.redColor(), colorBlendFactor: 0.5, duration: 1));
let sequence = SKAction.sequence(actions);
monkey.runAction(sequence);
}
}
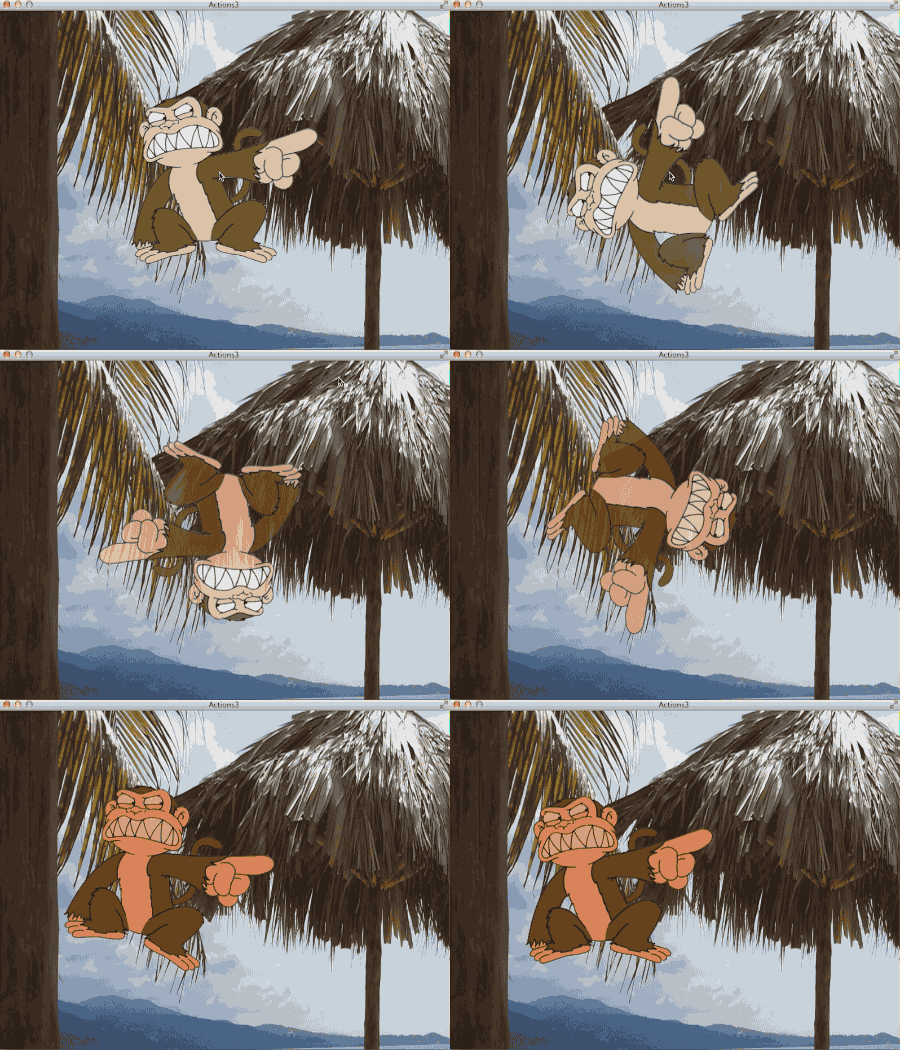
When you run this:
It runs each action, predictably enough, in sequence. A sequence action is simply an array of SKActions that are run back to back. As you can see there a number of different actions available and many more I haven’t covered here. What you see in this example is a movement to a certain point, a rotation by an angle ( in radians… 360 degrees ), a moveBy, which is a movement relative to the current position. Finally a colorize, which is basically tinting the image 50% red.
So that’s performing a number of actions in sequence, what if you want to perform then at the same time? Well, there’s an app… er, Action for that too!
func doStuff(){
var actions = Array<SKAction>();
actions.append(SKAction.moveTo(CGPoint(x:300,y:300), duration: 1));
actions.append(SKAction.rotateByAngle(6.28, duration: 1));
actions.append(SKAction.moveBy(CGVector(150,0), duration: 1));
actions.append(SKAction.colorizeWithColor(NSColor.redColor(), colorBlendFactor: 0.5, duration: 1));
let group = SKAction.group(actions);
monkey.runAction(group);
}
The only real difference is we create a group instead of a sequence. You still create an array of SKActions and add them to the group. Now when you run it:
Finally, this is something a reader wrote in asking me to cover. Sometimes you want to simply make a sound when a sprite is selected. This as well is easily accomplished using actions:
import SpriteKit
class SpriteWithClickSound: SKSpriteNode{
override func mouseDown(theEvent: NSEvent!) {
let clickAction = SKAction.playSoundFileNamed(“ding.wav”, waitForCompletion: true);
self.runAction(clickAction);
}
}
class GameScene: SKScene {
let monkey = SpriteWithClickSound(imageNamed: “EvilMonkey.png”)
override func didMoveToView(view: SKView) {
let background = SKSpriteNode(imageNamed: “beach.png”)
background.position = CGPoint(x:0,y:0)
background.anchorPoint = CGPoint(x:0.0,y:0.0)
background.size = view.bounds.size
monkey.anchorPoint = CGPoint(x:0.5,y:0.5)
monkey.position = CGPoint(x:view.bounds.midX,y:view.bounds.midY)
monkey.userInteractionEnabled = true;
self.addChild(background)
self.addChild(monkey)
}
}
In this example, when you click on the monkey, the sound ding.wav will be played. Of course, you will need to add a WAV to your project for this to work properly. One thing you should notice here is I called userInteractionEnabled on my SKSpriteNode derived object. If you don’t call this, your node won’t receive events ( like mouseDown for example! ). The actual action of playing a sound via action is:
let clickAction = SKAction.playSoundFileNamed(“ding.wav”, waitForCompletion: true);
self.runAction(clickAction);
Most of the code above is about subclassing SKSpriteNode to implement mouseDown.
One last thing to be aware of before I move on here… Swift does NOT inherit init functions from their parent and frankly this sucks. I was going to put the call to userInteractionEnabled in SpriteWithClickSound’s init() method. When I do this, like so:
class SpriteWithClickSound: SKSpriteNode{
init(imageNamed:String){
super.init(imageNamed:imageNamed);
// handle user input on
self.userInteractionEnabled = true;
}
}
At runtime you will get the very cryptic error:
/Users/Mike/Documents/Projects/SpriteKit/Actions3/Actions3/GameScene.swift: 3: 3: fatal error: use of unimplemented initializer ‘init(texture:)’ for class ‘Actions3.SpriteWithClickSound’
This is as I said earlier, because Swift doesn’t inherit init methods ( think constructor if you are coming from C++, C# or Java ) from it’s parent class. This frankly really sucks, as you then have to either a) provide no init method, in which case the proper init method will be called, or b) implement every bloody init method the class you inherited from. Take the SKSpriteNode for example, it has 4 init functions, so if you want to implement userInteractionEnabled in the init method, you would have to do it like this:
class SpriteWithClickSound: SKSpriteNode{
init(imageNamed:String){
super.init(imageNamed:imageNamed);
// handle user input on
self.userInteractionEnabled = true;
}
init(texture:SKTexture){
super.init(texture:texture);
self.userInteractionEnabled = true;
}
init(color:SKColor,size:CGSize){
super.init(color:color,size:size);
self.userInteractionEnabled = true;
}
init(texture:SKTexture,color:SKColor,size:CGSize)
{
super.init(texture:texture,color:color,size:size);
self.userInteractionEnabled = true;
}
That, is some seriously ugly code! It was also a complete pain in the ass to write. The fact it only throws up on runtime is even worse. Hopefully this is something that get’s fixed in Swift soon. Until then, basically keep any and all logic out of init methods if you can help it.


