In the past we covered basic program structure as well as using graphics using Haxe and NME. In this section we are going to look at handling input. A number of these samples, such as multi touch, will only work on a device, although we will briefly look at how to create device specific code that still compiles on other platforms. Alright, let’s jump right in.
First lets look at the basics of handling touch and mouse click events.
Mouse click and finger touch event handling
package gfs;
import nme.Assets; import nme.display.Bitmap; import nme.display.Sprite; import nme.events.Event; import nme.events.TouchEvent; import nme.events.MouseEvent; import nme.Lib; class Main extends Sprite { private var sprite:Sprite; public function new() { super(); var img = new Bitmap(Assets.getBitmapData("img/mechwarriorFrameScaled.png")); //Bitmap unfortunately cannot receive events, so we wrap it in a sprite sprite = new Sprite(); sprite.addChild(img); sprite.x = Lib.current.stage.stageWidth / 2 - sprite.width / 2; sprite.y = Lib.current.stage.stageHeight / 2 - sprite.height / 2; sprite.addEventListener(MouseEvent.CLICK, mechClicked); Lib.current.stage.addEventListener(TouchEvent.TOUCH_TAP, onTouch); Lib.current.stage.addEventListener(MouseEvent.CLICK, onClick); Lib.current.stage.addChild(sprite); } public function mechClicked(event: MouseEvent) { sprite.x = Lib.current.stage.stageWidth / 2 - sprite.width / 2; sprite.y = Lib.current.stage.stageHeight / 2 - sprite.height / 2; event.stopImmediatePropagation(); } public function onTouch(event: TouchEvent) { sprite.x = event.stageX - sprite.width / 2; sprite.y = event.stageY - sprite.height / 2; } public function onClick(event: MouseEvent) { sprite.x = event.stageX - sprite.width / 2; sprite.y = event.stageY - sprite.height / 2; } }
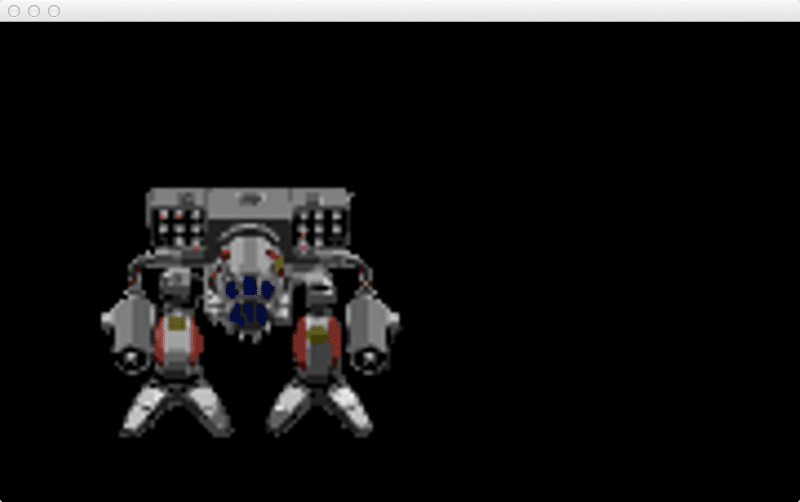
When you run this code you should see:
The mech will move wherever you click or touch. If you click on the mech sprite, it will move back to the centre of the screen.
Now back to the code. I was informed that I didn’t need to create a static main function when working with NME, so in my prior examples… ignore that bit. 🙂
Therefore we now start of in our constructor new. First we create an image, a small version of our now familiar mech image. There is a catch though, even though it has the method addEventListener, a Bitmap object can’t actually receive events. Therefore we are creating a Sprite object to hold our Bitmap. Next up we centre the sprite to the screen. Then we wire up sprite to receive MouseEvent.CLICK events, which will causer it to call the function mechClicked. We also wire up TouchEvent.TOUCHT_TAP and MouseEvent.CLICK event handlers to the actual stage.
It’s important to realize the order things are handled when a click or touch occurs. It will ultimately be the object that is touched that get’s first crack at the event, then it’s parent, then it’s parent, etc… this is called ‘bubbling’. It’s a very important thing to get your head around, as consider the current situation… we are setting up a click handler in our mech sprite that handles the click, causing the sprite to be re-entered back to the middle of the screen if clicked. Then the stage handles the event and moves the sprite to where the user clicked, effectively overwriting the actions the Sprite’s event handler took. In this case we want to stop handling the event once the mech is clicked, so it’s parent’s handler won’t run. This is accomplished by calling event.stopImmediatePropagation(). The only other thing to notice is the different event types passed in to the various event handlers.
There is however one current gotcha in the above code… for CPP targets it doesn’t actually work. The call to stopImmediatePropagation() doesn’t actually do what it says. I reported this on the forums and most impressively, they already fixed the bug! Colour me impressed on that one. So, depending on when you are reading this, mechClicked() may not appear to be working if run on one of the CPP targets. It does however work just fine on Flash and HTML5.
If you aren’t working from NME sources, you can work around with this simple fix:
class Main extends Sprite { private var sprite:Sprite; var clickHandled = false; public function new() { super(); var img = new Bitmap(Assets.getBitmapData("img/mechwarriorFrameScaled.png")); //Bitmap unfortunately cannot receive events, so we wrap it in a sprite sprite = new Sprite(); sprite.addChild(img); sprite.x = Lib.current.stage.stageWidth / 2 - sprite.width / 2; sprite.y = Lib.current.stage.stageHeight / 2 - sprite.height / 2; sprite.addEventListener(MouseEvent.CLICK, mechClicked); Lib.current.stage.addEventListener(TouchEvent.TOUCH_TAP, onTouch); Lib.current.stage.addEventListener(MouseEvent.CLICK, onClick); Lib.current.stage.addChild(sprite); } public function mechClicked(event: MouseEvent) { sprite.x = Lib.current.stage.stageWidth / 2 - sprite.width / 2; sprite.y = Lib.current.stage.stageHeight / 2 - sprite.height / 2; clickHandled = true; } public function onTouch(event: TouchEvent) { sprite.x = event.stageX - sprite.width / 2; sprite.y = event.stageY - sprite.height / 2; } public function onClick(event: MouseEvent) { if (clickHandled) { clickHandled = false; return; } sprite.x = event.stageX - sprite.width / 2; sprite.y = event.stageY - sprite.height / 2; } }
Basically you just set a flag that the current click action has been handled. Of course, this system falls on it’s face once you start looking at multi-touch, as we will shortly
Keyboard Handling
So that’s the basics of clicking and touching, now let’s take a look at using keyboard control. This will only work on devices with a physical keyboard.
package gfs; import nme.Assets; import nme.display.Bitmap; import nme.display.Sprite; import nme.events.Event; import nme.events.KeyboardEvent; import nme.Lib; import nme.ui.Keyboard; class Main extends Sprite { private var sprite:Sprite; public function new() { super(); var img = new Bitmap(Assets.getBitmapData("img/mechwarriorFrameScaled.png")); //Bitmap unfortunately cannot receive events, so we wrap it in a sprite sprite = new Sprite(); sprite.addChild(img); sprite.x = Lib.current.stage.stageWidth / 2 - sprite.width / 2; sprite.y = Lib.current.stage.stageHeight / 2 - sprite.height / 2; Lib.current.stage.addEventListener(KeyboardEvent.KEY_UP, function(event) { if (event.keyCode == Keyboard.RIGHT) { if (event.altKey || event.ctrlKey || event.shiftKey) sprite.x += 10; else sprite.x += 1; } if (event.keyCode == Keyboard.LEFT) { if (event.altKey || event.ctrlKey || event.shiftKey) sprite.x -= 10; else sprite.x -= 1; } }); Lib.current.stage.addChild(sprite); } public static function main() { Lib.current.addChild(new Main()); } }
When you run this code, you can use the left and right arrows to move the sprite left or right. Holding down the alt key, shift key or control key will cause the sprite to move by 10 pixels, otherwise it moves by 1 pixel in the given direction.
As you can see, handling keyboard events is almost exactly the same as handling mouse and touch events. You simply wire up the stage to listen for the event KeyboardEvent, in this case KEY_UP. You simple compare the keyCode of the event against the enum specified in Keyboard to see if your key has been pressed. There are also a series of flags, altKey, ctrlKey and shiftKey that tell you the status of each of these keys.
One important thing to note, you do not use KeyboardEvent to handle text field input, instead use the methods of TextField.
Accelerometer/motion control handling
Now let’s take a look at how to handle the Accelerometer. This code will compile on any platform, but will only work on mobile platforms for obvious reasons.
package gfs; import nme.Assets; import nme.display.Bitmap; import nme.display.Sprite; import nme.events.Event; import nme.events.AccelerometerEvent; import nme.Lib; import nme.sensors.Accelerometer; import nme.ui.Accelerometer; class Main extends Sprite { private var sprite:Sprite; public function new() { super(); var img = new Bitmap(Assets.getBitmapData("img/mechwarriorFrameScaled.png")); //Bitmap unfortunately cannot receive events, so we wrap it in a sprite sprite = new Sprite(); sprite.addChild(img); sprite.x = Lib.current.stage.stageWidth / 2 - sprite.width / 2; sprite.y = Lib.current.stage.stageHeight / 2 - sprite.height / 2; Lib.current.stage.addEventListener(Event.ENTER_FRAME, onFrameEnter); Lib.current.stage.addChild(sprite); } public function onFrameEnter(event:Event) { #if (android || ios) if (Accelerometer.isSupported) { var y = nme.ui.Accelerometer.get().y; Lib.trace(y); if (y < 1 && y > 0.6) sprite.y-=5; // straight up and down else if (y < 0.4 && y > 0.0) sprite.y+=5; // turned 90 degrees from user } else Lib.trace("No Accelerometer support"); #else Lib.trace("Not a mobile target"); #end } public static function main() { Lib.current.addChild(new Main()); } }
When you run this code, our trusty mech sprite is drawn centred to the screen. If the phone is straight up and down ( parallel to your head ) nothing will happen. As you tilt the phone away from you, for the first 40 or so degrees the sprite will move up. Then a dead zone, then for the next 40 os so degrees the sprite will move down, until you are holding the phone perpendicular to you, at which point the sprite will stop moving.
Now for a bit of a red herring… there are Accelerometer events… THEY DONT WORK! Don’t go that route. The events are simply never fired. Instead you need to poll the Acelerometer when you want data. In this case we are going to use the ENTER_FRAME event, which is fired at the beginning of each frame, causing the onFrameEnter function being called.
In onFrameEnter, we have our first compiler conditional. If you are used to pre-processor directives, this will be familiar with you. Basically code starting with the # symbol tell the compiler what to id. In this case, code within the #if (android || ios) will only be executed if those values are true. If it is an iOS or Android device, we simply read the G value of the y axis. A value of 1 indicates a motionless phone straight in from of you. A value of 0 is a motionless phone perpendicular to you. You can get the motion values of all 3 axis and use them to determine orientation as well as movement.
Handling multitouch
Finally let’s take a look at multitouch support. Once again you obviously need a multi-touch capable device to run this sample.
package gfs; import nme.Assets; import nme.display.Bitmap; import nme.display.Sprite; import nme.display.Stage; import nme.display.StageScaleMode; import nme.events.Event; import nme.events.TouchEvent; import nme.Lib; import nme.ui.Multitouch; import nme.ui.MultitouchInputMode; class Main extends Sprite { private var sprites: Array<Bitmap>; public function new() { super(); sprites = new Array<Bitmap>(); sprites.push(new Bitmap(Assets.getBitmapData("img/mechwarriorFrame.png"))); sprites.push(new Bitmap(Assets.getBitmapData("img/mechwarriorFrame.png"))); sprites.push(new Bitmap(Assets.getBitmapData("img/mechwarriorFrame.png"))); sprites.push(new Bitmap(Assets.getBitmapData("img/mechwarriorFrame.png"))); for (i in 0 ... sprites.length) { sprites[i].x = Std.random(800); sprites[i].y = Std.random(1280); Lib.current.stage.addChild(sprites[i]); } Lib.current.stage.addEventListener(TouchEvent.TOUCH_BEGIN, function(e) { sprites[e.touchPointID].x = e.localX; sprites[e.touchPointID].y = e.localY; }); } }
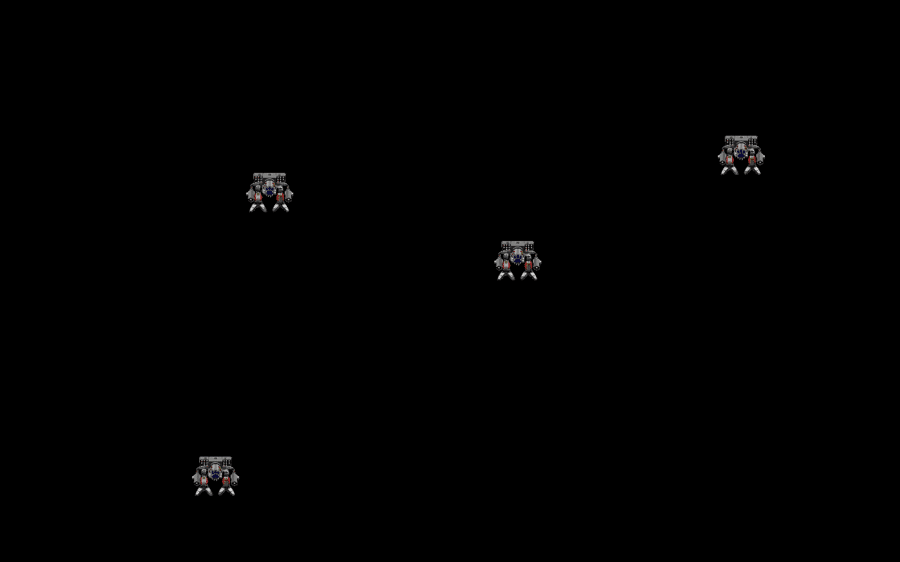
Here is the code running on my Galaxy Note. Each mech sprite is positioned where you touched. Up to four sprites/touches can be tracked in this example.
So, each sprite represents the location I most recently touched with each finger.
We simple create an array of images all holding the same image, one for each of our four fingers. We then randomize it’s starting location ( for no particular reason ) then add it to the stage. Touch is handled exactly as it was before, the only real difference is the event can be fired a number of times. You determine if it is multiple touch by checking the touchPointID value of event. This ID value can be thought of as the index value of your finger… so if you are using a single finger, it will have a value of 0. If you are using 3 fingers, and it is the third touchpoint, the value will be 2.
One word of warning, there is mention in the docs of GESTURE modes… such as ZOOM, etc… these do not exist in NME. If you want gesture support, you need to roll it yourself.
So that’s IO in Haxe… I have to say, other then a bug ( which was fixed almost instantly! ) and a red herring in the documentation about gesture support, that was a painless experience and has all the functionality I need. Of course, I just used a portion of what’s there… you can also mouse over, key up, mouse enter, etc…
I did run into a few annoyances with FlashDevelop though. First, if you run an cpp target project, while one is already running on your device, not only will it fail, it will bork the debugger forcing you to reset FlashDevelop. It sounds like a mild annoyance, but I did it probably 15 times! Another annoyance is Flashdevelop loses intellisense when inside anonymous methods, or whatever Haxe/Flash calls them.


